
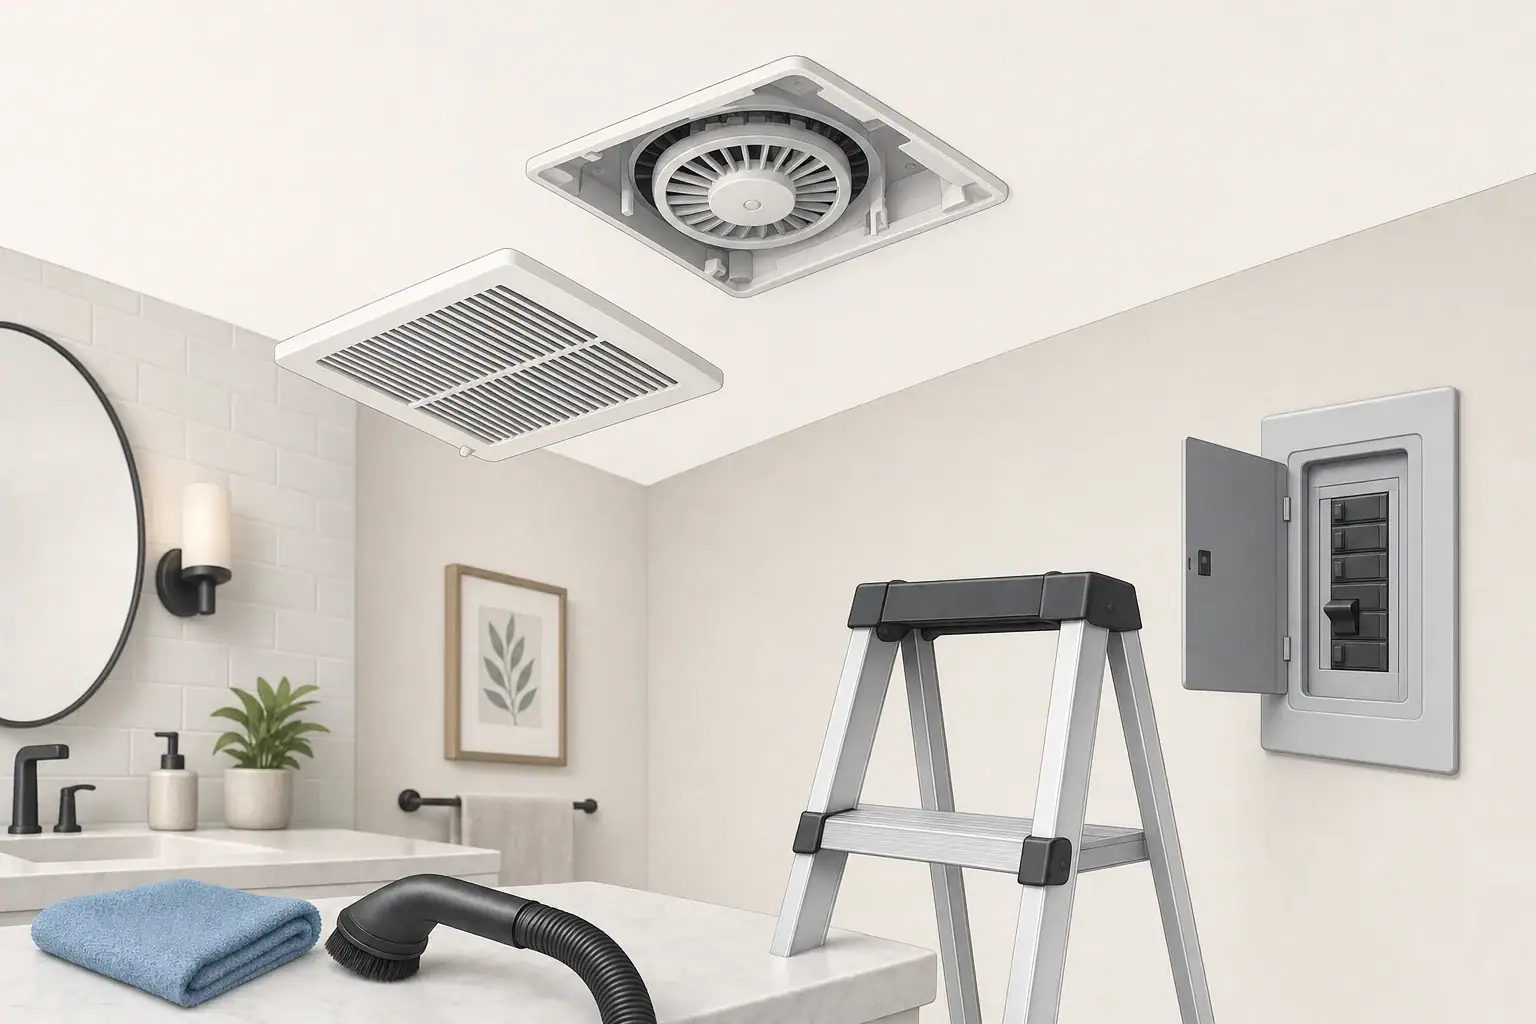
How to clean a bathroom ventilation fan safely
Routine homeowner cleaning should stop at the removable grille or lens, the housing opening, and surfaces that are plainly accessible without taking apart the motor or disconnecting anything. Do not clean inside the duct, open the motor, alter wiring, or remove hardwired components.
Start with the model manual if you can identify the fan. Covers may use spring wires, screws, tabs, a center nut, or a model-specific release method. Fan/light combinations, LED grilles, and decorative covers may have different cleaning limits.
Tools and supplies
- The fan’s model manual or model number
- A stable stepladder
- Eye protection and a drop cloth
- Flashlight
- Vacuum with a soft-brush attachment
- Soft brush and microfiber cloths
- Mild dish soap and a towel, only if the manual permits washing
- Screwdriver, only if the original grille uses screws
- A breaker warning tag or prominent note
1. Shut off and secure the circuit
Turn the fan off at its wall control, then turn off the correct circuit breaker. Prevent anyone from restoring power while you work. The DOE Building America Solution Center’s bath-fan cleaning guide instructs homeowners to turn off the fan circuit before removing the cover. A Broan-NuTone fan/light manual for models 678 and 679 calls for disconnecting electrical power and locking out the service panel; where a lockout cannot be used, use a prominent warning tag.
Try the fan and any integrated light from their normal wall controls to confirm they do not start. This is only a functional check, not proof that every conductor is de-energized. Do not touch wiring, terminals, receptacles, or hardwired components. Stop if you cannot identify or keep the correct circuit off.
2. Remove the grille without forcing it
Support the grille as it comes down. A common spring-wire grille pulls down a short distance before its springs are visible. Other designs may use screws, levers, tabs, or a nut. Do not pry a cover that resists gentle movement; check the model instructions instead.
Worked example: a spring-wire grille
Assumptions: The breaker is off and protected from restoration, the grille has two visible spring wires, and the model manual does not specify a different removal method.
- Set the stepladder on a level surface and place a drop cloth below the fan.
- Gently pull the grille straight down until the spring wires are exposed.
- Hold the grille with one hand. Pinch one spring wire together and slide it out of its housing slots.
- Release the second spring the same way and note the grille’s orientation.
- If a light, LED module, or cable remains attached, stop and follow the model manual. Do not pull on the cable or disconnect hardwired parts.
This spring-wire approach is consistent with the removal sequence in the DOE/PNNL guide, but it does not apply to every cover.
What bathroom fan parts can get wet?
Do not assume that every removable-looking piece is washable. The manufacturer instructions for specific Broan-NuTone fan/light models permit mild soapy water on the plastic lens and grille, followed by soft-cloth drying, while stating that metal and electrical parts must not be immersed. Your model may have different instructions.
| Component | Conservative cleaning method | Main concern |
|---|---|---|
| Plain removable plastic grille | Vacuum or brush dry; wash with mild soap only when the manual permits it | Broken clips or trapped water |
| Lens, LED grille, or decorative cover | Follow the model manual; otherwise, dry-clean only | Electrical-module or finish damage |
| Housing opening | Vacuum gently or use a dry soft cloth | Contact with wiring or sharp edges |
| Accessible fan wheel or blades | Use a soft brush or gentle vacuuming without bending or forcing the part | Damage or imbalance |
| Motor, terminals, receptacles, and wiring | Do not apply liquid or spray cleaner; do not disassemble | Electrical damage, shock, or fire risk |
| Duct and concealed ceiling cavity | Outside the scope of routine surface cleaning | Inaccessible contamination or hidden damage |
3. Clean approved, accessible parts
Vacuum loose dust from the grille first. If the manual permits washing a plain plastic grille or lens, use mild soapy water and a soft cloth. Avoid solvents, bleach, abrasive pads, lubricant, and specialty cleaners unless the manufacturer specifically authorizes them.
Rinse only the component that is approved for washing. Towel-dry it and leave it out until no moisture remains in clips, seams, or recesses. Never immerse a light module or an assembly containing electrical parts.
Use the vacuum’s soft brush to lift dust from the housing opening and accessible moving surfaces. Keep the attachment away from wires and connectors. The DOE/PNNL guide recommends vacuuming reachable fan parts with care, and manufacturer maintenance guidance varies by model. Do not spray cleaner into the housing or use compressed air to drive debris farther into the motor or duct.
If buildup will not release with gentle dry cleaning, consult the manual rather than scraping, soaking, bending, or forcing the wheel to turn. Buildup behind an inaccessible wheel or in the duct is not a routine grille-cleaning task.
4. Dry, reassemble, and check operation
Confirm that every washed component is completely dry. Inspect clips and fasteners, and remove cloth fibers or loose debris from the accessible housing opening. Reinstall the grille in its original orientation without pinching a cable or wire.
For a spring-wire grille, pinch each spring, insert it into its matching housing slots, and press the cover upward until it sits flush. Replace original screws only where the design uses them; do not add fasteners.
Move the ladder and tools away before restoring the breaker. Run the fan and, if present, its light. It should start and run without a new rattle, scraping noise, grinding, odor, smoke, or unusual heat. Turn it off promptly if anything seems abnormal.
A light tissue held near the grille can indicate that air is moving toward the fan, as described in the DOE/PNNL guide. It is not an airflow measurement and does not establish code compliance. For weak airflow that remains after accessible cleaning, see Bathroom Exhaust Fan Not Pulling Air: Tissue Test and Checks.
When to stop and request service
- You cannot identify the circuit or prevent it from being restored.
- The grille does not release by its expected model-specific method.
- Wiring is exposed, loose, cut, cracked, scorched, or otherwise damaged.
- You notice buzzing, heat discoloration, excessive heat, smoke, or a hot-insulation odor.
- Heavy contamination extends into an inaccessible duct or ceiling cavity.
- The wheel is cracked, bent, jammed, or inaccessible without disassembly.
- The fan stalls, grinds, scrapes, overheats, or develops an unusual odor after reassembly.
The CPSC Guide to Home Wiring Hazards identifies damaged insulation, buzzing, heat discoloration, excessive heat, and hot-insulation odors as electrical warning signs. Leave the breaker off and seek qualified service when these conditions involve the fan or its circuit. New grinding can also point to a mechanical or duct-related problem rather than surface dust.
Cleaning does not repair damaged wiring, failed components, concealed ducts, or installation defects. There is no universal cleaning interval: inspect the grille periodically and follow the maintenance directions for your specific model. For everyday moisture control after bathing, see Bathroom Fan Timer Settings to Prevent Mold After Showers.
Frequently asked questions
Can I clean a bathroom ventilation fan without removing the fan?
Yes. Routine cleaning can be limited to removing the grille or another manual-approved cover, then vacuuming accessible housing and fan-wheel or blade surfaces. Do not remove the motor assembly, disconnect hardwired parts, or reach into the duct as part of ordinary cleaning.
What should I do if the grille will not come down?
Do not pry or force it. The cover may use screws, tabs, a nut, spring wires, or another model-specific release method. Check the manual or identify the model before proceeding.
Can I wash a bathroom fan grille with water?
Wash a plain removable plastic grille or lens only when the model manual permits it. Keep water away from light modules, LED grilles, metal parts, wiring, and electrical assemblies. Reinstall a washable piece only after it is completely dry.
Does a tissue test prove that my bathroom fan has enough airflow?
No. A tissue drawn toward the grille can show that the fan is moving air, but it does not measure airflow or demonstrate code compliance. Persistent weak airflow can involve the duct, damper, exterior termination, or the fan itself.
Summary
Turn off and secure the correct circuit, remove the grille by its intended fasteners, and clean only accessible, manual-approved surfaces. Keep liquids away from electrical parts, dry washed components completely, reassemble the cover, and stop work if you find wiring damage, heat, odors, grinding, or contamination beyond easy reach.
Recommended next:
- Ventilation vs Air Purifier: When You Need One, the Other, or Both
- CO2 in Bedrooms: What Levels Mean and How to Improve Air Exchange
- How to Ventilate in Winter Without Freezing: Practical Strategies
- Exhaust Fan Best Practices: Bathrooms and Kitchens That Actually Clear Air
- Air Exchange Basics: ACH, Infiltration, and Why “Stuffy” Happens
- ERV vs HRV: What They Do for Indoor Air Quality
- Clear sizing logic (room size → CADR/ACH)
- HEPA vs carbon explained for real use-cases
- Humidity + ventilation basics to reduce mold risk