
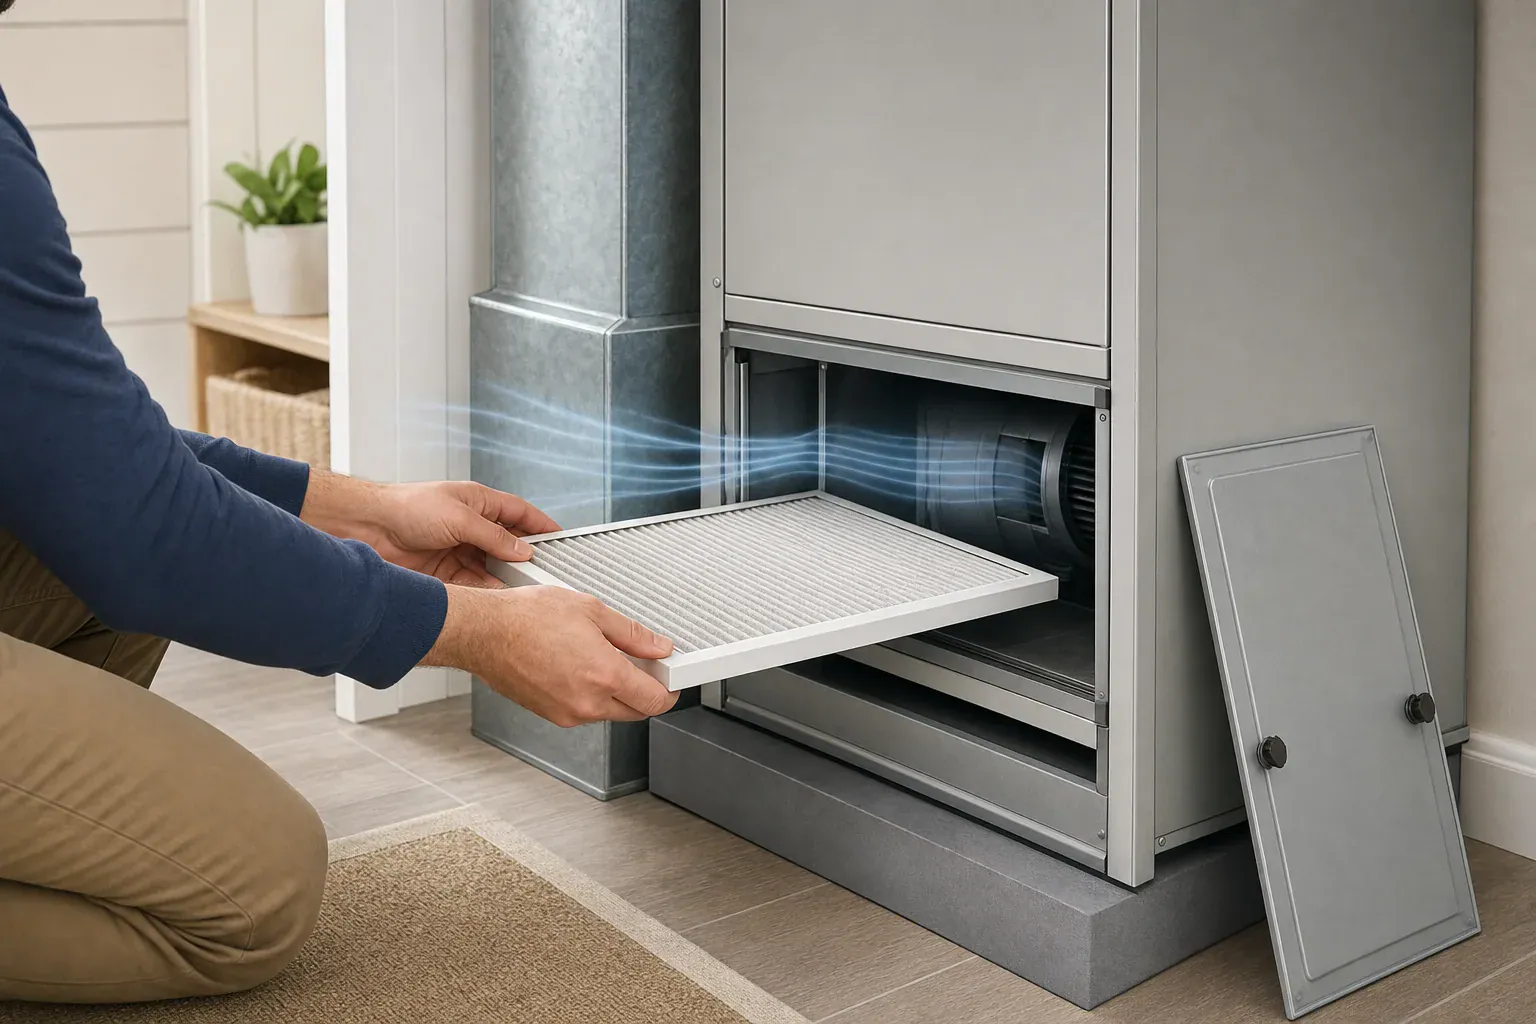
Before changing the filter
This guide covers a disposable filter in a residential ducted heating and cooling system. Have the replacement filter, a phone or notepad, and a bag for the old filter ready. Gloves are optional.
Check the equipment manual before opening any equipment panel. Filter location, quantity, access instructions, and required dimensions vary by model and installation.
Set the thermostat to Off and wait for the blower to stop. If the filter is behind an equipment or blower door, follow the manual’s electrical shutdown instructions. For example, a Trane furnace maintenance manual instructs users to disconnect power before removing its blower door. Do not assume that setting every thermostat to Off de-energizes an internal compartment.
Where to find the filter and which way the arrow points
A central HVAC filter is normally in the return-air path, where room air travels back toward the blower. A return grille draws air from the room; a supply register delivers conditioned air into the room. Homes may have one filter at the equipment, filters behind one or more return grilles, or another documented arrangement. Do not add filters in extra locations unless the equipment documentation calls for them.
| Possible filter location | How to recognize it | Arrow direction |
|---|---|---|
| Wall or ceiling return grille | Usually a larger grille that draws room air inward and may have latches or a hinged face | Away from the room, into the return duct |
| Slot beside a furnace or air handler | A narrow slot or removable cover on the return side of the unit | From the return duct toward the unit and blower |
| Designated space inside equipment | A homeowner-accessible filter rack behind a door identified in the manual | Follow the manual; normally toward the blower |
| Separate return-duct filter cabinet | A wider cabinet upstream of the furnace or air handler | Downstream, toward the furnace or air handler |
The arrow printed on the filter shows airflow, not which side should face up or outward. Carrier’s replacement instructions direct users to point the arrow toward the blower motor.
How to change an HVAC filter step by step
- Shut down the system. Set the thermostat to Off and wait for the blower to stop. Use any further shutdown method required by the manual before opening an equipment panel.
- Open only the intended access. Release grille latches, remove the filter-slot cover, or open the designated filter-access door. Do not remove sealed service panels or reach around wiring.
- Photograph the setup. Take a picture of the filter label, rack or tracks, clips, and arrow before removal. Note where the blower is so you can verify the new filter’s direction.
- Remove the old filter gently. Slide it straight out without shaking dust into the room, duct, or equipment. Put it in a bag if needed.
- Match the replacement. Compare the nominal size, actual size if printed, frame depth, and filter type with the old filter and the equipment documentation.
- Install in the airflow direction. Slide the new filter into the rack or tracks with its arrow pointing along the return-air path toward the blower.
- Check the fit and close the access. The frame should sit flat and be supported without force, folding, trimming, or crushing. Reinstall and latch the intended cover or grille.
- Record the date and restart. Write the date in the filter’s provided date field or save it in a maintenance record. Restore power if it was disconnected, return the thermostat to its normal setting, and check that the system starts normally.
Read the filter label before buying a replacement
A label such as 20 × 25 × 1 is commonly a nominal size, not necessarily the filter’s exact measured dimensions. Look for a separate line marked actual size, and also compare frame depth. Do not rely on a nominal label alone when the old filter was loose or difficult to install.
Example: Nordic Pure lists one of its nominal 20 × 25 × 1 filters as measuring 19½ × 24½ × ¾ inches. That is a manufacturer-specific example, not a universal conversion: the company notes that deeper-filter dimensions can vary among equipment manufacturers. See its filter-size explanation for the distinction between nominal and actual dimensions.
If the old filter label is unreadable, check the equipment label or manual and measure the old frame carefully. If the location or required size remains unclear, pause rather than guessing.
Fit checks before you restart
A filter should fit snugly enough to limit air leaking around its edges, but it should not need to be bent or crushed. The EPA’s guidance for ducted heat-pump filters makes both points and notes that poor installation can allow bypass airflow.
- The frame lies flat, rather than bowed or twisted.
- The filter is fully seated in its tracks or retaining frame.
- Any built-in clips or retainers hold it in the intended position.
- There is no obvious open path around the frame.
- The filter was not folded, trimmed, taped, forced, or crushed to make it fit.
- The access cover closes and latches normally.
There is no universal acceptable gap measurement for residential filter racks. If the filter is loose enough to move out of position, or too large to seat without damage, remove it and recheck the documented size and model. Do not improvise a permanent mounting method unless the equipment manufacturer specifies one.
Photo-and-label checklist for next time
Before discarding the old filter, save these details in a photo or maintenance note:
- Filter location and access-cover position
- Number of filters in the established layout
- Nominal size and actual size, if shown
- Frame depth and filter model or type
- Arrow direction and blower location
- Tracks, clips, spacers, or retainers
- Installation date
This record is especially useful for ceiling grilles, concealed slots, and systems with more than one documented filter location.
When to stop and call an HVAC professional
Stop if you cannot identify the intended filter location, the manual requires service-only access, or reaching the filter would require working around internal electrical components. Also stop if the correct replacement will not fit without modifying it or the rack.
Arrange professional service if you find damaged wiring, standing water near electrical components, visible ice, repeated breaker trips, buzzing or arcing, a burning or electrical odor, or a system that does not restart after the panel is correctly closed and power is restored. Carrier’s air-handler troubleshooting guidance identifies these as conditions for professional attention and advises against manipulating wiring or internal electrical parts.
Frequently asked questions
Does the HVAC filter arrow point toward or away from the room?
The arrow follows airflow and should point toward the blower. For a filter behind a wall or ceiling return grille, that means it points away from the room and into the return duct.
Can I use a filter with the same nominal size if its actual dimensions differ?
Not necessarily. Compare the printed actual dimensions, frame depth, and filter type with the old filter and the equipment documentation. Filters with the same nominal label can fit differently.
What should I do if the new filter will not fit?
Remove it rather than forcing, folding, trimming, or crushing it. Recheck the filter location, model, nominal size, actual dimensions, and frame depth. Consult the equipment documentation or an HVAC professional if the correct fit remains unclear.
Final installation check
Before leaving the system running, verify that the arrow points toward the blower, the filter is flat and supported, the access cover is secure, and operation sounds normal. For filter-efficiency choices rather than replacement steps, see HVAC Filter Upgrade for Allergies: MERV Ratings and Airflow Trade-Offs.
Recommended next:
- Air Purifier Maintenance Checklist: Filters, Sensors, and Cleaning
- When to Replace Carbon Filters (And How to Tell They’re Spent)
- How to Clean and Calibrate an Air Quality Monitor
- Air Purifier Maintenance Checklist: Monthly and Seasonal Tasks
- Filter Replacement Schedules: HEPA, Carbon, and Pre-Filters
- Cleaning Air Purifier Sensors and Intakes: What Not to Do
- Clear sizing logic (room size → CADR/ACH)
- HEPA vs carbon explained for real use-cases
- Humidity + ventilation basics to reduce mold risk