
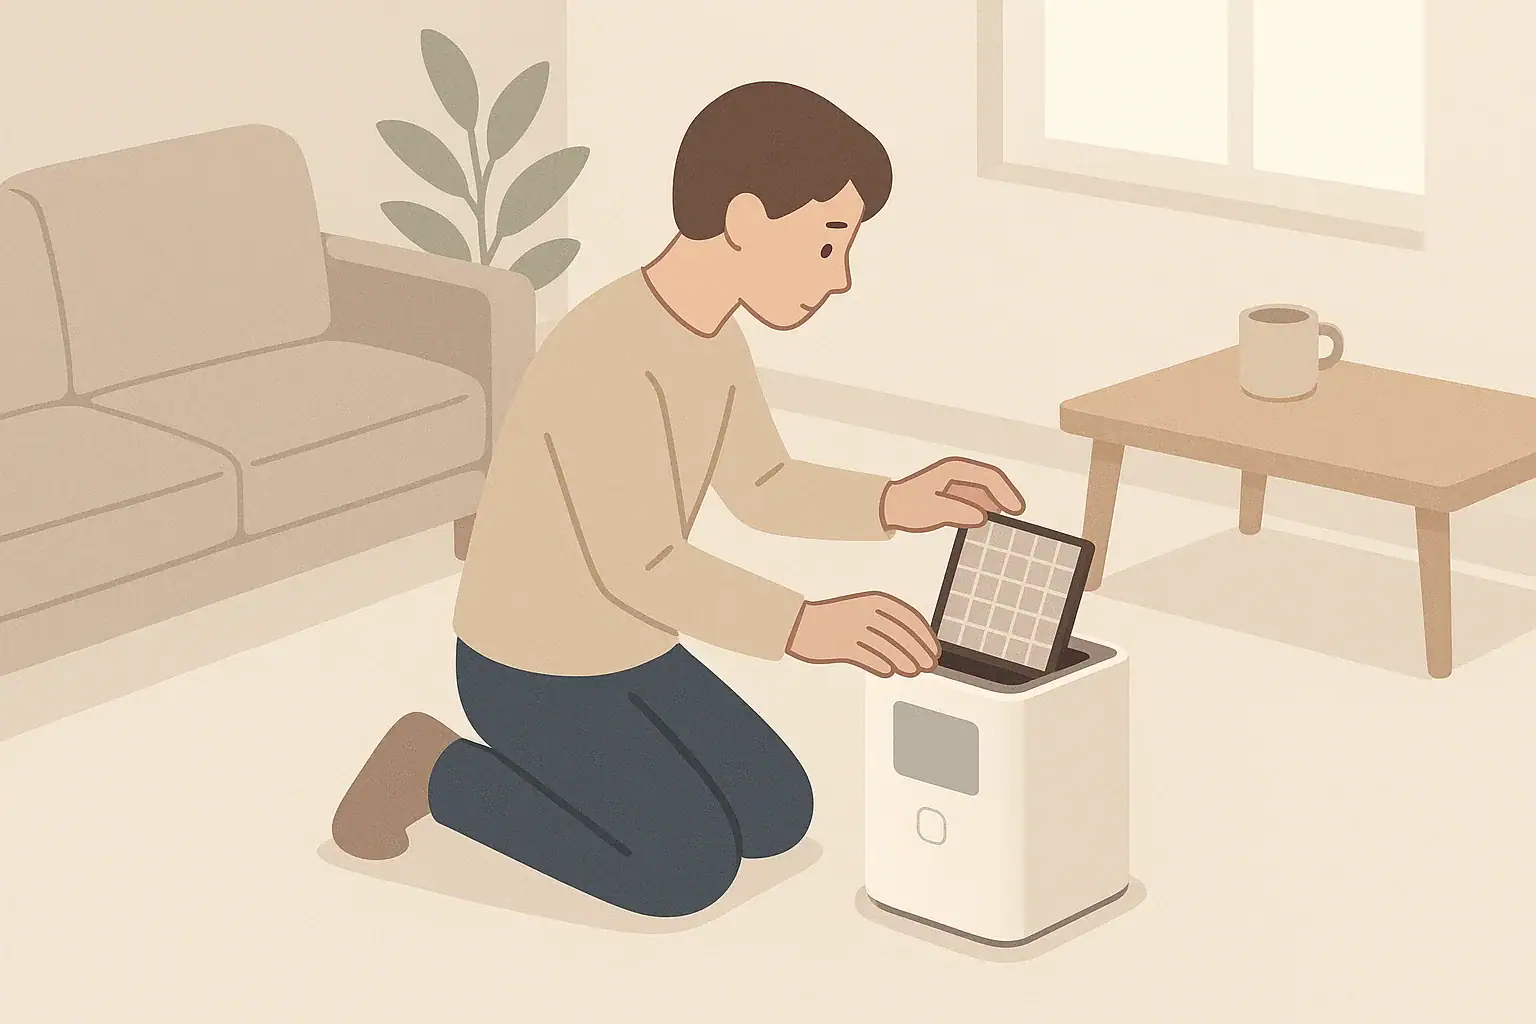
To clean and calibrate an air quality monitor at home, gently dust the exterior and vents, clear sensor inlets with soft air or a brush, then verify readings against stable indoor conditions or outdoor fresh air before using any built‑in calibration feature. Done regularly, this keeps PM2.5, CO2, TVOC, temperature, and humidity readings closer to what the manufacturer intended.
This guide walks through practical steps for home air quality meters and indoor air sensors, including how often to clean them, what “calibration” realistically means for consumer devices, and how to spot when a monitor is drifting. You will also see real‑world examples, common mistakes, and simple troubleshooting cues.
The goal is not to turn your device into a laboratory instrument but to keep it reliable enough to guide everyday decisions about ventilation, filtration, and moisture control in your home.
What Cleaning and Calibration Really Do (And Why They Matter)
A home air quality monitor measures pollutants and comfort indicators such as particulate matter (PM2.5 and sometimes PM10), carbon dioxide, total volatile organic compounds (TVOCs), temperature, and relative humidity. Over time, dust buildup, humidity swings, and normal sensor aging can cause readings to drift away from reality.
Cleaning mainly protects the monitor’s airflow and optics. When vents and inlets are clogged, the device may under‑report particles or respond slowly to changes in your indoor environment. Even a thin dust layer can change how air moves through a tiny sensor chamber.
Calibration in a home setting is mostly about verification and baseline checks, not precision laboratory adjustment. Most consumer air quality monitors are factory‑calibrated and may offer simple “fresh air” calibration routines for CO2 or internal self‑adjustment for VOC sensors. Your job is to make sure the monitor is clean, placed sensibly, and behaving in a way that matches how your home is actually used.
Used this way, the monitor becomes a trend tool: you watch how PM2.5, CO2, and TVOC levels rise and fall with cooking, ventilation, or humidifier use, instead of fixating on any single number.
Key Concepts: How Home Air Quality Monitors Work
Understanding the basic sensor types helps you decide what you can safely clean, what you can sanity‑check at home, and what should be left to the manufacturer.
Core sensor types inside most monitors
- PM2.5 / PM10 particle sensors: These usually use a small fan (or passive airflow) to pull air through an optical chamber. A light source and detector measure how much light is scattered by particles, which is converted into a particle concentration.
- CO2 sensors: Many devices use non‑dispersive infrared (NDIR) sensors that shine infrared light through the air sample and detect how much is absorbed by CO2. Some low‑cost monitors estimate “equivalent CO2” from VOC levels instead.
- VOC / gas sensors: These often use metal‑oxide or similar sensing elements that change electrical resistance when exposed to volatile organic compounds and some gases.
- Temperature and humidity sensors: Typically small solid‑state sensors that respond to heat and moisture in the surrounding air.
What “calibration” usually means for home devices
- Factory calibration: Sensors are calibrated against known references before you receive the monitor. This sets the baseline performance.
- Automatic baseline correction: Some CO2 and VOC sensors adjust themselves over days or weeks, assuming they periodically see clean or outdoor air.
- User calibration options: A few devices let you trigger a calibration step in “fresh air,” typically for CO2. This does not make the device perfect, but it can correct obvious drift.
Typical cleaning and verification tasks
The table below summarizes common tasks and how they support more reliable readings.
| Task | How often | Main purpose | Simple cue it is needed |
|---|---|---|---|
| Dust exterior housing and display | Every 2–4 weeks | Prevents dust from migrating into vents and buttons | Visible dust on case or screen |
| Clean air inlets and outlets | Every 3–6 months | Maintains airflow through particle and gas sensors | Readings respond slowly to obvious changes |
| Verify PM2.5 and CO2 trends | Every 6–12 months | Checks for major sensor drift | Numbers seem stuck or unrealistic for days |
| Run any built‑in calibration routine | Only when readings are clearly off or per manual | Resets baseline for CO2 or other supported sensors | Device prompts for calibration or support instructions say so |
Example values for illustration.
Real‑World Examples: Cleaning and Checking Readings
Because every home and monitor is different, it helps to walk through realistic scenarios. These examples show how cleaning and basic “calibration” checks look in everyday use.
Example 1: PM2.5 readings that barely move
You notice your PM2.5 reading sits around the same value all day, even when you cook or vacuum. A practical approach might look like this:
- Power down the monitor if the manual allows.
- Use a dry microfiber cloth to wipe the housing.
- Gently clear the air inlets with a soft brush or short bursts of compressed air held a few inches away.
- Restart the monitor in a living area and let it run for several hours without major activities.
- Boil water or toast bread briefly and watch whether PM2.5 rises, then falls after you ventilate.
If the monitor now shows a clear rise and gradual fall, the issue was likely dust buildup or obstructed airflow rather than a failed sensor.
Example 2: CO2 readings that always look high
Suppose your CO2 display rarely drops below a high value, even when the room is empty and windows are open. You could:
- Confirm the sensor type in the manual (true CO2 vs. estimated “equivalent CO2”).
- Place the monitor in a well‑ventilated area away from people for an hour or more.
- If the device offers a fresh‑air calibration, follow the instructions exactly in that location.
- Over the next few days, compare readings between an empty room with windows open and a crowded room with windows closed.
Healthy behavior would show lower CO2 in the ventilated, unoccupied room and higher values when several people share a closed space for a while.
Example 3: TVOC readings that spike after cleaning
After using strong cleaning products or air fresheners, your TVOC reading jumps and stays elevated for hours. In this case:
- Ventilate the area by opening windows or running exhaust fans.
- Avoid placing the monitor directly next to the cleaning source.
- Clean the exterior and vents gently if you notice residue or visible film near the inlets.
- Watch how quickly TVOC levels return toward baseline once the smell fades and the room is ventilated.
This behavior is normal for a sensitive VOC sensor. If the reading never comes back down over several days, it may indicate sensor saturation or drift that needs a reset or eventual replacement.
Example 4: Temperature and humidity that do not match the room
If your monitor shows very different temperature or humidity than other devices in the same room, consider placement first:
- Move the monitor away from direct sun, heaters, humidifiers, or dehumidifiers.
- Allow it to sit in its new location for at least an hour before judging readings.
- Keep vents clear with light dusting so room air can reach the sensors.
Small differences between devices are normal, but large or persistent gaps may point to a sensor that has aged or been damaged by moisture or heat.
Common Mistakes and Troubleshooting Cues
Many problems with home air quality monitors come from well‑intentioned but risky cleaning methods, rushed calibration attempts, or poor placement. Recognizing these patterns early can save a sensor from permanent damage.
Frequent mistakes that hurt accuracy
- Spraying cleaner directly on the monitor: Liquids can seep into vents, fog optical paths, or corrode electronics.
- Using strong solvents or alcohol on vents: These can damage VOC and gas sensors or leave residues that change readings.
- Pressing a vacuum nozzle against vents: High suction and static can damage delicate fans or internal circuitry.
- Sticking cotton swabs or tools into sensor openings: This can misalign optics or scratch sensor surfaces.
- Constantly recalibrating CO2: Repeated manual baseline adjustments can push the sensor further away from reality.
- Judging performance from a single snapshot: One odd reading does not necessarily mean a bad sensor; trends matter more.
Troubleshooting cues and what they often mean
The table below links common symptoms to likely causes and simple next steps.
| What you notice | Likely cause | First steps to try |
|---|---|---|
| PM2.5 barely changes during cooking or vacuuming | Blocked vents, dust on inlets, weak airflow | Clean exterior and vents, verify fan noise if applicable, let device stabilize in a central room |
| CO2 shows very high values even in empty, ventilated rooms | Baseline drift, incorrect calibration, or estimated CO2 behavior | Check sensor type, run manufacturer’s fresh‑air calibration once in a truly ventilated space |
| TVOC stuck at maximum or zero for days | Sensor saturation, damage from strong chemicals, or aging | Ventilate thoroughly, power cycle, consult manual for reset or sensor life guidance |
| Temperature and humidity differ greatly from other devices | Poor placement, localized heat or moisture sources | Relocate away from sun, vents, humidifiers; wait at least an hour before re‑checking |
| Readings freeze or device restarts randomly | Power supply issues or internal fault | Inspect cables and power source, try a different outlet, review manual for error codes |
Example values for illustration.
When to suspect sensor end‑of‑life
- Readings remain unrealistic for days in different locations.
- The monitor fails any built‑in self‑tests or shows recurring error indicators.
- The manufacturer’s expected sensor life (often a few years for some gas sensors) has clearly passed.
At that point, cleaning and recalibration often provide only limited improvement, and sensor replacement or a new monitor may be more practical.
Safety Basics for Cleaning and Calibration
Because air quality monitors contain sensitive electronics and sometimes small fans or heaters, safe cleaning and calibration practices protect both you and the device.
Safe cleaning practices
- Unplug when possible: If the manual permits, disconnect power before cleaning to reduce the risk of short circuits.
- Use dry tools first: Start with a microfiber cloth, soft brush, or low‑pressure compressed air held several inches away.
- Keep liquids away from openings: If you use a slightly damp cloth on the exterior, keep it away from seams and vents and wring it out thoroughly.
- Avoid flammable aerosols: Do not use flammable sprays near hot components or charging cables.
Safe calibration and testing practices
- Do not inhale test gases: If the device is ever used with calibration gases or smoke tests, follow safety instructions and avoid direct inhalation.
- Use realistic conditions: For home checks, rely on normal activities (cooking, occupancy, ventilation) instead of improvised smoke or chemical clouds.
- Avoid extreme environments: Do not leave the monitor outdoors in rain, direct sun, or freezing temperatures just to “test” it unless the manual specifically allows outdoor use.
Protecting sensors from long‑term damage
- Minimize exposure to heavy oil mists or aerosols that can coat sensors.
- Avoid placing the monitor where it is constantly hit by steam from kettles, showers, or humidifiers.
- Keep the device away from strong magnets or high‑voltage equipment that could interfere with electronics.
Long‑Term Care, Storage, and When to Replace a Monitor
Regular light maintenance helps a monitor stay useful for years, but every sensor eventually reaches the end of its designed life. How you store and operate the device can slow or speed that process.
Routine maintenance schedule
- Every month: Dust the exterior and display; visually check vents and power cables.
- Every 3–6 months: Gently clean vents and inlets; review data trends for obvious changes in behavior.
- Every 6–12 months: Perform a basic verification of PM2.5 and CO2 trends under known conditions (empty room vs. occupied, ventilated vs. closed).
- As recommended by the manufacturer: Run any built‑in calibration routine or send the device for factory service if that option exists.
Storing a monitor you do not use every day
- Turn the device off and disconnect power if the manual allows long‑term shutdown.
- Store in a dry, temperature‑stable area away from direct sun and strong odors.
- Avoid sealed containers with strong chemical products, which can age VOC sensors even when the monitor is off.
- When you bring the monitor back into service, allow several hours of runtime for sensors to stabilize before relying on the readings.
Signs it may be time to replace
- The monitor no longer responds to cleaning, resets, or calibration steps.
- Sensor performance has clearly degraded and the expected service life has passed.
- Replacement sensors or factory service are unavailable or cost‑prohibitive compared with a new device.
Replacing an aging monitor can restore confidence in your indoor air readings, especially if you are tracking issues like mold risk, persistent odors, or ventilation problems.
Practical Takeaways and Specs to Look For
Keeping an air quality monitor reliable does not require advanced tools. Gentle cleaning, thoughtful placement, and occasional trend checks go a long way toward making PM2.5, CO2, TVOC, temperature, and humidity readings more trustworthy.
- Use your monitor as a guide for decisions about ventilation, filtration, and moisture control, not as a regulatory reference.
- Focus on patterns over days and weeks instead of reacting to every short‑term spike.
- When readings stop matching real‑world changes, start with cleaning and placement before assuming the sensor has failed.
Specs and features to look for in a home air quality monitor
If you are evaluating a new monitor or deciding whether to upgrade, these specifications and design details can make cleaning, calibration, and long‑term use easier:
- Clear sensor list: PM2.5 (and ideally PM10), CO2 or equivalent CO2, TVOC, temperature, and humidity.
- Documented sensor type: Especially whether CO2 is true NDIR or estimated from VOCs, and what kind of VOC sensor is used.
- Accessible vents and dust screens: Grilles and any pre‑filters that can be cleaned without opening the entire device.
- Built‑in CO2 calibration option: A simple fresh‑air calibration routine with clear instructions.
- Data logging or trend graphs: Ability to review past readings so you can spot drift or sudden step changes.
- Reasonable operating range: Temperature and humidity limits that match your climate and indoor conditions.
- Stated sensor life and maintenance guidance: Manufacturer information on how long sensors typically last and how to service or replace them.
- Stable power options: Reliable wall power or long‑lasting batteries so the monitor can run continuously without frequent interruptions.
Choosing a monitor with these features, then following the cleaning and verification steps in this guide, will help ensure your indoor air readings stay useful for everyday home comfort and air quality decisions.
Frequently asked questions
Which specifications and features should I prioritize when choosing a home air quality monitor?
Prioritize a clear sensor list (PM2.5/PM10, CO2 or equivalent, TVOC, temperature, humidity), documented sensor types (for example, true NDIR for CO2), accessible vents or prefilters, data logging or trend graphs, and a stated operating range that fits your climate. These features make cleaning and verification easier and help ensure useful long‑term data.
What common cleaning mistake is most likely to damage a monitor?
Spraying liquids or using strong solvents directly into vents is a frequent and damaging mistake, as fluids can reach optics or electronics and solvents can alter gas sensors. Use dry tools first and only lightly dampen an exterior cloth while avoiding seams and openings.
Are there safety precautions I should follow when calibrating or testing my monitor?
Yes. Do not inhale test gases or deliberately create heavy smoke or chemical clouds for testing, and avoid exposing the device to extreme temperatures or moisture. When cleaning, unplug the device if the manual permits and use low‑pressure, dry cleaning methods first.
Can I reliably calibrate CO2 or VOC sensors at home?
Home calibration can correct obvious drift but rarely achieves laboratory accuracy. CO2 fresh‑air calibration routines can help if performed in a truly ventilated area, and many VOC sensors use automatic baseline correction; both approaches are useful for trend reliability rather than precise concentrations.
How can I tell if a sensor is reaching its end of life?
Signs include persistent unrealistic readings across different locations, recurring errors or failed self‑tests, or if the sensor has passed the manufacturer’s expected service life. If cleaning and baseline checks do not improve behavior, replacement or factory service may be necessary.
Does placement really affect reading accuracy that much?
Yes. Placing a monitor near direct sunlight, heaters, humidifiers, or in tight corners can skew temperature, humidity, and pollutant readings. Move the device to a representative location and allow at least an hour for sensors to stabilize before evaluating readings.
- Clear sizing logic (room size → CADR/ACH)
- HEPA vs carbon explained for real use-cases
- Humidity + ventilation basics to reduce mold risk