
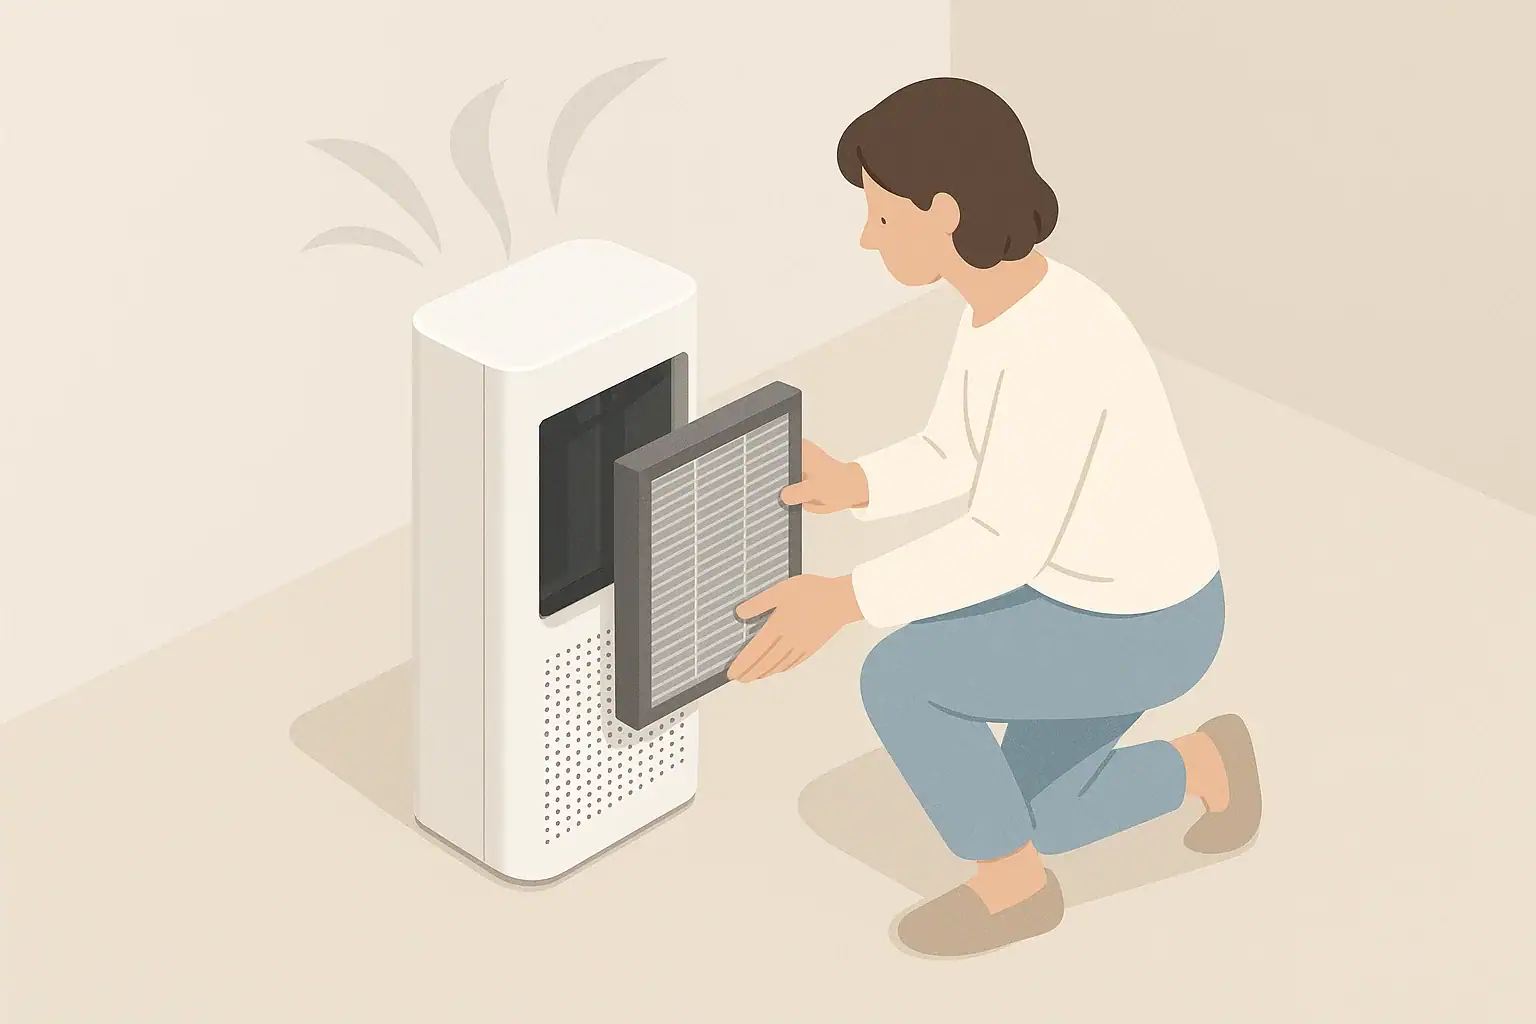
An air purifier maintenance checklist breaks routine care into monthly and seasonal tasks so your unit keeps moving air effectively and filters work as designed.
Most modern purifiers are simple to own, but they do need regular cleaning and filter checks. A basic schedule helps you avoid restricted airflow, unnecessary noise, and wasting energy by running clogged filters for too long.
- Check pre-filters every 2–4 weeks and vacuum or rinse if they are visibly dusty (only if the manual allows rinsing).
- Inspect main HEPA filters about every 1–3 months and replace when airflow drops, they look heavily discolored, or the filter indicator says to.
- Replace odor/activated carbon filters roughly every 3–12 months, depending on smoke, cooking, and pet odors.
- Wipe exterior grills and nearby surfaces monthly to keep dust from re-entering the air stream.
- Do a deeper seasonal check 2–4 times per year: vacuum intake/exhaust grills, verify placement, and review your filter replacement dates.
Why Air Purifier Maintenance Matters
Air purifiers move air through filters, so anything that blocks airflow or bypasses the filter reduces their usefulness. Dust buildup on pre-filters, clogged HEPA media, or a worn-out carbon filter can leave the unit running but not doing much for particle or odor reduction.
Regular maintenance supports three practical goals:
- Stable airflow: Clean intakes and filters let the fan move air through the room more predictably.
- Consistent filtration performance: A well-sealed, not-overloaded filter helps capture particles along the designed airflow path.
- Reasonable noise and energy use: A clogged filter makes the fan work harder, which can increase sound levels and power draw.
Instead of waiting for problems, a simple checklist keeps tasks small and predictable so you can plan filter costs and avoid guesswork.
Key Parts of an Air Purifier and What They Do
Most common residential air purifiers share a few basic components. Understanding each part helps you know what to inspect and how often.
Pre-filter
The pre-filter is usually the first layer behind the intake grill. It catches larger particles such as hair, lint, and coarse dust before they reach the main filter. Many pre-filters are washable or vacuumable, which makes them a key focus of monthly maintenance.
HEPA or high-efficiency particle filter
This is the main fine-particle filter. It may be labeled HEPA, True HEPA, or with classes like H13 or H14. These filters are not typically washable; water or aggressive cleaning can damage the fibers or seals. They generally need replacement every several months to a couple of years, depending on use, room conditions, and design.
Activated carbon or gas filter
An activated carbon or similar media filter helps reduce certain odors and some gases, including many cooking and smoke smells. These filters can saturate long before they look dirty. If you notice odors returning more quickly, it can be a sign the carbon media is exhausted and ready to replace.
Housing, seals, and grills
The plastic or metal shell, access doors, and gaskets keep air moving through the filter instead of around it. Dust on grills and poor seals can allow bypass, where air skips the filter layers. Wiping surfaces and checking that panels close fully is a simple but important part of seasonal maintenance.
| Component | Task | Why it matters | Notes |
|---|---|---|---|
| Pre-filter | Vacuum or rinse (if allowed) | Prevents early clogging of main filter | Check every 2–4 weeks for visible dust |
| HEPA filter | Inspect and replace as needed | Maintains fine particle capture | Do not wash unless manual clearly allows |
| Carbon filter | Replace periodically | Helps with cooking and smoke odors | More frequent changes in heavy odor use |
| Intake/exhaust grills | Dust and wipe | Keeps airflow paths open | Include nearby surfaces and floor area |
| Seals and doors | Check fit and close fully | Reduces unfiltered air bypass | Re-seat filter if door will not close smoothly |
| Fan and interior cavity | Light vacuum if accessible | Limits internal dust buildup | Only where manufacturer permits access |
| Sensors and indicators | Wipe sensor openings gently | Helps auto modes respond more consistently | Avoid liquids directly on sensor area |
Example values for illustration.
Common Maintenance Mistakes and Early Warning Signs
Many air purifiers keep running even when filters are clogged or expired. Knowing typical missteps and what to watch for can keep you ahead of issues.
Overrelying on filter change lights
Filter indicator lights are helpful, but they often rely on run-time estimates rather than measuring filter condition directly. If your environment is dusty or you run the unit on higher speeds for long periods, you may need to change filters sooner than the light suggests.
Washing filters that are not designed to be washed
Some filters look like they might survive a rinse, but water or detergent can damage fibers, reduce filtration efficiency, or affect coatings. Only wash filters if the instructions explicitly say that they are washable. Otherwise, limit yourself to gentle surface vacuuming if recommended.
Ignoring airflow and noise changes
Changes in sound and air movement are practical clues:
- Quieter but weak airflow: The fan might be struggling against a clogged filter while moving less air.
- Louder on the same setting: The fan may be working harder to push through a dirty filter or blocked intake grill.
If a favorite fan speed no longer moves as much air as before, inspect filters even if the indicator has not lit up.
Forgetting seasonal shifts
Indoor air changes across the year. Pollen seasons, wildfire smoke episodes, extended cooking during holidays, or closed-window winter periods may each add extra load on filters. If your local conditions change, your maintenance schedule likely should too.
Monthly Air Purifier Maintenance Checklist
Monthly tasks are about keeping airflow unobstructed and dust under control. These steps are quick once you are familiar with your purifier’s layout.
1. Power down safely
- Turn the purifier off and, if you will open the housing, unplug it first.
- Let any fan blades stop completely before reaching inside.
2. Clean or check the pre-filter
- Open the access panel and locate the pre-filter layer.
- If it is visibly dusty, follow the manual: vacuum with a brush attachment or rinse with water if allowed.
- Allow any rinsed filter to dry fully before reinstalling to avoid moisture in the housing.
3. Inspect the main HEPA filter (without forcing it)
- Check for heavy discoloration, uneven dark patches, or obvious dust mats on the surface.
- If the filter looks heavily loaded or air seems restricted, plan for a replacement even if you have not reached the nominal time interval.
- Do not poke or compress the filter media; that can damage fibers and seals.
4. Wipe grills and housing
- Use a slightly damp cloth or microfiber towel to wipe intake and exhaust grills.
- Dust the top and sides of the unit and the floor immediately around it.
- Avoid getting moisture into electronics, control panels, or sensor openings.
5. Check placement and clearance
- Confirm there is at least several inches of space (often 6–12 inches as general guidance) around intake and exhaust areas.
- Move the unit away from piles of clothing, curtains, or furniture that might block airflow.
- If the purifier was nudged behind a chair or table, reposition it for better room circulation.
6. Confirm settings and timers
- Review whether the fan speed matches your current needs (for example, higher during pollen or smoke events, lower when air is cleaner).
- Check that sleep or timer modes are still aligned with when you occupy the room.
Seasonal and Deep-Clean Tasks
Seasonal tasks, done a few times a year, involve more thorough checks and often coincide with heavier filter changes. Many people align these with the start of spring, summer, fall, and winter, or with local events such as wildfire season.
1. Replace HEPA and carbon filters as needed
- Review how many months the filter has been in use and compare this with the manufacturer’s general interval guidance.
- Consider your use pattern: near a busy road, in a smoking or cooking-intensive household, or with multiple pets usually means shorter intervals.
- Write the installation date on the filter frame or in a simple log so you can track age at a glance.
2. Vacuum interior cavities where accessible
- With the unit unplugged and filters removed, gently vacuum the accessible interior surfaces using a soft brush attachment.
- Avoid disturbing wiring, fan blades, or any components the manual describes as non-user-serviceable.
3. Clean sensor inlets
- If your purifier has particle or gas sensors, locate the small inlets or windows indicated in the manual.
- Wipe around these openings carefully with a dry, soft cloth.
- A lightly dusted sensor is more likely to respond consistently in auto modes.
4. Reevaluate room placement by season
- In heating seasons with closed windows, focusing on bedrooms or main living areas may give more benefit per hour of run-time.
- During higher-pollen or smoke periods, moving the unit closer to entryways or windows can help address incoming air, as long as grills are not obstructed.
- For open-plan spaces, consider whether one large unit or two smaller units placed apart serve the space better.
5. Review overall run-time and energy habits
- Look at how many hours per day you actually run the purifier at different speeds.
- If you are running continuously on high, you may accept more frequent filter changes and plan accordingly.
- If you prefer to limit energy use, moderate speeds run longer can be a reasonable compromise in many homes.
Real-World Maintenance Scenarios
Turning the checklist into habits is easier with practical examples. These scenarios are generalized; your exact conditions may differ.
Small bedroom, light dust, no pets
- Monthly: Quick pre-filter check, wipe exterior, confirm placement away from walls and bedding.
- Seasonal: Inspect HEPA filter, likely replace every 9–18 months depending on hours of use; replace carbon filter if odors linger.
Apartment with pets and frequent cooking
- Monthly: Clean pre-filter; wipe hair and dust from intake; check that the exhaust is not blowing directly onto surfaces where dust accumulates.
- Seasonal: Replace carbon filter more often (for example, 3–6 month intervals) and inspect HEPA filter at each season change.
Home in an area with seasonal wildfire smoke
- Before smoke season: Install fresh HEPA and carbon filters; ensure you have spares on hand.
- During heavy smoke: Run on higher speeds as needed, knowing this will use filter life more quickly.
- After season: Inspect filters; consider replacing if they show heavy discoloration or odors, even if they are not at the end of the nominal time interval.
Safety, Ozone, and Add-On Features
Some air purifiers include optional features such as ionizers or UV-C lamps. Maintenance for these should prioritize safety and manufacturer instructions.
Ionizers and ozone considerations
- Home air cleaning generally focuses on mechanical filtration (HEPA and carbon) that does not intentionally create ozone.
- If your purifier has an ion or plasma mode, use any available settings designed to limit byproducts, and follow the manual for recommended operation.
- Do not attempt to modify internal circuits, disable safety interlocks, or operate a unit with damaged electrical components.
UV-C lamps and similar components
- Some systems include UV-C lamps or other internal sanitizing components with set replacement intervals.
- Follow the manual precisely for access and replacement; UV light can be hazardous to eyes and skin if shielding is bypassed.
- Never operate the unit with panels open or safety covers removed.
Electrical and placement safety
- Use properly grounded outlets and keep cords out of walkways.
- Avoid placing purifiers where they can tip easily or where water spills are likely, such as directly beside bathtubs or wet floors.
- If you notice unusual smells, rattling, or heat from the housing, turn the unit off and consult the manual or a qualified service resource.
Filter Life Planning and Cost Expectations
Filters are the main ongoing cost of owning an air purifier. Treating maintenance as a predictable schedule rather than an emergency replacement can help you budget and avoid running expired filters for long periods.
Factors that shorten filter life
- High fan speeds or 24/7 operation
- Homes with multiple pets, heavy shedding, or visible dust accumulation
- Frequent frying, grilling, or high-odor cooking
- Nearby traffic, industrial sources, or recurring smoke episodes
Simple tracking methods
- Write filter install dates on a small label or on the filter frame.
- Set calendar reminders for mid-range replacement dates, adjusting earlier or later as you observe performance.
- Keep a short note on approximate hours of daily use and typical fan speeds.
| Filter type | Typical interval range (example) | What shortens the interval | Reminder tip |
|---|---|---|---|
| Washable pre-filter | Clean every 2–4 weeks | Heavy dust, pets, open windows | Link cleaning to monthly house cleaning |
| Non-washable pre-filter pad | Replace every 3–6 months | Frequent vacuuming or visible clogging | Inspect each season and change when dark |
| Standard HEPA filter | 6–24 months | High-speed use, smoke events | Check at 6 months, then adjust frequency |
| High-capacity HEPA cassette | 12–36 months | Continuous operation in dusty rooms | Note installation year on the cassette |
| Activated carbon panel | 3–12 months | Cooking, pets, tobacco or wildfire smoke | Replace when odors return sooner than before |
| Specialty gas filter | Varies by design | Ongoing chemical or odor exposure | Follow manual; log replacement date carefully |
Example values for illustration.
Related guides: Air Purifier Placement: Where to Put It for Best Results • When to Replace Carbon Filters (And How to Tell They’re Spent) • Filter Replacement Cost Calculator: Annual HEPA + Carbon Budget
Summary: Turning Maintenance Into a Simple Routine
An air purifier maintenance checklist is mostly about a few repeatable habits: keeping pre-filters clean, replacing HEPA and carbon filters on a realistic schedule, wiping dust from grills, and occasionally checking placement and settings. By pairing monthly quick checks with deeper seasonal reviews, you can keep airflow steady, avoid overworking the fan, and plan filter purchases instead of reacting to unexpected clogs or returning odors.
Frequently asked questions
How often should I check and clean the pre-filter on a monthly and seasonal maintenance schedule?
Check pre-filters every 2–4 weeks as part of monthly maintenance; vacuum or rinse them only if the manual allows and always let rinsed filters dry completely before reinstalling. During seasonal deep-cleans, inspect the pre-filter for wear and replace non-washable pads when they appear dark or clogged.
When should I replace the main HEPA filter as part of a monthly and seasonal maintenance checklist?
Inspect the HEPA filter monthly for heavy discoloration, dust mats, or reduced airflow and plan replacements during seasonal checks as needed. Typical replacement ranges are roughly 6–24 months depending on usage and local conditions, and you should replace sooner after smoke events or continuous high-speed operation.
How can I tell if the activated carbon or odor filter needs replacing?
Noticeable return of cooking, smoke, or pet odors, reduced odor removal performance, or a saturated-looking media are signs the carbon filter is exhausted. Carbon filters commonly require replacement every 3–12 months depending on odor exposure and household activities.
What specific seasonal and deep-clean tasks should I schedule 2–4 times per year?
Seasonal tasks include replacing HEPA and carbon filters as needed, vacuuming accessible interior cavities, gently cleaning sensor inlets, checking housing seals and access panels, and reevaluating room placement. Also review run-time habits and order spare filters ahead of known high-demand periods like pollen or wildfire seasons.
Is it safe to wash HEPA filters, or should I only vacuum them during maintenance?
Most HEPA and fine-particle filters are not washable; exposing them to water or detergents can damage fibers and seals and reduce filtration efficiency. Only wash filters if the manufacturer explicitly states they are washable—otherwise use gentle surface vacuuming where recommended.
Recommended next:
- Clear sizing logic (room size → CADR/ACH)
- HEPA vs carbon explained for real use-cases
- Humidity + ventilation basics to reduce mold risk