
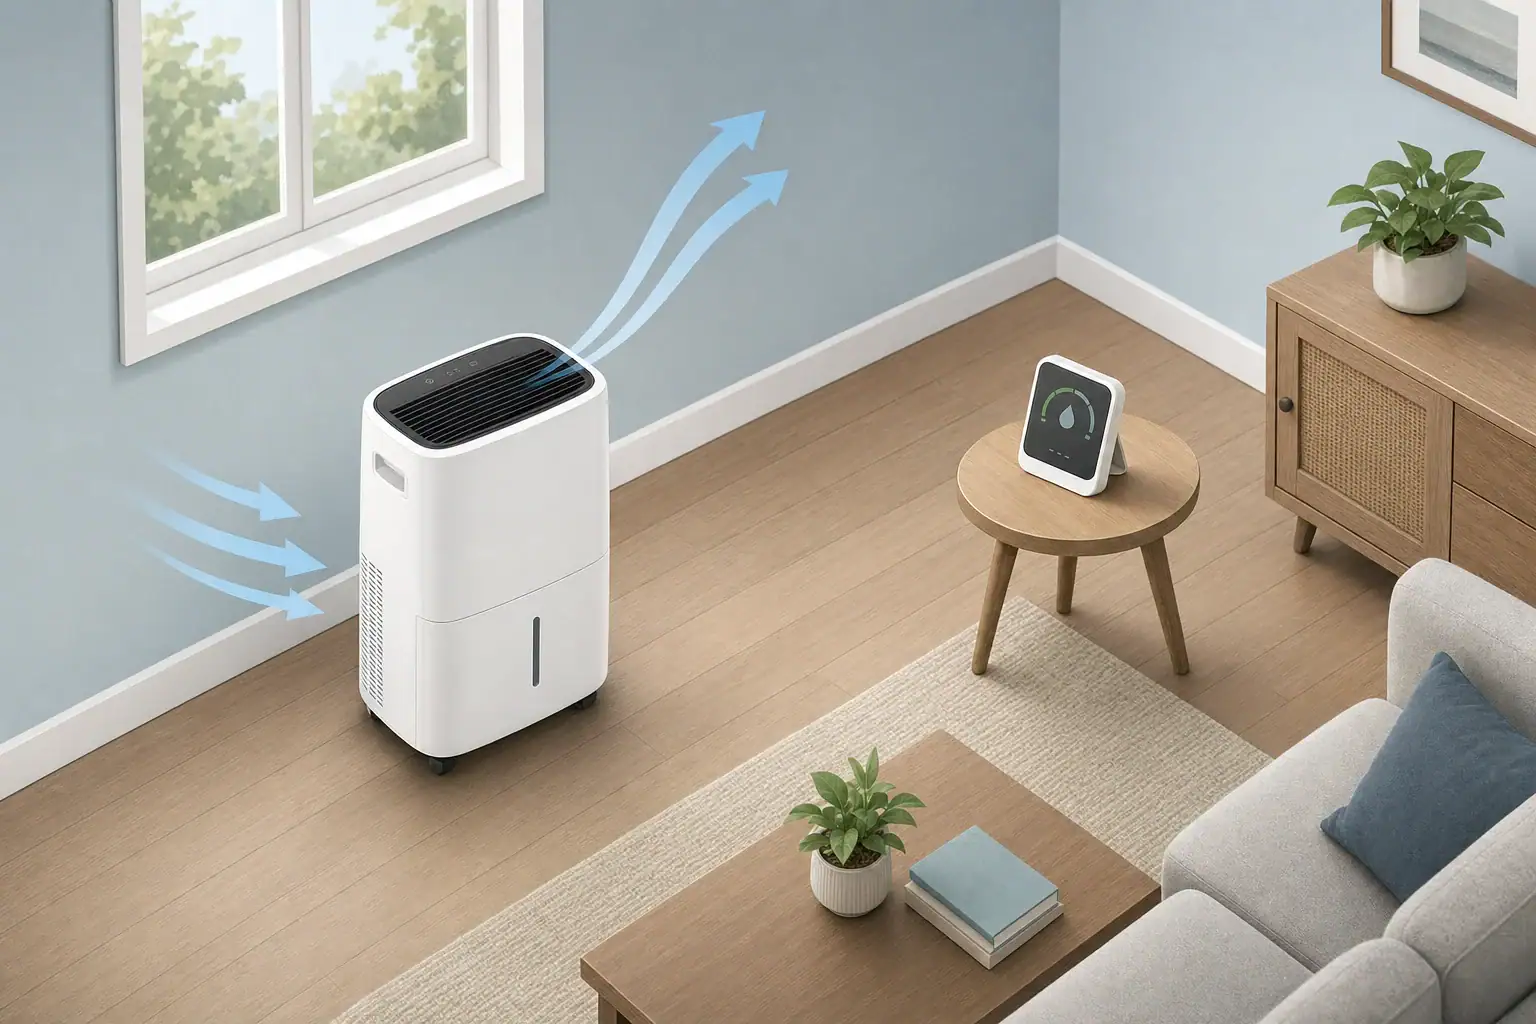
Why the numbers do not match
A dehumidifier and a separate hygrometer can show different relative humidity readings without either device being defective. They may be sampling different air, updating at different speeds, rounding differently, or carrying different sensor offsets. Dehumidifier cycling and the location of its internal sensor can widen the gap.
Relative humidity also depends on temperature. Air warmed as it passes through or around an operating dehumidifier can produce a different relative humidity reading even when the room’s overall moisture level has not changed as much.
Placement is usually the first variable to check
A portable hygrometer measures conditions immediately around its sensor. The dehumidifier measures wherever its built-in sensor is located, commonly near an air intake, although the design varies by model.
For a representative room reading, place the separate hygrometer:
- In the same room as the dehumidifier
- In open air at the height where room conditions matter to you
- Away from the dehumidifier’s intake and discharge airflow
- Away from exterior walls, windows, direct sunlight, radiators, supply vents, and damp surfaces
- Where furniture, curtains, or shelving will not trap air around it
A reading from a cool wall, damp corner, floor-level location, or direct discharge path may be valid for that small area but not representative of the room.
How cycling changes the comparison
A dehumidifier does not necessarily hold the room at one exact number. Its control system may allow humidity to move above and below the setpoint so the compressor does not switch on and off continuously. The fan may also operate differently before, during, or after a compressor cycle.
During operation, air near the unit can become warmer and drier than air farther away. After the compressor stops, room air gradually mixes, and the two readings may move closer together. Display smoothing, delayed updates, and whole-number rounding can make that change appear slower or more abrupt.
Patterns that help identify the cause
| Observed pattern | Likely explanation to investigate |
|---|---|
| The gap grows while the unit runs and narrows afterward | Discharge air, localized warming, or incomplete room mixing |
| The difference stays about the same | Sensor offset, display rounding, or consistently different sampling locations |
| The hygrometer changes later than the dehumidifier | Different sensor response times or display update intervals |
| Readings vary sharply when a door opens or HVAC starts | Airflow bringing different air to one sensor before the other |
| Only one device shows implausible or frozen values | Low hygrometer battery, blocked airflow, contamination, or a sensor fault |
A practical comparison process
- Check the manuals. Look for the sensor location, display resolution, stated accuracy, update behavior, and any supported offset or calibration setting.
- Choose a representative location. Move the separate hygrometer away from direct airflow and localized heat or moisture.
- Keep conditions stable. Close exterior doors and windows and avoid moving either device while observing several operating cycles.
- Record readings at the same moments. Note whether the compressor is running, whether the fan is operating, and whether heating or cooling equipment has just started.
- Compare trends, not one snapshot. Check whether both readings generally rise and fall together, even if their displayed values differ.
- Use another instrument if available. Two portable hygrometers placed side by side can help reveal whether one has a persistent offset. Agreement between two devices still does not establish laboratory accuracy, but it can identify an outlier.
- Clean only as directed. A dirty filter or obstructed intake can alter airflow. Do not open the cabinet, touch internal electrical parts, or apply liquid to a sensor unless the manufacturer explicitly instructs you to do so.
Which reading should control your decision?
Use a well-placed independent hygrometer when the goal is to understand conditions in the occupied portion of the room. Use the dehumidifier’s display mainly to understand how that unit is controlling itself. If the unit supports a humidity offset, change it only after observing a consistent difference under stable placement and operating conditions.
A single reading should not be treated as a precise measurement of the entire room. Large rooms, closed-off sections, shelving, and weak air circulation can create real humidity differences. Additional monitoring points may be more useful than trying to make every display show the same number.
When to investigate the equipment
Consult the manual or service provider if the dehumidifier display remains fixed, shows an error, changes implausibly, or fails to respond to substantial room changes after placement and airflow issues have been addressed. For a portable hygrometer, replace its battery if applicable and confirm that its sensing openings are unobstructed.
Related guides: Humidity Sensor Accuracy: Why Cheap Hygrometers Disagree • Best Indoor Humidity Level to Prevent Mold (With Seasonal Targets) • Dehumidifier Auto Mode vs Continuous Mode: Which Setting to Use
Summary
Different dehumidifier and hygrometer readings usually reflect placement, localized airflow and temperature, cycling behavior, response lag, rounding, or sensor bias. Compare trends over several cycles from representative locations before adjusting settings or concluding that a sensor has failed.
- Clear sizing logic (room size → CADR/ACH)
- HEPA vs carbon explained for real use-cases
- Humidity + ventilation basics to reduce mold risk