
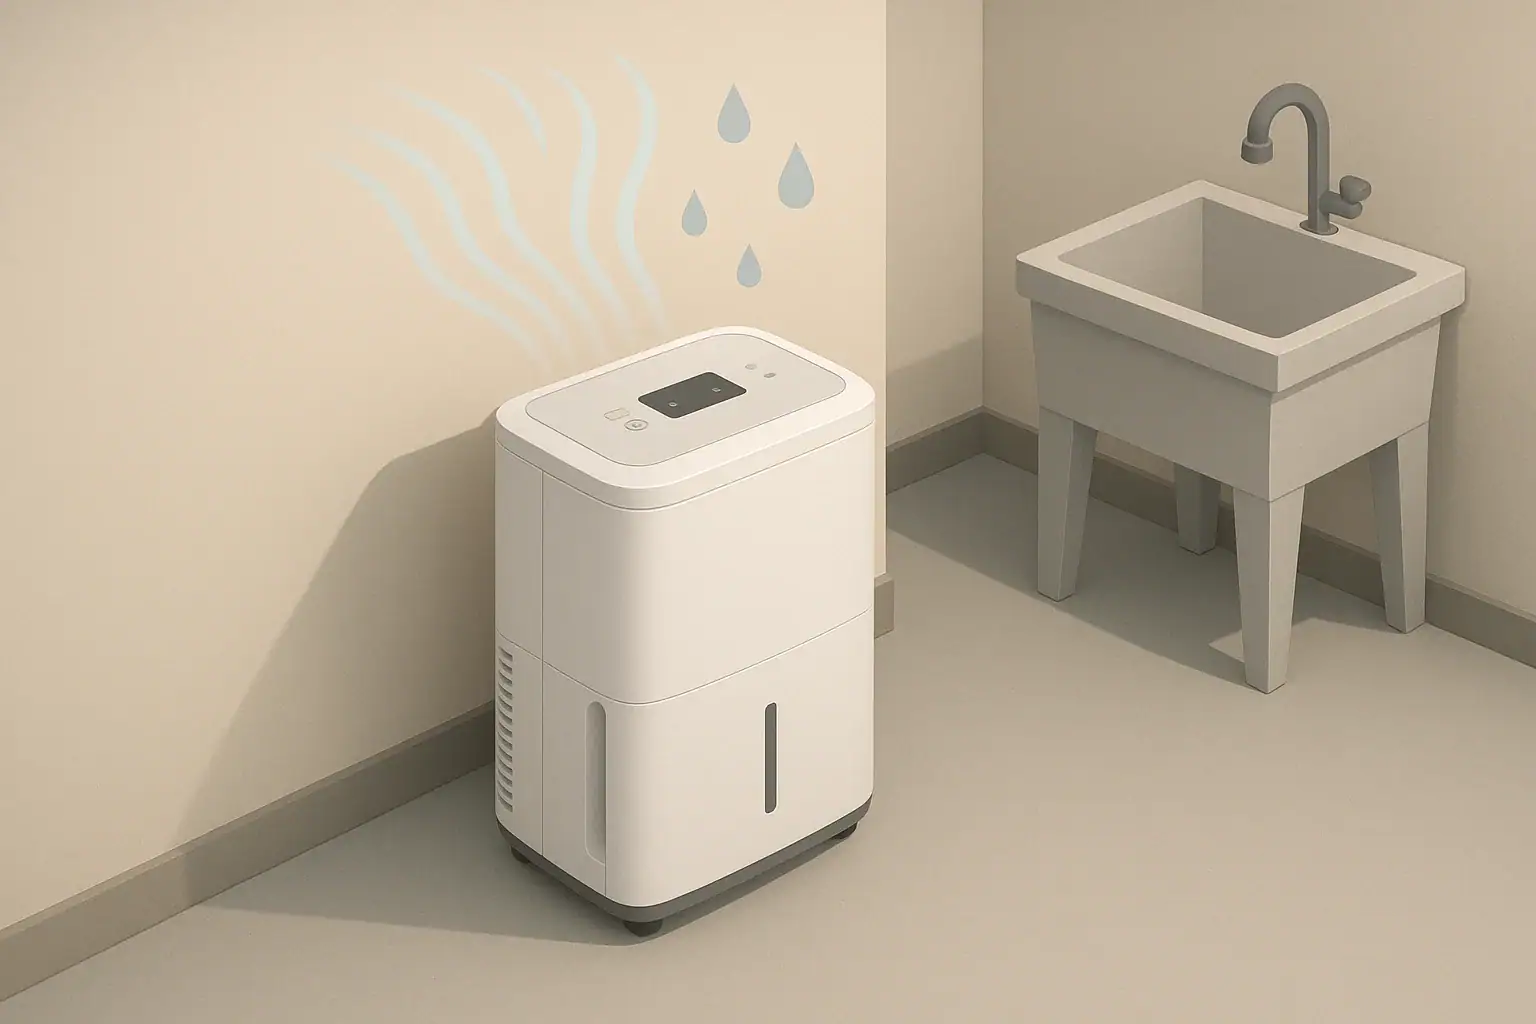
A basement dehumidifier works best when you set realistic humidity targets, choose reliable drainage, and run it efficiently for your specific space. Instead of chasing a perfect number, aim to keep your basement dry enough to avoid musty odors, condensation, and visible damp spots while controlling energy use.
This guide walks through what humidity level to aim for in finished and unfinished basements, how to size and position a dehumidifier, and the pros and cons of bucket, gravity, and pump drainage. You will also see real-world examples, common mistakes, safety basics, and a practical specs checklist to use when buying or adjusting a unit.
Whether you are dealing with a slightly damp storage basement or a very humid lower level you want to finish, the same principles apply: measure, adjust, and observe over time. With a simple plan, most basements can reach a steady, comfortable state that supports better indoor air quality in the rest of the home.
Why Basement Humidity Control Matters
Basements are naturally prone to higher humidity because they sit below grade, have more contact with soil, and often have limited sunlight and ventilation. Cool surfaces and moist air are a perfect combination for condensation, musty smells, and long-term moisture problems.
For most homes, keeping basement relative humidity roughly in the 40%–55% range during the warmer months is enough to limit mold-friendly conditions and make the air feel less clammy. In an unfinished or rarely used basement, a slightly wider range may still be acceptable as long as surfaces are not staying visibly damp.
Effective basement dehumidification matters because it can:
- Protect building materials: Drywall, flooring, and wood framing are less likely to swell, warp, or support mold growth when humidity is controlled.
- Protect stored items: Cardboard boxes, fabrics, and paperwork are especially vulnerable to dampness and musty odors.
- Improve comfort upstairs: Moisture can migrate upward, making the whole house feel muggy and increasing cooling loads.
- Support other systems: Air purifiers and HVAC filters work more predictably when humidity is in a moderate range.
Think of a basement dehumidifier as one part of a moisture-control strategy that also includes drainage, grading, and air sealing. The dehumidifier handles airborne moisture; the rest of the house should handle bulk water and obvious leaks.
Key Concepts: Targets, Sizing, and Drainage Basics
Before you buy or adjust a basement dehumidifier, it helps to understand three core ideas: what humidity level to target, how much capacity you need, and how you will drain the collected water.
Humidity Targets and How to Measure Them
Most people find basements comfortable and low-risk when humidity is kept in a moderate band rather than at an exact number. A practical approach is:
- Finished basements: Aim for roughly 40%–50% relative humidity during humid seasons.
- Partially finished basements: Aim for roughly 40%–55%, watching for condensation on windows, metal, and cold walls.
- Unfinished storage basements: Focus on avoiding visible dampness, standing water, and strong musty odors, even if readings occasionally drift into the upper 50s.
Use a simple digital hygrometer placed away from the dehumidifier’s direct airflow. Check readings at different times of day for a week to learn your typical range and how quickly humidity rebounds when the unit is off.
Sizing a Basement Dehumidifier
Dehumidifier capacity is usually described as pints of water removed per day under standardized test conditions. In practice, you size by combining floor area, ceiling height, and how damp the space feels.
| Basement condition | Approximate area served | Relative dampness description | Suggested capacity band |
|---|---|---|---|
| Small, finished rec room | Up to about 500 sq ft | Occasional stuffiness in humid weather | Lower to mid-range capacity |
| Medium, partially finished basement | About 500–1,000 sq ft | Frequent musty odor, little or no visible water | Mid-range capacity |
| Large, unfinished storage basement | About 1,000–1,500 sq ft | Noticeable dampness on walls or floor at times | Mid to higher capacity |
| Very humid or partially flooded areas | Any size | Regular condensation, past water intrusion | Higher capacity or multiple units |
Example values for illustration.
If your basement has higher-than-average ceilings or many separate rooms, treat it as a larger space, or plan on using fans to move air between zones.
Drainage Options: Bucket, Gravity, and Pump
Every dehumidifier must send collected water somewhere. The three typical options are:
- Bucket: The built-in reservoir that you empty by hand. Simple, but labor-intensive in very humid basements.
- Gravity drain: A hose connects to the unit and runs downhill to a floor drain, utility sink, or sump basin.
- Condensate pump: A small pump moves water uphill to a higher drain when gravity alone is not possible.
For continuous, low-effort operation in a damp basement, gravity drainage or a pump is usually more practical than relying on the bucket alone.
Energy Use in Simple Terms
Basement dehumidifiers can draw several hundred watts while running. A unit labeled around 600 watts that runs for 8 hours in a day uses about 4.8 kilowatt-hours of electricity. The key energy levers you control are:
- How low you set the humidity target.
- How many hours per day the unit actually runs.
- How much extra moisture is entering from leaks, open windows, or unsealed gaps.
Moderate setpoints, good air sealing, and realistic expectations usually keep both humidity and energy use in check.
Real-World Basement Dehumidifier Setups and Examples
Every basement is different, but patterns repeat. These examples show how targets, drainage, and energy strategies change based on conditions.
Example 1: Finished Family Room Basement
A homeowner has a finished basement with carpet, a TV area, and a guest bedroom. In late spring, a musty smell appears after several rainy weeks.
- Starting point: Hygrometer readings hover around 60%–65% relative humidity.
- Action: Install a mid-range capacity dehumidifier near the center of the open area, set to 45%–50% RH.
- Drainage: Gravity hose to a nearby floor drain, with the unit raised slightly on blocks to maintain slope.
- Adjustment: After a week, readings stabilize around 48% and the musty odor fades. Runtime gradually decreases as surfaces dry out.
Example 2: Unfinished Storage Basement With Occasional Water
An older home has an unfinished basement used for storage. After heavy storms, a thin film of water appears near one wall, and cardboard boxes feel damp.
- Starting point: Relative humidity often sits above 70% during wet periods.
- Action: Address obvious water entry (clean gutters, extend downspouts, move boxes off the floor), then add a higher-capacity dehumidifier.
- Drainage: Condensate pump discharging into a nearby utility sink because no floor drain is available.
- Adjustment: Target set around 50%–55% RH to reduce moisture load without overworking the unit. A small fan helps move air into a back storage corner.
Example 3: Split Basement With Multiple Rooms
A split-level home has a partially finished basement with a main room, a separate laundry area, and a small workshop, each with doors.
- Starting point: Humidity is moderate, but the laundry room smells musty and shows condensation on cold water pipes.
- Action: Place a dehumidifier in the main room, run it to about 45%–50% RH, and keep doors between rooms open during operation.
- Drainage: Bucket-only operation initially, emptied once per day during humid weeks.
- Adjustment: A small fan in the laundry room improves air mixing. If humidity remains high in that room, a second smaller dehumidifier may be added just for laundry days.
Example 4: Cool Climate Basement in Winter
In a colder climate, winter air is dry, and the basement temperature drops near the lower end of the dehumidifier’s operating range.
- Starting point: Hygrometer shows 35%–40% RH for weeks at a time.
- Action: Dehumidifier use is paused for the winter because humidity is already low and the unit would be inefficient in the cooler air.
- Drainage: Hoses are disconnected and drained; the unit is cleaned and stored upright until spring.
- Adjustment: Humidity is checked periodically. If readings climb, short daily runs may be used rather than continuous operation.
| Observed condition | Likely cause | Practical response | What to monitor next |
|---|---|---|---|
| Musty odor but no visible water | Persistent high humidity in air and materials | Run dehumidifier to mid-40s RH, increase air circulation | Odor intensity and RH readings over 1–2 weeks |
| Condensation on pipes and windows | Cool surfaces meeting humid air | Lower RH target a bit, insulate cold pipes if possible | Morning condensation and hygrometer trends |
| Bucket fills multiple times per day | High moisture load and frequent runtime | Switch to gravity drain or pump; check for water intrusion | Daily water collection and floor/wall dampness |
| Dehumidifier rarely turns on | Already dry air or setpoint too high | Verify hygrometer accuracy; adjust target if needed | Humidity during humid weather or after storms |
| Unit feels hot and room warms up | Normal heat output from dehumidifier compressor | Ensure good airflow; consider lower-capacity or different placement | Room temperature and comfort level over time |
Example values for illustration.
Common Mistakes and Troubleshooting Cues
Many basement humidity problems persist not because the dehumidifier is weak, but because of setup mistakes or unrealistic expectations. Watching for these warning signs can save time and energy.
Common Setup Mistakes
- Placing the unit in a corner: Tucking a dehumidifier tightly into a corner or closet restricts airflow and reduces its effective coverage. Leave space around intake and exhaust grilles.
- Blocking air movement between rooms: Closed doors or heavy curtains can trap humidity in side rooms. Keep pathways open or use fans to move air.
- Running with windows open in humid weather: The dehumidifier ends up drying a steady stream of outdoor air instead of stabilizing the basement.
- Ignoring bulk water issues: Trying to fix active leaks or seepage with a dehumidifier alone often leads to constant runtime and limited results.
- Using the bucket in very wet basements: Constantly full buckets can cause the unit to shut off and may tempt you to stop using it when you get tired of emptying it.
Drainage and Overflow Problems
Drainage issues tend to show up as small puddles, damp spots under the unit, or unexpected shutoffs.
- Gravity hose not sloped: If the hose rises at any point, water can back up into the bucket or leak at the connection.
- Pump not cycling: A condensate pump that is clogged or unplugged may overflow its reservoir.
- Hose end submerged: If the hose discharges below standing water in a drain, backpressure can slow or stop flow.
Check hoses for kinks, ensure a steady downhill path for gravity drains, and periodically test pumps by adding water to confirm they switch on and discharge properly.
Signs Your Dehumidifier Is Undersized or Overworked
- Humidity barely drops: If readings stay well above your setpoint even after many hours, the unit may be too small or the moisture load too high.
- Unit runs nearly nonstop: Continuous operation during average humid days suggests undersizing or significant moisture entry.
- Persistent condensation: Ongoing condensation on windows or pipes indicates that surface temperatures and humidity levels are still not aligned.
In these cases, consider increasing capacity, adding a second unit for separate rooms, or addressing structural moisture sources such as foundation cracks, poor exterior grading, or unvented combustion appliances.
Noise, Vibration, and Comfort Issues
Dehumidifiers produce fan and compressor noise. To reduce disturbance:
- Place the unit away from bedrooms or quiet workspaces when possible.
- Set it on a stable, level surface to minimize vibration.
- Use a lower fan speed if your model allows, as long as humidity control remains adequate.
Safety Basics for Basement Dehumidifiers
Dehumidifiers are generally safe household appliances, but basements add extra considerations like damp floors, long run times, and limited supervision.
Electrical and Placement Safety
- Use a grounded outlet: Plug the unit directly into a properly grounded wall outlet. Avoid extension cords unless they are rated for the load and length.
- Keep cords off wet areas: Route power cords and hoses so they do not sit in puddles or create tripping hazards.
- Stable, level surface: Position the dehumidifier on a flat, sturdy surface so it cannot tip over, especially if the bucket is heavy when full.
- Avoid blocking vents: Keep combustible materials, fabrics, and cardboard away from intake and exhaust grilles.
Water Management and Leak Containment
- Use trays or mats if needed: A shallow tray or waterproof mat under the unit can contain minor drips or spills.
- Inspect connections: Check hose and pump connections periodically, especially after moving the unit or cleaning.
- Test safety shutoffs: Many units turn off automatically when the bucket is full or if they tip. Confirm that the unit stops when you remove the bucket.
Operating Conditions and Air Quality
- Respect temperature limits: Most residential dehumidifiers are designed for moderate temperatures. Very cold basements can cause coils to frost and reduce performance.
- Allow ventilation for combustion appliances: If your basement has a furnace or water heater, make sure any air sealing or dehumidification does not interfere with required combustion air.
- Monitor for unusual smells or sounds: Burning smells, rattling, or sudden changes in noise level warrant turning the unit off and investigating.
Maintenance and Long-Term Use
Routine care keeps a basement dehumidifier closer to its original performance and reduces the chance of breakdowns during peak humidity.
Regular Maintenance Tasks
- Clean the air filter: Many units have a washable mesh filter. Rinse and dry it on a regular schedule, or more often in dusty basements.
- Dust intake and exhaust grilles: Light dusting or vacuuming (following the manual) improves airflow and efficiency.
- Check drainage paths: Inspect hoses for kinks, algae buildup, or sediment. Clear any clogs in pump reservoirs.
- Inspect for frost or ice: In cool basements, coils may frost. Many units have automatic defrost cycles; if ice persists, check operating temperature and airflow.
Seasonal Adjustments and Storage
Humidity needs shift with the seasons, and your dehumidifier strategy should shift with them.
- Spring and summer: Expect more frequent operation. Verify your humidity target and drainage setup before the most humid weeks arrive.
- Fall: Watch for shoulder-season swings. You may be able to raise the setpoint slightly or reduce runtime as outdoor air dries.
- Winter in cold climates: If humidity stays low, unplug, drain, and clean the unit. Store it upright to protect internal components.
Tracking Performance Over Time
A simple log helps you notice changes before they become problems.
- Record weekly humidity readings, runtime patterns, and any musty odors.
- Note any changes in noise, vibration, or heat output.
- Track how often you need to empty the bucket or how much water a pump discharges.
If performance drops noticeably despite clean filters and clear drainage, the unit may be nearing the end of its useful life or operating outside its intended temperature range.
Putting It All Together and Specs to Look For
Effective basement dehumidification is about matching the appliance to the space and then letting it work with minimal fuss. Start by measuring humidity, choosing a realistic target, and confirming that bulk water issues are under control. Then select a capacity that fits your basement size and dampness level, and set up drainage that you can trust to run unattended.
Over the first few weeks, watch humidity trends, musty odors, and any condensation on cold surfaces. Small adjustments in placement, airflow, and setpoint usually bring the space into a stable, comfortable range without excessive energy use.
Practical Specs to Look For in a Basement Dehumidifier
When selecting or upgrading a basement dehumidifier, pay attention to these practical features and specifications:
- Capacity rating (pints per day): Choose a band that matches your square footage and dampness level, with some margin for peak humidity periods.
- Operating temperature range: Make sure the unit is rated for the typical temperatures in your basement, especially if it runs in spring and fall.
- Built-in humidistat: Allows you to set a target humidity and lets the unit cycle automatically instead of running constantly.
- Drainage options: Look for a threaded drain outlet for gravity hoses and compatibility with external condensate pumps if your drain is higher.
- Auto-restart after power loss: Useful in areas with brief outages so the unit resumes its previous settings automatically.
- Filter accessibility: A filter that is easy to remove, clean, and reinstall encourages regular maintenance.
- Noise level and fan speeds: Multiple fan settings can help balance noise and performance, especially in finished living spaces.
- Physical size and handle design: Consider weight, handles, and wheel design if you need to move the unit between rooms or up and down stairs.
By combining these specs with a clear understanding of your basement’s humidity patterns, you can choose and operate a dehumidifier that keeps the space dry, protects your home, and avoids unnecessary energy use over the long term.
Frequently asked questions
Which specifications and features should I prioritize when choosing a basement dehumidifier?
Prioritize capacity (pints per day) for your basement area and dampness level, the operating temperature range, and a built-in humidistat so the unit cycles to a target RH. Also look for reliable drainage options (threaded outlet or pump compatibility), easy-to-clean filters, and an auto-restart feature after power loss. Noise level and multiple fan speeds are helpful for finished living spaces.
How can poor placement or setup reduce a dehumidifier’s effectiveness?
Placing a unit in a tight corner or blocking intake/exhaust grilles restricts airflow and short-circuits circulation, reducing coverage and increasing runtime. Closed doors, heavy obstructions, or running the unit with humid outdoor air flowing in will also limit its ability to lower overall basement humidity.
What safety precautions should I follow when operating a dehumidifier in a basement?
Use a properly grounded outlet and avoid running cords through standing water; route hoses and power away from wet areas and tripping paths. Place the unit on a stable, level surface, keep vents clear of combustible materials, and ensure dehumidification doesn’t interfere with required combustion air for furnaces or water heaters.
When is a condensate pump necessary compared with a gravity drain or bucket?
Use a condensate pump when no nearby floor drain exists or when you must lift discharge to a higher sink or drain. A gravity drain is simpler and lower-maintenance when you can slope a hose downhill to a drain, while a bucket is acceptable only for small, infrequent moisture loads where daily emptying is practical.
How do I determine the right dehumidifier capacity for my basement?
Estimate based on floor area, ceiling height, and how damp the space is; sizing charts or the article’s capacity bands give a practical starting point. Treat higher ceilings, multiple rooms, or very wet conditions as larger spaces and consider a higher-capacity unit or multiple units for even coverage.
What routine maintenance keeps a basement dehumidifier performing well?
Clean or rinse the air filter regularly, dust intake/exhaust grilles, and inspect hoses and pump reservoirs for clogs or algae. Test condensate pumps periodically, watch for coil frost in cool basements, and perform seasonal cleaning and upright storage if you put the unit away in winter.
- Clear sizing logic (room size → CADR/ACH)
- HEPA vs carbon explained for real use-cases
- Humidity + ventilation basics to reduce mold risk