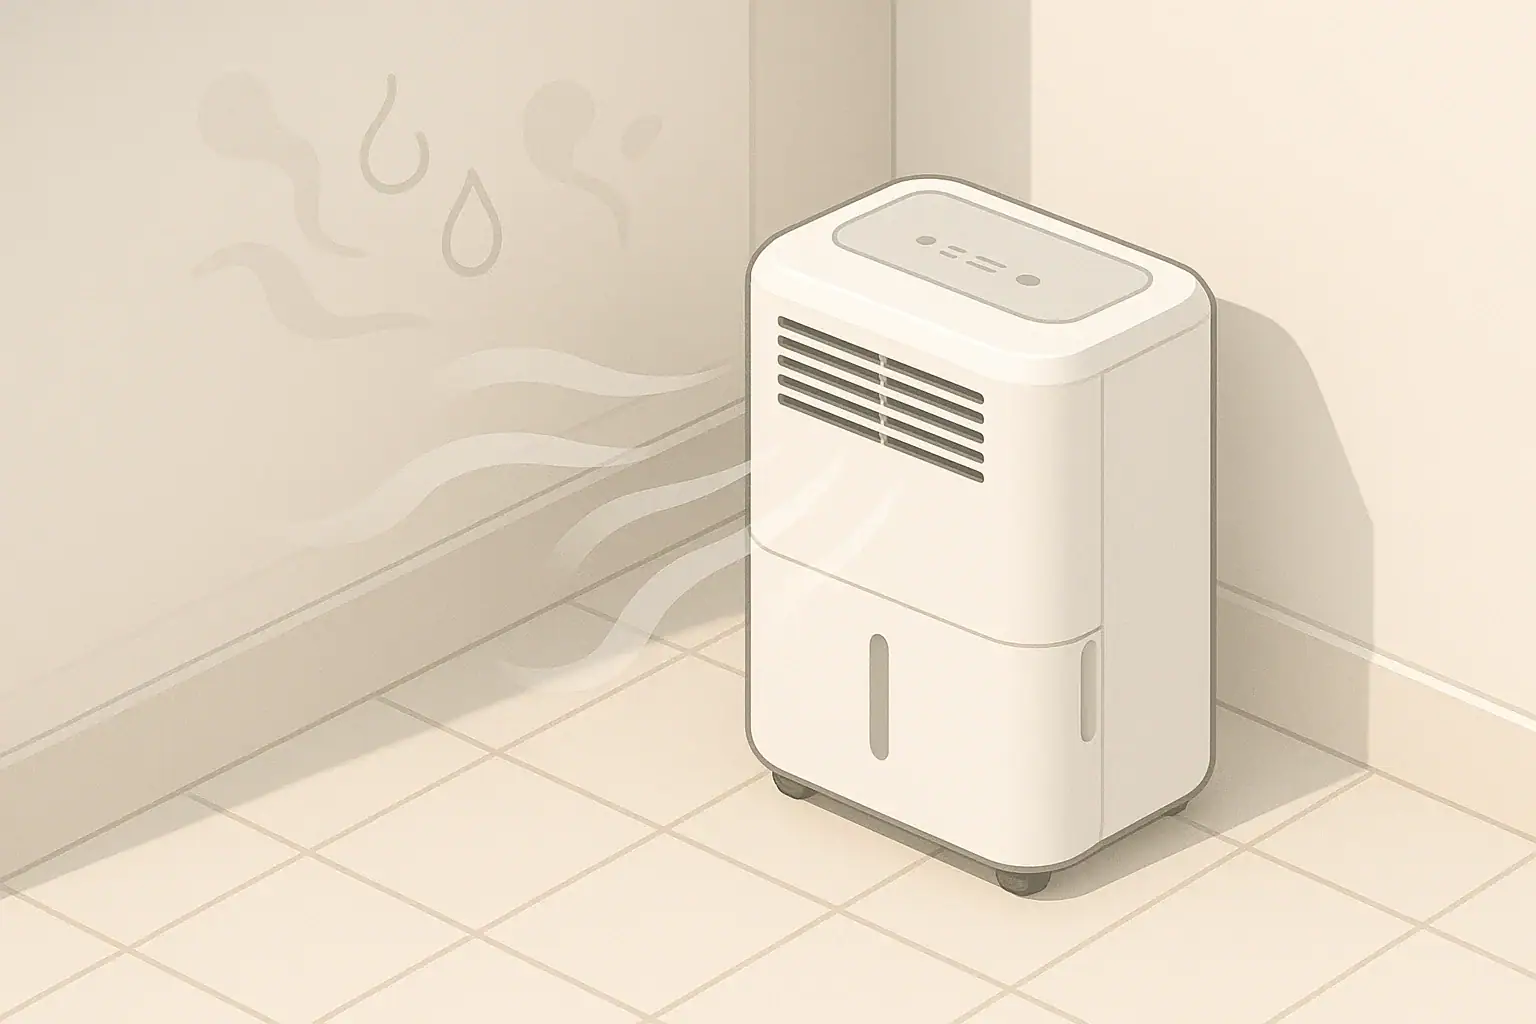
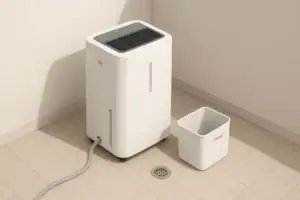
Use dehumidifier auto mode for normal humidity control, and use continuous mode only when the space stays damp, dries slowly, or needs short-term maximum moisture removal.
Auto mode is usually the better everyday setting because it cycles the compressor or fan based on a humidity target. Continuous mode can be useful, but it often uses more energy and may make a room drier than necessary if it runs without a sensible stopping point.
Quick answer
- For most homes, aim for about 30% to 50% indoor relative humidity as general guidance, with many people finding 40% to 50% comfortable.
- Use auto mode when the room can reach and hold your humidity target.
- Use continuous mode for short periods after leaks, heavy laundry drying, shower moisture, or very damp basement conditions.
- If continuous mode is needed all the time, check sizing, drainage, air leaks, ventilation, and possible moisture sources.
- Use a separate hygrometer if you want a second reading, since built-in humidity sensors can vary by location.
What Auto Mode and Continuous Mode Mean
Dehumidifier auto mode uses a humidity setting, often called a humidistat target, to decide when the unit should run. When the surrounding air is above the selected relative humidity, the unit removes moisture. When the reading drops near the target, it slows, cycles off, or runs the fan intermittently depending on the design.
Continuous mode is different. It tells the dehumidifier to keep operating without relying on the humidity target as the main stop signal. Some units still pause for frost protection, tank-full protection, or safety controls, but the basic intent is steady moisture removal.
The practical difference is control. Auto mode tries to hold a range. Continuous mode prioritizes removal. That makes auto mode the better default and continuous mode a tool for specific situations.
Humidity Targets and Sizing Logic
Relative humidity is the amount of moisture in the air compared with how much the air can hold at that temperature. Warm air can hold more moisture than cool air, so the same water vapor load may feel different from room to room.
For general indoor comfort and dampness control, many homes use a target around 40% to 50% relative humidity. A broader general range of about 30% to 50% is commonly used for indoor humidity planning. Very low humidity can feel dry, while higher humidity can make rooms feel clammy and may support damp surfaces if temperatures vary.
Sizing matters because a small dehumidifier in a wet space may run continuously and still not reach the target. A larger unit may remove moisture faster, but it still needs good airflow and a realistic humidity source to manage. A room with seepage, an unsealed crawl space, frequent shower steam, or wet laundry may need more than a setting change.
For planning, think about three basics:
- Room volume: Larger rooms and open basements contain more air to dry.
- Moisture load: Showers, laundry, groundwater seepage, cooking, and outdoor air all add moisture.
- Air movement: A dehumidifier only dries the air that reaches it, so closed doors and blocked intake areas reduce effectiveness.
| Factor | Auto mode | Continuous mode |
|---|---|---|
| Best use | Everyday humidity control | Short-term heavy moisture removal |
| Humidity target | Uses a set point such as 45% or 50% | May ignore the target while running |
| Energy use | Usually lower when the room reaches target | Usually higher because runtime is longer |
| Comfort risk | Less likely to over-dry the room | Can make air drier than needed |
| Drainage need | Tank may be enough in moderate use | Continuous drain is often more practical |
| Troubleshooting clue | If it never cycles off, moisture load may be high | If needed daily, check for a moisture source |
When to Use Auto Mode
Auto mode is the right starting point for most living areas, bedrooms, finished basements, and storage rooms that do not have active water problems. It gives the dehumidifier a clear job: bring the room close to a selected humidity target and avoid unnecessary runtime once the target is reached.
A common starting setting is 45% or 50% relative humidity. If the room still feels damp or surfaces remain cool and clammy, try a slightly lower target, such as 40% to 45%. If the room feels too dry, raise the target gradually.
Best situations for auto mode
- Normal basement humidity without standing water or active leaks
- Bedrooms or living areas that feel humid during warm months
- Storage spaces where you want steady moisture control
- Homes using a dehumidifier mainly during humid seasons
- Rooms where noise and energy use matter
Auto mode also makes it easier to evaluate whether the unit is doing its job. If the humidity drops toward your target and the dehumidifier cycles off sometimes, the setting is probably working. If it runs constantly in auto mode, the room may be too damp for the unit, the target may be too low, or outdoor/load moisture may be entering faster than the unit can remove it.
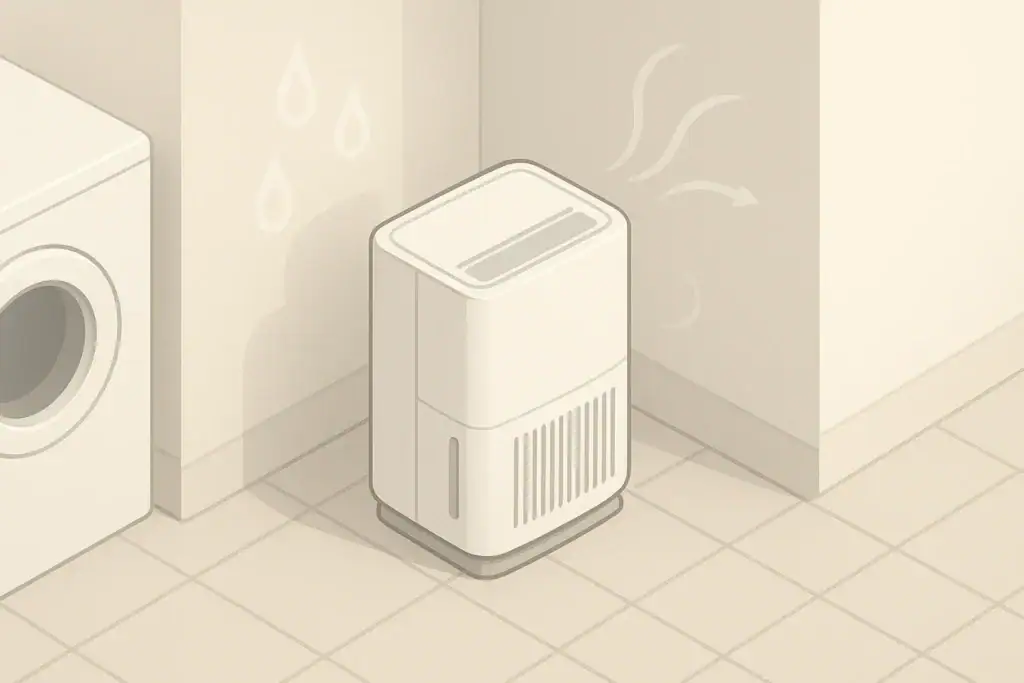
When Continuous Mode Makes Sense
Continuous mode is useful when the priority is faster moisture removal rather than maintaining a narrow comfort range. It is most appropriate for temporary or high-load situations.
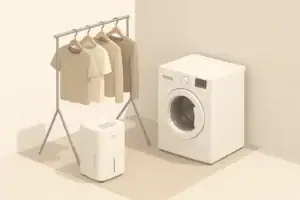
Examples include drying a bathroom after repeated showers, drying a laundry area, reducing humidity after wet cleaning, or helping a basement recover after a humid spell. It can also be useful when first setting up a dehumidifier in a damp room that has been humid for weeks or months.
Use continuous mode with a stopping plan
Continuous mode works best when you pair it with a clear stopping point. That may be a target humidity on a separate hygrometer, a timed check after several hours, or a switch back to auto mode once the room stabilizes.
- For a damp basement startup, run continuous mode for several hours, then check humidity.
- For shower or laundry moisture, run it during and shortly after the moisture event.
- For a room that stays above 60%, use continuous mode temporarily while you investigate why.
- If using a drain hose, confirm it slopes properly and drains to an acceptable location.
Continuous mode should not be used to mask water intrusion, plumbing leaks, or persistent structural dampness. A dehumidifier can remove moisture from air, but it cannot fix the source of water entering a space.
Common Mistakes and Troubleshooting Cues
The most common mistake is using continuous mode as the default simply because the room feels damp. That may lower humidity, but it can also waste energy and make it harder to notice the real problem.
Another common issue is setting the humidity target too low. A target such as 35% may be reasonable in some situations, but it can cause long runtimes in a humid basement or during muggy weather. If the unit never rests, try 45% or 50% and see whether comfort and dampness control remain acceptable.
If humidity does not drop
- Check that doors or barriers are not blocking airflow to the damp area.
- Confirm the air filter or intake grille is clean.
- Make sure the unit is not too close to walls, curtains, hampers, or stored boxes.
- Look for moisture sources such as wet foundation areas, unvented dryers, plumbing drips, or frequent shower steam.
- Check whether the room temperature is low enough to reduce dehumidifier performance.
If the room gets too dry
Switch from continuous mode to auto mode and raise the humidity target. A dehumidifier does not need to run aggressively when the room is already within a reasonable range. If the air feels dry but the unit reads high humidity, compare with a separate hygrometer placed away from the dehumidifier outlet.
Real-World Examples by Room
Different rooms need different settings because moisture sources vary. The right mode depends less on the label on the room and more on whether humidity is stable, seasonal, or tied to a repeated moisture event.
Basement
Start with auto mode at about 45% to 50%. If the basement has been damp for a long time, continuous mode for the first day of active drying may help, but then switch back to auto and monitor the trend. If the unit cannot maintain below about 55% to 60% during normal weather, look for moisture entry and airflow limitations.
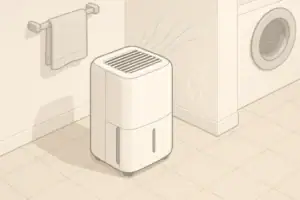
Bathroom or laundry area
Continuous mode can be useful during a moisture event, especially if ventilation is limited. After the space dries, auto mode is usually more practical. Exhaust ventilation, open interior doors when appropriate, and drying wet textiles promptly can reduce the burden on the dehumidifier.
Bedroom or living room
Use auto mode. These spaces usually benefit from quieter operation and stable humidity rather than maximum drying. Place the unit where air can circulate freely and avoid pointing dry discharge air directly at a bed or seating area.
Storage room
Auto mode is usually preferred for storage because the goal is steady conditions. Keep stored items away from walls and off the floor where practical so air can move around them. Avoid sealing damp items in boxes before the room has stabilized.
Safety, Maintenance, and Energy Considerations
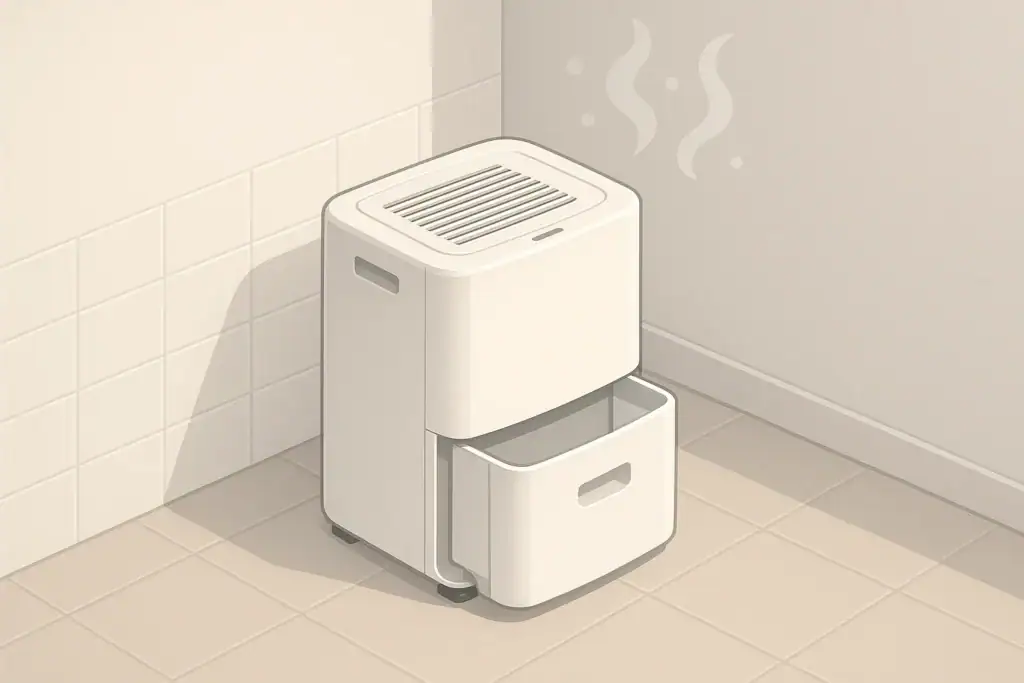
Dehumidifiers remove moisture by cooling air over coils and collecting water. Because water and electricity are both involved, use the appliance as described by its manual and keep it on a stable, level surface. Do not bypass tank switches, safety shutoffs, plugs, or frost-protection features.
For continuous mode, drainage deserves extra attention. A full tank will stop most units, but a hose or pump setup can allow long operation. Check that hoses are secure, not kinked, and directed to a safe drain location. If water backs up or leaks, stop the unit and correct the drainage issue before continuing.
Some air quality devices include optional ionizers, UV-C features, or other add-ons, but a standard dehumidifier does not need ozone generation to control humidity. If a combined device includes extra air treatment functions, review the safety information carefully and avoid intentionally generating ozone indoors.
Maintenance affects how well either mode works. A clogged filter or dusty coil area reduces airflow, which can make the unit run longer and remove less moisture. Clean washable filters as directed, empty and rinse the bucket regularly, and inspect intake and exhaust grilles for dust buildup.
Energy use depends mostly on runtime. Auto mode often saves energy because the unit can cycle once the target is met. Continuous mode has a place, but if it becomes the normal setting, it is worth checking whether the dehumidifier is sized appropriately and whether the room has an unresolved moisture source.
| Goal | Simple actions | Tools | Note |
|---|---|---|---|
| Everyday comfort | Use auto mode around 45% to 50% | Built-in humidistat or separate hygrometer | Adjust slowly based on room feel |
| Initial damp room drying | Use continuous mode, then recheck | Timer and hygrometer | Switch to auto after humidity stabilizes |
| Shower moisture | Run during and after humid periods | Vent fan and dehumidifier | Ventilation helps reduce the load |
| Laundry area moisture | Improve airflow and dry textiles promptly | Dehumidifier and drain option | Continuous mode may help short term |
| Basement dampness | Use auto mode and inspect moisture sources | Hygrometer and visual checks | Persistent high readings need investigation |
| Storage protection | Keep air moving around stored items | Auto mode and shelving | Avoid packing damp materials tightly |
Related guides:
How to Size a Dehumidifier (Sq Ft, Pints/Day, and Real-World Tips) •
Basement Dehumidifier Guide: Targets, Drainage, and Energy Use •
Dehumidifier Running Cost: How Much Electricity Will It Use?
Frequently asked questions
Is auto mode or continuous mode better for everyday use?
Auto mode is usually better for everyday use because it maintains a chosen humidity level and stops running once the room reaches that target. Continuous mode is more of a short-term setting for heavy moisture situations.
When should I switch a dehumidifier to continuous mode?
Use continuous mode after leaks, during major drying jobs, or when a room is temporarily very damp, such as after showers or laundry drying. Once humidity starts to stabilize, switch back to auto mode so the unit does not run longer than necessary.
What humidity setting should I use in auto mode?
A common starting point is 45% to 50% relative humidity, which works well in many homes. If the room still feels damp, lower the target slightly; if it feels too dry, raise it gradually.
Why does my dehumidifier run all the time in auto mode?
If a dehumidifier never cycles off in auto mode, the room may have too much moisture for the unit, the target may be set too low, or outside air may be adding humidity faster than the unit can remove it. Check for leaks, airflow problems, dirty filters, and whether the dehumidifier is sized correctly.
Can continuous mode dry a room too much?
Yes. If it runs for too long, continuous mode can lower humidity more than you need and make the air feel dry or uncomfortable. That is why it is best used with a clear stopping plan and switched back to auto mode once conditions improve.
Summary: The Simple Setting Rule
Auto mode is the best default for most dehumidifier use because it manages humidity around a target and limits unnecessary runtime. Start around 45% to 50% relative humidity, adjust gradually, and use a separate hygrometer if you want to confirm the room trend.
Continuous mode is best treated as a temporary high-removal setting. Use it after moisture events, during initial drying, or when a damp space needs extra help for a limited period. Once the room approaches your target, switch back to auto mode.
If a dehumidifier needs continuous mode every day to keep humidity in a reasonable range, the setting is probably not the main issue. Check moisture sources, airflow, drainage, room temperature, and unit size before relying on constant operation.
- Clear sizing logic (room size → CADR/ACH)
- HEPA vs carbon explained for real use-cases
- Humidity + ventilation basics to reduce mold risk


About this site
Home Air Quality Lab publishes practical, independent guides about indoor air quality—clear sizing, safer use, and real-world expectations.
Affiliate disclosure
Some links on this site may be affiliate links. If you buy through these links, we may earn a small commission at no extra cost to you. This helps support our content. Learn more.