
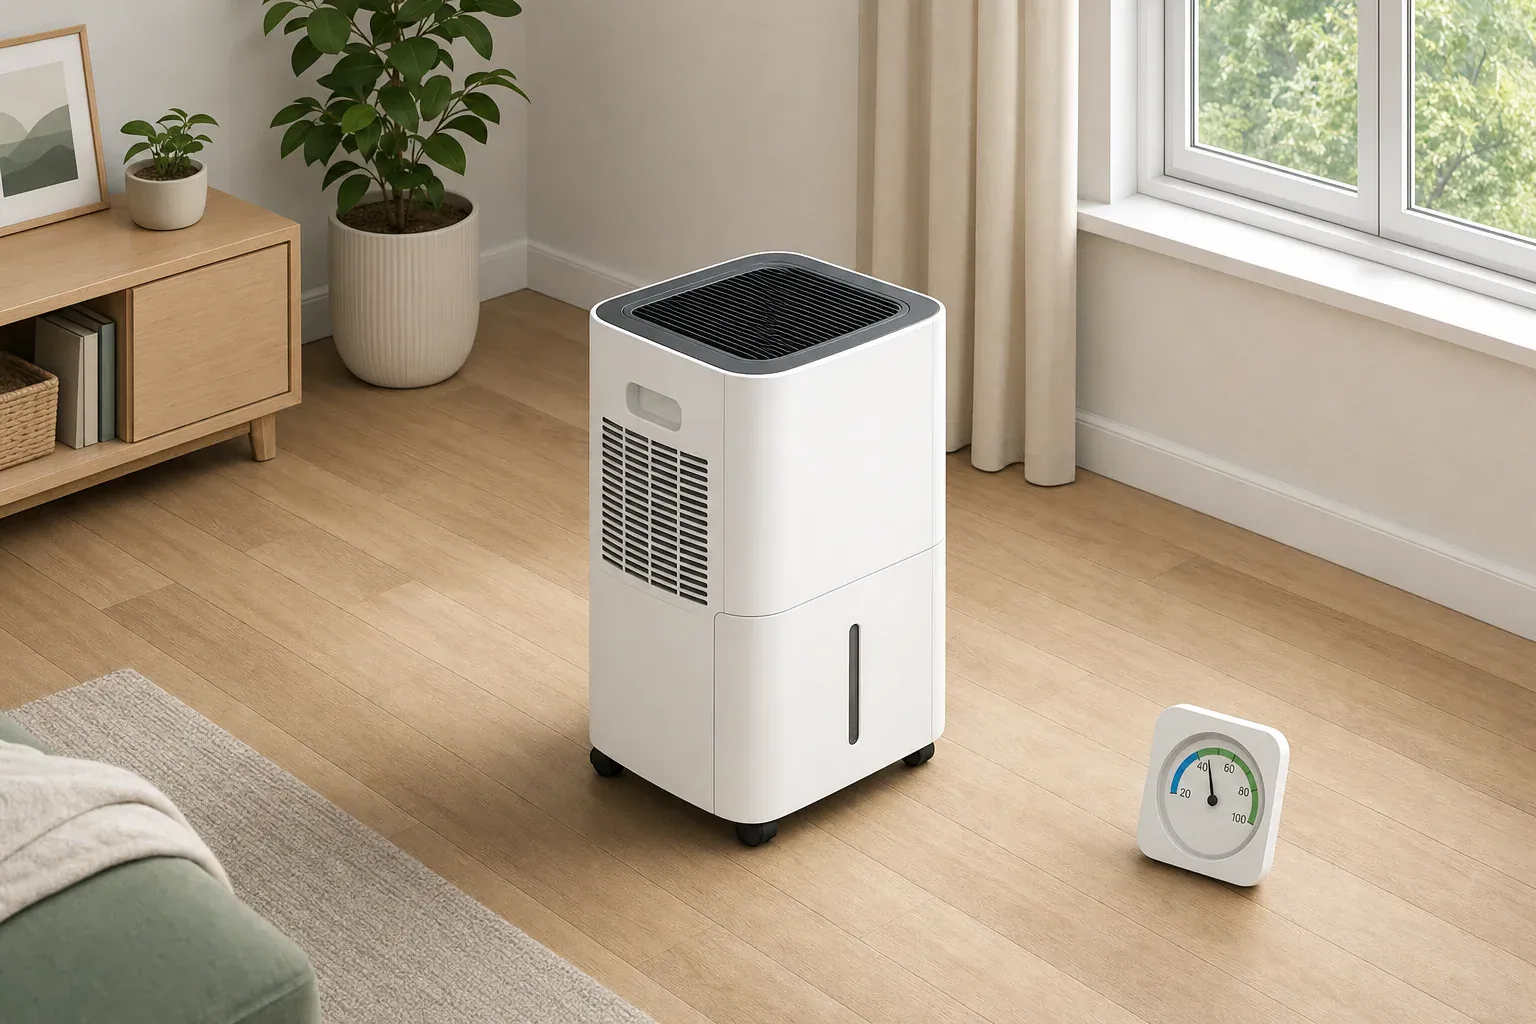
How to use a dehumidifier on the first day
Your model’s manual controls the details. Clearance, transport instructions, supported drain connections, controls, operating conditions, and cleaning methods vary by unit. Start with the manual even if you have used another dehumidifier before.
- Read the manual before turning the unit on. Follow any instructions for unpacking, assembly, transport, or waiting after transport.
- Inspect the unit and removable parts. Confirm that the bucket, filter, drain cap, and other parts are seated as the manual describes. Do not operate a visibly damaged unit; contact the manufacturer or retailer for next steps.
- Choose the treatment area. Put the unit on a stable, level surface with the airflow space required by its manual. Keep the inlet and outlet unobstructed.
- Choose bucket or supported drain operation. Fully insert the bucket, or install a hose only if the manual supports that arrangement.
- Close exterior openings while treating the space. ENERGY STAR advises closing doors and windows to the space being dehumidified so the unit is not continually handling incoming outdoor moisture.
- Record a starting reading. Put a separate hygrometer near the dehumidifier, as ENERGY STAR suggests when a unit does not display RH, and note its relative-humidity reading before starting.
- Start near 50% RH. Choose automatic, setpoint, or humidistat mode if available. EPA recommends keeping indoor humidity at 30% to 50%; about 50% is a practical starting point, not a universal ideal.
- Check the setup during operation. Look for a full bucket, a poorly seated bucket, or a leaking drain connection, and make sure airflow remains open.
Use the outlet and power arrangement specified by the manufacturer. For example, one Midea manual specifies a grounded receptacle, but electrical requirements and warnings must be taken from the manual for the particular model.
Choose settings for the situation
Names for controls differ. For routine humidity control, automatic or setpoint mode is usually the most straightforward option because a humidistat-equipped unit can cycle around the selected RH. ENERGY STAR describes this cycling function for dehumidifiers with built-in humidistats.
| Situation | Practical control choice | What to check |
|---|---|---|
| Normally damp room | Automatic or setpoint mode near 50% RH | Watch the trend on a separate hygrometer. |
| Known leak or water intrusion | Address the water source first; use the unit only as a secondary drying measure | Look for continuing water entry rather than relying on the unit to solve it. |
| Humidity rises after cooking or showering | Use kitchen or bathroom exhaust ventilation, then resume automatic control | Close exterior openings while actively dehumidifying afterward. |
| Bucket fills frequently | Empty it as directed, or use a manual-approved drain option | Check bucket seating and inspect any hose connection for leaks or kinks. |
| RH remains above the target | Keep automatic control active while checking the room and setup | Check openings, airflow, the filter, drainage, and moisture sources. |
| Humidity stays near the target | Let the humidistat cycle the unit | Verify conditions occasionally with the separate hygrometer. |
| Cold-weather window condensation | Consider a lower target within the recommended range | Watch whether condensation decreases without making the room unnecessarily dry. |
On some models, continuous mode does not use the selected RH setpoint. A Midea manual, for example, states that its continuous mode does not permit humidity setting. Check your own manual before assuming that continuous mode will cycle at a target. For routine control, automatic or setpoint mode is generally the simpler choice; continuous mode is better reserved for a specific, monitored drying task when the manual supports it.
For a fuller comparison of these controls, see Dehumidifier Auto Mode vs Continuous Mode.
Should doors and windows be open?
Keep exterior windows and doors closed while the dehumidifier is treating a space. ENERGY STAR specifically recommends closing doors and windows to the area being dehumidified. Opening a window while the unit runs can add outdoor air and moisture for it to handle.
Interior doors depend on the area you intend to treat. Close them to concentrate dehumidification in one room. Leave them open only if you want to exchange air with adjacent spaces and the manual allows that use. The DOE Building America Solution Center notes that air mixing and moisture distribution affect control, and a portable unit may not control a large or multilevel home consistently.
A dehumidifier is not a substitute for source control or task ventilation. EPA recommends fixing leaks, using kitchen and bathroom exhaust during moisture-generating activities, and opening windows only when weather and outdoor air quality permit.
Bucket versus continuous drainage
Bucket operation
Bucket operation needs no hose route, but the bucket must be checked and emptied. ENERGY STAR notes that many dehumidifiers shut off automatically when the bucket is full. If a unit stops unexpectedly, check whether the bucket is full and fully seated before assuming the unit has failed.
Drain operation
Use only the drain connection, hose type, fittings, and route allowed in the manual. On gravity-drain designs, the manufacturer may require a secure hose that runs level or downward without kinks; pump-equipped units can have different instructions. After starting the unit, inspect the connection for leaks and recheck it periodically.
Do not improvise a drain arrangement that the manual does not support. Use the bucket instead or obtain the specified parts. See Drain Hose vs Bucket: Which Dehumidifier Setup Is Best? for a deeper comparison.
Compare readings with a separate hygrometer
A separate hygrometer gives you a second observation because the dehumidifier senses air at its own location. The two displays do not need to match at every moment. Sensor location, nearby airflow, and display-update timing can all affect a reading.
- Record the dehumidifier setting.
- Record the dehumidifier and hygrometer RH readings at roughly the same time.
- Note recent changes, such as showering, cooking, an open window, or a weather shift.
- Look for the overall direction of both readings rather than expecting identical numbers.
- If a large difference persists after conditions are stable, review placement advice and any sensor guidance in the manual.
For more on differences between consumer humidity sensors, see Humidity Sensor Accuracy: Why Cheap Hygrometers Disagree.
Hypothetical changing-humidity example
Assumptions: A room begins at 68% RH on a separate hygrometer. The dehumidifier is set to 50% RH in automatic mode, exterior openings are closed, and there is no active leak.
Later, the unit display reads 52% RH and the separate hygrometer reads 56% RH. That difference alone does not show that either device has failed. Check that neither device sits directly in unusual airflow, keep observing the trend, and inspect the bucket or drain. If readings settle nearer the target and the unit begins cycling, leave automatic mode selected.
If RH rises again after a shower or an open window, address that moisture or air source and continue monitoring. This example does not predict a drying time or water-removal rate.
When to adjust or stop
Keep the initial setting if the room settles near the target without condensation or persistent dampness. Do not select the lowest possible setting by default; a lower target can increase runtime and may not be needed.
Consider a lower setting, still within EPA’s 30% to 50% guidance, if cold-weather window condensation persists. If RH stays high despite operation, check for open exterior doors or windows, blocked airflow, a dirty filter, a full or incorrectly seated bucket, a drain problem, or an unresolved moisture source. A portable unit may also be unable to control conditions beyond the space it is treating.
With automatic control, you usually do not need to switch the unit off every time it reaches target; allow the humidistat to cycle it. For a unit without humidity control, stop it when independent readings remain in the intended range, then watch for rebound. Follow the model’s shutdown instructions.
Simple routine after day one
Inspect the bucket or drain regularly, and clean the filter, bucket, and accessible parts only by the method and schedule in the manual. If moisture control worsens, first check the bucket, filter, airflow path, room openings, and moisture sources.
Persistent water entry, unexplained condensation, or humidity that remains difficult to control calls for investigating the building or moisture source rather than simply extending dehumidifier runtime. For seasonal target context, see Best Indoor Humidity Level to Prevent Mold.
Sources
- ENERGY STAR: Dehumidifiers — closing doors and windows, humidistat cycling, hygrometer use, bucket shutoff, and drainage overview.
- EPA: Improving Your Indoor Environment — 30% to 50% humidity guidance, leak repair, and kitchen and bathroom exhaust ventilation.
- DOE Building America Solution Center: Whole-House Dehumidification — air mixing, moisture distribution, and limits of portable units in larger or multilevel spaces.
- Midea Dehumidifier User Manual — an example of model-specific instructions for modes, power, placement, and gravity drainage.
Recommended next:
- How to Size a Dehumidifier (Sq Ft, Pints/Day, and Real-World Tips)
- Desiccant vs Compressor Dehumidifiers: Which Is Better for Cold Rooms?
- Basement Dehumidifier Guide: Targets, Drainage, and Energy Use
- Dehumidifier Running Cost: How Much Electricity Will It Use?
- Dehumidifier Sizing: Liters/Day, Room Type, and Dampness Levels
- Basement Dehumidifier Setup: Drainage, Placement, and RH Targets
- Clear sizing logic (room size → CADR/ACH)
- HEPA vs carbon explained for real use-cases
- Humidity + ventilation basics to reduce mold risk