
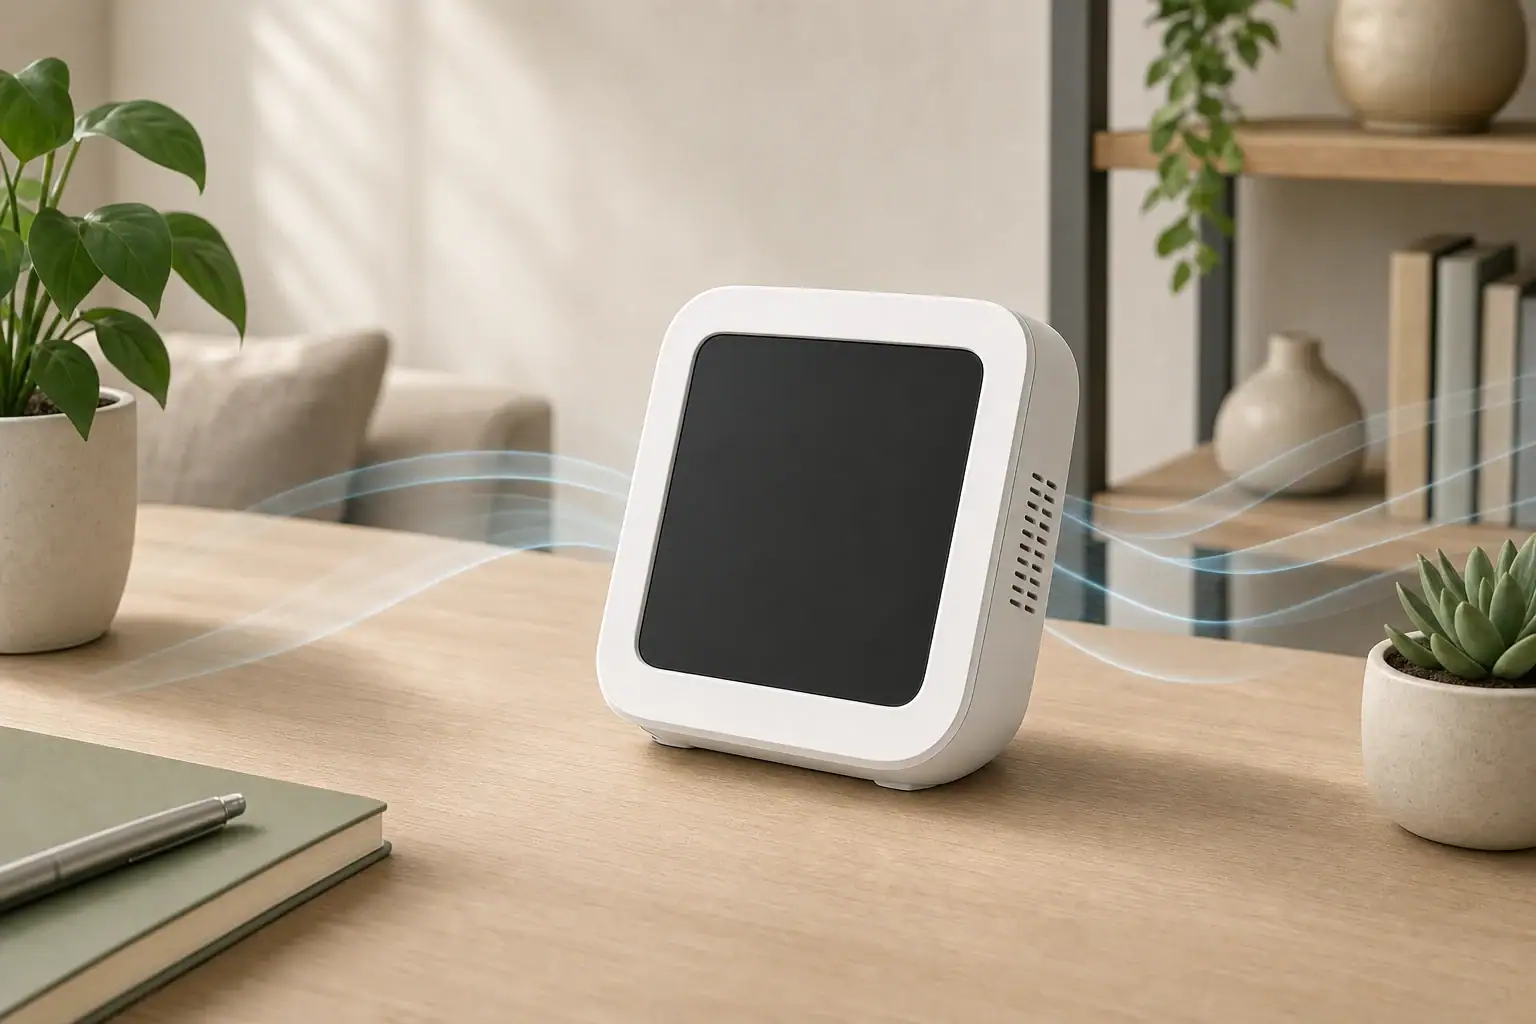
Home users can check an air quality monitor for consistency and sometimes apply a supported offset, but most cannot fully calibrate its sensors to laboratory standards.
What is possible depends on the pollutant, sensor design, and controls provided by the manufacturer. Simple comparisons can reveal obvious errors, while true calibration generally requires known reference conditions and specialized equipment.
Quick answer
- Let a monitor stabilize for at least 30–60 minutes after moving or powering it on, or follow its specified warm-up period.
- For comparison, place monitors together for 24–48 hours under the same conditions rather than comparing readings from different rooms.
- Outdoor carbon dioxide is often roughly 400–500 ppm, but it varies by location, weather, traffic, and nearby combustion.
- A humidity difference of about 3–5 percentage points may be within the practical uncertainty of consumer devices; look for a stable, repeatable bias.
- Do not expose particle or gas sensors to smoke, sprays, solvents, or concentrated gases as a home calibration method.
1. What Air Quality Monitor Calibration Means
Calibration compares a sensor’s output with a reference of known accuracy and then determines whether the sensor needs adjustment. A formal calibration uses controlled conditions, traceable reference instruments, documented procedures, and measurements across one or more points in the sensor’s range.
Home users more often perform a comparison check or field check. This can show whether a monitor responds to changing conditions, agrees reasonably with another device, or has developed a consistent offset. It does not establish laboratory-grade accuracy.
Three related terms are useful:
- Calibration: Determining the relationship between a sensor reading and a known reference.
- Adjustment: Changing the displayed result to compensate for a measured bias.
- Verification: Checking whether performance remains within an expected tolerance without necessarily changing anything.
A monitor may also use automatic baseline correction. This is an internal algorithm, not a user-performed calibration. It can be helpful in suitable environments, but it may be less appropriate where pollutant levels rarely return to a normal baseline.
2. Which Sensors Can Be Checked or Adjusted at Home
Different metrics require different reference methods. A monitor that reports PM2.5, carbon dioxide, total volatile organic compounds, temperature, and relative humidity contains several sensor types, each with separate limitations.
Carbon dioxide sensors
Some true carbon dioxide sensors provide an outdoor calibration or user-adjustable offset. Clean outdoor air can serve as a rough single-point reference when local conditions are suitable, but its concentration is not fixed. Traffic, people, buildings, combustion sources, and weather can affect the result.
Automatic baseline features typically assume the device periodically encounters a low carbon dioxide level. That assumption may not hold in continuously occupied spaces, crowded buildings, or rooms that are rarely ventilated.
Particle sensors
Consumer PM2.5 monitors commonly estimate particle concentration from light scattered by airborne particles. Particle size, composition, humidity, airflow, and sensor contamination can all influence the estimate. Home users can compare trends between devices, but accurate particle calibration requires controlled aerosols and reference instruments.
TVOC and gas sensors
TVOC sensors may respond differently to alcohols, cleaning products, fragrances, cooking emissions, and other gases. The displayed value may be an estimate or index based on a particular reference gas. Readings from different monitor designs therefore may not be directly comparable.
Temperature and relative humidity sensors
Temperature can be compared with a reliable reference thermometer after both devices stabilize away from sunlight, vents, exterior walls, and heat-producing electronics. Humidity can be cross-checked with another hygrometer or tested in a controlled humidity environment, but moisture must never contact the monitor.
What home checks can establish for common monitor sensors. Example values for illustration.
| Metric | Reasonable home check | What it cannot prove |
|---|---|---|
| Carbon dioxide | Outdoor comparison or co-location with a trusted reference | Accuracy across the full measurement range |
| PM2.5 | Co-locate devices and compare trends for 24–48 hours | Mass accuracy for every particle type |
| TVOC | Confirm response to normal household changes | Identity or concentration of individual gases |
| Relative humidity | Compare with a reference hygrometer in a stable space | Accuracy at very low and very high humidity |
| Temperature | Side-by-side comparison after stabilization | Performance across the device’s entire range |
| Carbon monoxide | Use built-in tests specified for a certified alarm | Sensor calibration through intentional gas exposure |
3. Practical Calibration Checks Home Users Can Perform
Start by reviewing the monitor’s instructions. Check whether it supports manual offsets, outdoor carbon dioxide calibration, automatic baseline correction, or only factory service. Applying an unsupported adjustment can make readings less useful.
Use a controlled side-by-side comparison
- Place the monitor and reference device close together without blocking either inlet.
- Keep them away from windows, supply vents, direct sunlight, cooking areas, humidifiers, and people breathing directly toward them.
- Allow both devices to stabilize. Temperature and humidity may settle within an hour, while gas sensors may need longer.
- Record readings at regular intervals for at least 24 hours. A 48-hour comparison provides a better view of daily changes.
- Compare averages and trends, not just one momentary reading.
Two devices may update at different rates. A monitor that averages over several minutes can appear to lag behind one that reports rapid changes even when both are functioning normally.
Apply an offset only for a consistent bias
If a supported monitor repeatedly reads 4 percentage points higher than a reliable humidity reference under several stable conditions, a small offset may be reasonable. Do not adjust based on one reading or when the difference changes direction throughout the day.
Write down the date, reference used, original difference, and adjustment. This makes it easier to reverse or reassess the change later.
Check placement before changing calibration
Apparent inaccuracy often comes from placement. A monitor near a bathroom may report elevated humidity, while one on a warm electronics shelf may show higher temperature and lower relative humidity. Carbon dioxide can spike when someone sits close to the device.
4. Common Calibration Mistakes and Troubleshooting Cues
A single disagreement does not necessarily mean a sensor has failed. First consider environmental conditions, reporting intervals, and differences in sensor technology.
- Comparing different locations: PM2.5 and carbon dioxide can vary considerably within one home, especially near kitchens, doors, occupied seating areas, or air cleaners.
- Using an unverified reference: Two inexpensive monitors that agree may both be biased. A third device can help identify an outlier, but agreement still is not formal calibration.
- Testing with sprays or smoke: Aerosols, solvents, perfumes, and concentrated smoke can contaminate or saturate sensors. A strong response shows sensitivity, not accuracy.
- Calibrating carbon dioxide in unsuitable outdoor air: Loading areas, garages, busy roads, crowds, and combustion exhaust can raise local levels.
- Ignoring humidity effects: High relative humidity can affect optical particle readings, especially when airborne droplets are interpreted as particles.
- Adjusting too frequently: Repeated corrections based on short-term changes can create more error than they remove.
Signs that warrant further investigation include a reading that never changes, abrupt permanent shifts after contamination, repeated error messages, failure to complete warm-up, or large differences that remain after several co-located comparisons.
5. Real-World Home Calibration Examples
A carbon dioxide monitor in a bedroom
A bedroom monitor shows 750 ppm outdoors while another nearby device shows 460 ppm. After both stabilize away from people, traffic, and exhaust, the first monitor remains roughly 280–300 ppm higher. If it offers a documented outdoor calibration function, the user could follow that procedure. Without such a function, professional or factory evaluation is more appropriate than an improvised adjustment.
Two PM2.5 monitors that disagree
One monitor reports 8 micrograms per cubic meter while another reports 14 under stable conditions. During cooking, both rise and later decline at similar rates. This suggests that both detect the same trend but use different algorithms or have different biases. The comparison cannot determine which value is correct without a higher-quality reference.
A humidity reading near a humidifier
A monitor beside a humidifier reports 62% relative humidity, while a device across the room reports 48%. After relocating both devices to the same central location and allowing them to stabilize, they read 50% and 53%. The original difference was primarily caused by placement rather than calibration.
A TVOC spike during cleaning
A TVOC value increases after a cleaning product is used and gradually falls with ventilation. This response can confirm that the sensor detects a change, but it does not identify the chemical or verify the displayed concentration. TVOC readings are generally most useful for observing patterns within the same device.
6. When Professional or Factory Calibration Is Needed
Professional calibration is appropriate when readings support building investigations, workplace documentation, research, regulatory decisions, or other uses requiring known uncertainty. It may also be worthwhile when a costly monitor has replaceable sensing modules or an established calibration program.
A calibration service may expose the instrument to controlled reference conditions, calculate error at multiple points, adjust the device if supported, and provide documentation. The availability and value of this service depend on the monitor’s design.
Many household monitors are intended for awareness and trend tracking rather than traceable measurement. If they cannot be adjusted or serviced, replacement may be more practical after sensor failure or severe contamination.
Important safety distinctions
A general indoor air quality monitor should not replace required smoke or carbon monoxide alarms. Carbon dioxide and carbon monoxide are different gases, and a CO2 reading does not indicate whether carbon monoxide is present.
Never test a gas sensor with vehicle exhaust, fuel-burning appliances, compressed gas, ozone-generating equipment, or intentional combustion. Use only built-in alarm tests and procedures specified for the device. Do not open a monitor, bypass safeguards, or modify its airflow path.
7. Maintenance That Helps Preserve Sensor Accuracy
Routine care can reduce drift caused by dust, moisture, blocked airflow, and poor placement. Maintenance does not replace calibration, but it helps the monitor operate as designed.
- Keep air inlets and outlets unobstructed.
- Remove exterior dust with a dry, soft cloth or gentle method permitted by the instructions.
- Do not insert tools, liquids, or compressed air into sensor openings unless specifically directed.
- Keep the monitor away from direct mist, condensation, grease, and cleaning spray.
- Allow the device to acclimate after moving it between hot, cold, dry, or humid environments.
- Record checks and offsets so changes can be tracked over time.
- Review firmware or software settings that affect averaging, baseline correction, or units.
A practical verification schedule is every 6–12 months for general home trend monitoring, as well as after a major move, long storage period, contamination event, or unexplained shift. This is general guidance rather than a universal requirement; device-specific instructions take priority.
How to interpret common monitor metrics during routine checks. Example values for illustration.
| Metric | What it indicates | Common pitfall | Practical action |
|---|---|---|---|
| PM2.5 | Estimated fine-particle concentration | Humidity, particle type, and dust buildup affect readings | Compare trends with co-located devices |
| Carbon dioxide | Ventilation and occupancy patterns | Breathing near the sensor causes a local spike | Check in stable indoor and suitable outdoor conditions |
| TVOC | Broad response to certain airborne gases | Different sensors report different scales | Use changes from the device’s usual baseline |
| Relative humidity | Moisture level relative to temperature | Nearby mist, walls, and temperature shifts distort comparisons | Co-locate with a reference in a stable room |
| Temperature | Local air temperature near the sensor | Sunlight and device heat create bias | Move away from heat sources and allow stabilization |
| Carbon monoxide | CO detection when a suitable sensor is included | Confusing a general monitor with a certified alarm | Maintain separate required alarms and follow their test instructions |
Related guides: Indoor Air Quality Monitors: What to Measure (PM2.5, CO2, VOCs, Humidity) • CO2 Monitors for Homes: What Good Numbers Look Like and Why They Matter • VOC Monitor Limitations: Why “TVOC” Can Mislead • Humidity Sensor Accuracy: Why Cheap Hygrometers Disagree
8. Air Quality Monitor Calibration Takeaways
Home calibration is usually limited to placement checks, side-by-side comparisons, documented outdoor carbon dioxide procedures, and small supported offsets. These steps can improve confidence in trends and identify obvious sensor problems, but they do not create laboratory-grade measurements.
Use stable conditions, compare devices for at least 24–48 hours, and focus on repeatable differences rather than isolated readings. Avoid improvised exposure tests involving smoke, sprays, gases, or ozone.
When accuracy must be documented—or when a sensor shows a large, persistent, unexplained bias—professional calibration, factory service, or replacement is the appropriate next step.
Frequently asked questions
Can I calibrate an air quality monitor at home?
Most home users can perform a comparison or verification check rather than a full calibration. True air quality monitor calibration requires a known reference and controlled conditions, while a side-by-side test can identify a stable difference or obvious problem. Only apply an adjustment when the monitor supports it and the bias is repeatable.
How long should I compare two air quality monitors side by side?
Compare monitors in the same location for at least 24 hours, with 48 hours providing a more useful view of normal daily changes. Keep both devices away from direct sunlight, vents, cooking areas, humidifiers, and close breathing. Compare averages and trends because devices may update or smooth readings at different rates.
Can outdoor air be used to calibrate a carbon dioxide monitor?
Suitable outdoor air can be a rough single-point check for a carbon dioxide monitor if the device has a documented outdoor calibration procedure. Choose an area away from traffic, people, building exhaust, garages, and combustion sources, since outdoor CO2 is not fixed. Do not use an assumed outdoor value to make an unsupported manual adjustment.
Why do two PM2.5 monitors show different readings in the same room?
Consumer particle monitors may differ because of sensor design, internal algorithms, humidity, airflow, particle size, and particle composition. If both devices rise and fall similarly during the same events, they may still be useful for tracking trends. A home comparison alone cannot establish which monitor gives the more accurate mass concentration.
Should I test an air quality monitor with smoke, sprays, or cleaning products?
No. Smoke, aerosols, solvents, fragrances, and concentrated gases can contaminate or saturate sensors, and a response only shows that the device detected a change. These exposures do not verify accuracy and can create a lasting shift in readings. Follow only the testing and maintenance procedures specified by the device manufacturer.
Recommended next:
- Indoor Air Quality Monitors: What to Measure (PM2.5, CO2, VOCs, Humidity)
- CO2 Monitors for Homes: What Good Numbers Look Like and Why They Matter
- VOC Sensors Explained: Why Readings Vary and How to Use Them Safely
- Where to Place an Air Quality Monitor: Height, Distance, and Rooms
- PM2.5 Sensor Accuracy: Why Readings Differ Between Devices
- CO2 Monitor Buying Guide: What to Look For (NDIR vs “eCO2”)
- Clear sizing logic (room size → CADR/ACH)
- HEPA vs carbon explained for real use-cases
- Humidity + ventilation basics to reduce mold risk