
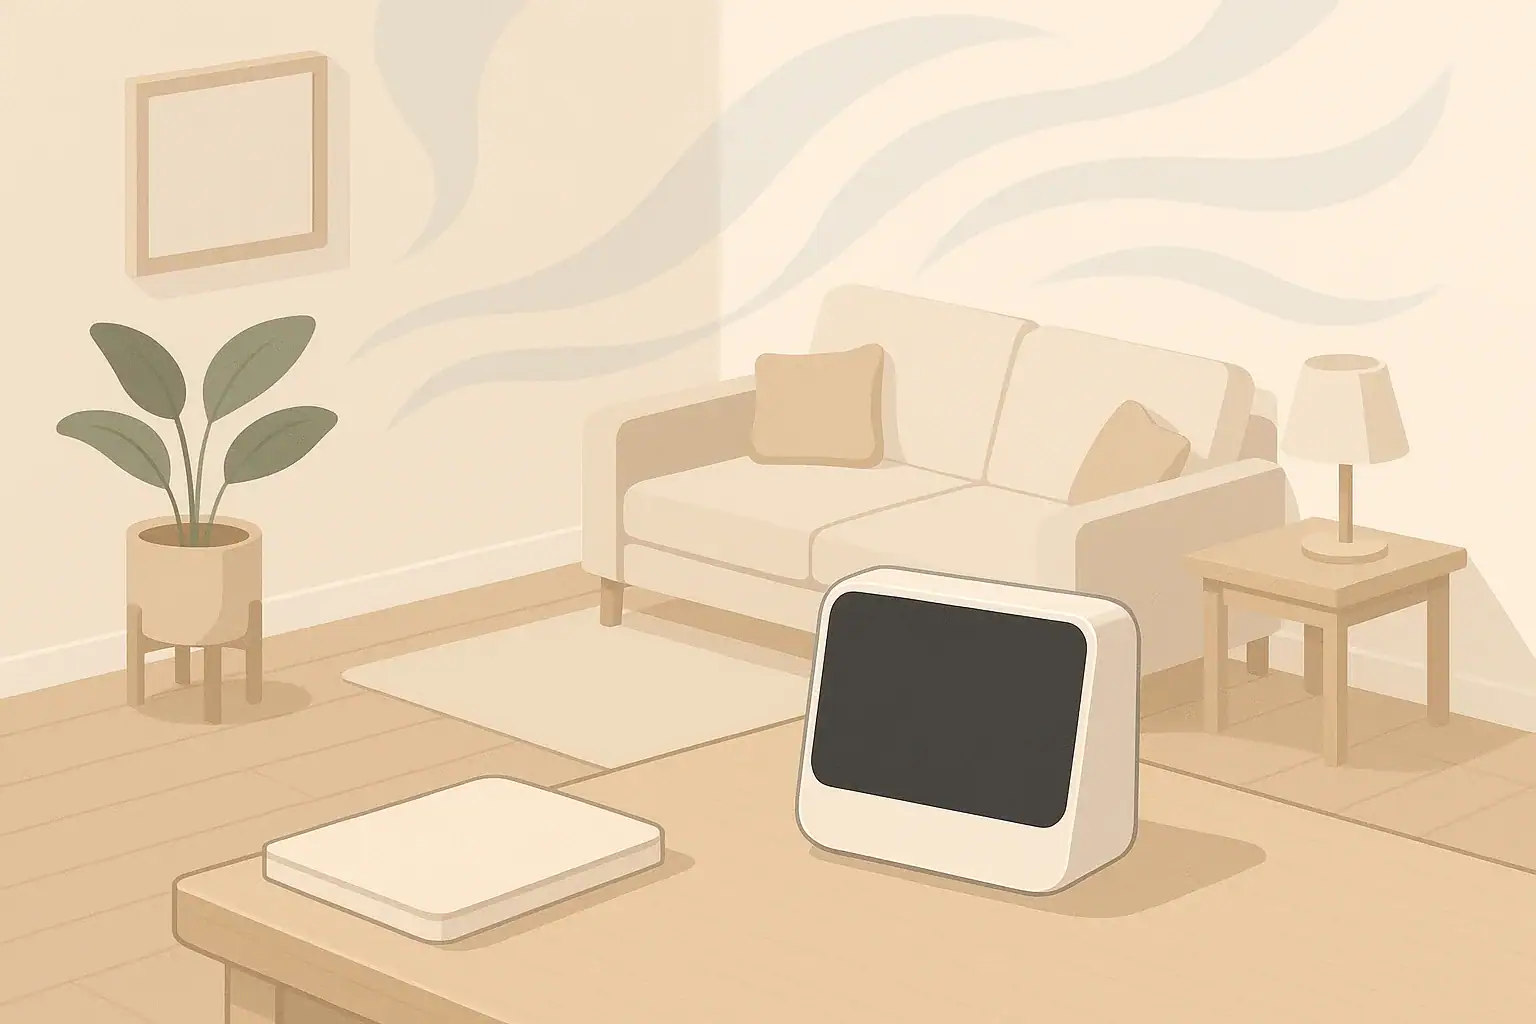
Place an air quality monitor at breathing height in a regularly used room, away from direct drafts, heat sources, and tight corners so it can sample typical room air.
Good placement makes the readings more representative of the air you actually breathe. That usually means putting the monitor in the rooms you spend the most time in, at about sitting or standing height, and not pressed against walls, windows, or vents. A few simple rules about height, distance, and room choice go a long way.
- Height: Aim for 3–6 ft above the floor (roughly breathing zone for adults when seated or standing).
- Distance from walls: Keep 4–12 in from walls or large furniture so air can flow around the monitor.
- Drafts and vents: Avoid placing directly in front of HVAC vents, fans, open windows, or doors.
- Heat sources: Stay several feet away from stoves, ovens, radiators, and direct sunlight that can affect sensors.
- Rooms: Prioritize bedroom and main living area; add kitchen and home office if possible.
- Sampling spots: Use temporary spot checks (e.g., near cooking or cleaning) but rely on neutral locations for long‑term trends.
Why air quality monitor placement matters
An air quality monitor only measures the air right around its sensors. If it sits in a dead corner, right beside a window, or directly over a stove, its numbers may not reflect the air in the rest of the room. That can lead to either false alarms or a false sense of safety.
Indoor air is not perfectly mixed. Temperature differences, drafts, and obstacles create pockets where pollutants concentrate or disperse. Placement matters because monitors often track particulate matter (like PM2.5), carbon dioxide (CO2), and total volatile organic compounds (TVOCs), all of which can vary significantly from one spot to another.
Thoughtful placement helps you:
- See realistic everyday exposure in rooms you use most.
- Notice patterns from cooking, cleaning, and ventilation changes.
- Judge whether air purifiers, open windows, or exhaust fans are having an effect.
- Avoid misinterpreting readings caused by obvious, short-lived plumes (like right next to a candle).
Key height and distance rules for accurate readings
Most home air quality monitors are designed for indoor temperatures and normal humidity ranges, and they work best when air can move freely around them. Height and distance from surfaces both influence the air they sample.
Height: stay in the breathing zone
As a general rule, place the monitor near the height where people breathe most of the time in that room:
- Living rooms and home offices: 3–5 ft above the floor (roughly seated head height).
- Bedrooms: Near the level of your head when lying down or sitting up, often 2–4 ft if on a nightstand or shelf.
- Open-plan areas: Anywhere in the 3–6 ft range that is easy to access and not blocked by furniture.
Very high or very low placements can bias readings. Close to the floor, the monitor may see more settled dust and less of the mixed room air. Near the ceiling, it may see warmer, lighter air that can be cleaner or more polluted depending on sources and airflow.
Distance from walls, corners, and objects
Monitors need space around them so air can flow freely across their inlets. Basic spacing guidance:
- Walls and large furniture: Keep at least 4–12 in of clearance on all sides when possible.
- Corners: Avoid tight corners where air movement is limited and dust can accumulate.
- Bookshelves and cabinets: If on a shelf, avoid pushing it fully against the back wall; instead, pull it forward with a few inches of space.
This reduces the chance of stagnant air pockets or exaggerated readings from dust that collects on surfaces.
Avoid direct drafts, heat, and strong sources
Certain spots distort measurements by constantly blowing or heating the air at the sensor:
- Do not place directly in front of: Supply vents, fans, portable heaters, or frequently opened doors.
- Avoid strong heat sources: Stoves, ovens, radiators, sunny window sills, or electronics that get very warm.
- Be careful with obvious sources: Candles, incense, printers, and cleaning products can be useful for short tests, but not for long-term placement.
Instead, choose a stable location where the monitor experiences the same general airflow you do when you sit or move around the room.
| Placement check | Why it matters | Simple target |
|---|---|---|
| Height above floor | Aligns with typical breathing zone | About 3–6 ft (room dependent) |
| Distance from walls | Prevents stagnant air pockets | 4–12 in clearance if possible |
| Distance from vents/fans | Avoids constant high or low readings from drafts | At least a few feet away |
| Distance from windows/doors | Reduces swings from outdoor air and drafts | Several feet from openings |
| Nearby heat sources | Hot air can affect sensors and skew data | Not directly above or beside heat |
| Obstructions | Blocks airflow to the sensing inlets | Keep sides and top mostly open |
| Temporary test spots | Helps locate problem areas | Use short tests, then return to neutral spot |
Example values for illustration.
Room-by-room: which spaces to monitor first
Most homes have more potential monitoring spots than actual devices. It helps to prioritize the rooms where air quality changes most affect comfort and daily life.
Bedrooms: prioritize sleeping areas
People spend a large share of time in bedrooms, often with windows closed and doors partially shut. That can allow CO2, odors, and particles to accumulate higher than in more open areas.
Placement tips for bedrooms:
- Place the monitor on a nightstand or dresser roughly at pillow height when you are lying down.
- Keep it a foot or more away from the wall if space allows.
- Avoid placing directly in the airflow of a nearby air purifier or fan pointed at the bed.
- If you use scented products, avoid putting the monitor directly beside them to prevent constant high TVOC readings that reflect the product, not the room behavior.
Living rooms and family rooms
Living areas often combine several factors: more people, more movement, nearby kitchens, and sometimes gas appliances or fireplaces. They are good candidates for continuous monitoring.
Practical ideas:
- Use a side table or media console at 3–5 ft height, with space at the back and sides.
- Stay several feet away from burning candles or fireplaces for long-term placement.
- In open-plan spaces, choose a central, regularly used area rather than a far corner.
Home offices and study areas
Home offices can have more electronic equipment, printers, and longer hours of occupancy. CO2 and VOCs from furniture, electronics, and office supplies can build up in smaller, closed rooms.
- Place the monitor near your typical seated breathing height on a desk or shelf.
- Avoid putting it directly in front of a vent or right above a computer exhaust fan.
- If a printer is present, use the monitor for spot checks nearby during heavy use, then move it back to a neutral spot for baseline tracking.
Kitchens and cooking areas
Cooking can be a major source of particles and some gases indoors, especially when frying, broiling, or using high heat. A monitor can show how quickly those levels rise and fall and how well exhaust hoods and windows help.
For kitchens, balance realism with sensor protection:
- Do not place the monitor directly above the stove or very close to pans where grease and moisture can coat sensors.
- Instead, choose a nearby counter or shelf a few feet away from cooking surfaces, still within the same room.
- Use the readings to observe the effect of range hoods, open windows, and closing doors to adjacent rooms.
Basements, laundry rooms, and utility spaces
These areas can have different air quality patterns due to dampness, stored items, and combustion appliances. If you suspect issues such as lingering odors or high humidity, a monitor can be rotated into these rooms for periodic checks.
- Place the device off the floor on a stable surface at least a couple of feet high.
- Avoid resting directly on appliances like dryers or water heaters.
- Limit long-term placement in very humid areas if the monitor is not designed for that environment.
Common placement mistakes and how to avoid them
Even good monitors can give misleading numbers if placed poorly. Some common issues repeat across homes.
Too close to single strong sources
Putting a monitor right next to a specific source may show extreme values that do not reflect the room as a whole:
- Directly beside air fresheners or scented products can keep TVOC readings elevated.
- Right by a gas stove can overemphasize cooking episodes and expose the monitor to heat and grease.
- Near a lit candle or incense stick can show persistent spikes that disappear a few feet away.
You can still use temporary placements to see local effects, but rely on a more neutral, central location for ongoing monitoring.
In stagnant or hidden spots
Monitors tucked behind curtains, inside cabinets, or behind televisions often show slower changes and may miss real spikes and drops.
- Avoid fully enclosed spaces; the monitor should be in the same open air that you breathe.
- Do not bury it among stacked books, boxes, or decorative items.
- If the device has vents or grills, keep them unobstructed.
Permanent window sills and doorways
Placing a monitor in a window frame or directly next to a frequently opened door exposes it to rapid drafts and direct outdoor air. Readings may jump every time a breeze passes or someone enters.
Instead, position it a bit deeper into the room, where mixing between indoor and outdoor air has already begun, for a more stable picture of actual indoor conditions.
Over-interpreting a single location
No single spot in a home perfectly represents the entire space. A central monitor is useful, but different rooms can show different patterns, especially between floors or between open and closed rooms.
If possible, occasionally move the monitor for a day or two:
- From the living room to the main bedroom.
- From an upstairs room to the basement or lower level.
- From a central area to near the kitchen during a period of frequent cooking.
This helps you understand where air quality tends to be better or worse and where additional ventilation or filtration might help.
Practical placement checklist for everyday use
Settling on a few simple rules makes monitor placement easy to repeat across rooms and over time.
Step 1: Choose your priority rooms
If you have a single monitor, prioritize:
- The main bedroom, or
- The main living/family room or open-plan area.
With two or more monitors, add the home office, kitchen, or a lower-level room like a basement that behaves differently from the rest of the house.
Step 2: Pick a stable surface and height
Use a steady piece of furniture that does not shake or vibrate frequently:
- Side table, dresser, sturdy shelf, or desk.
- Height near your normal breathing zone in that room (generally 3–6 ft).
Avoid placing on vibrating appliances or where children or pets can easily knock the monitor over.
Step 3: Check distance from walls and vents
Before you settle on a spot, quickly check:
- Wall clearance: leave a small gap so air can circulate around the back.
- Vents/fans: avoid direct paths from a vent, fan, or portable heater to the monitor.
- Windows/doors: several feet away from large, frequently used openings is usually better for long-term data.
Step 4: Use short-term tests for specific questions
You can temporarily move the monitor to investigate specific situations:
- Near a bathroom after showers to see how humidity behaves.
- In the kitchen during typical cooking sessions to compare with and without the exhaust fan.
- Closer to stored items, paints, or cleaning supplies to see if they significantly raise TVOCs.
After short tests, return the monitor to its usual neutral spot so your long-term trends remain comparable.
Step 5: Revisit placement when your home changes
Changes in furniture layout, additional air purifiers, new fans, or sealing up drafts can all alter room airflow. If readings shift unexpectedly after such changes, it can be worth reevaluating the monitor location rather than assuming the entire home air has changed to the same degree.
Using readings to troubleshoot air quality and airflow
Once your monitor is in a sensible location, its readings can help you understand how your home responds to everyday activities and simple interventions.
Identifying patterns by time of day
Look for repeated patterns:
- Evening CO2 increases when more people are home and windows are closed.
- Regular PM2.5 spikes during cooking times or when vacuuming.
- TVOC rises after specific activities like cleaning or using craft materials.
Consistent patterns can guide when to open windows, run exhaust fans, or use air purifiers more actively.
Checking the effect of ventilation
Try simple experiments from your chosen monitor location:
- Open a window or door and watch how quickly particulate or CO2 levels change.
- Turn on a kitchen or bathroom exhaust fan and see if pollutant peaks shorten.
- Compare nights with the bedroom door open versus closed.
These comparisons help you understand which ventilation actions have the most noticeable impact in your specific home.
Understanding what different metrics can and cannot show
Home monitors often report several metrics, each with limitations:
- PM2.5 and other particle counts: Indicate fine particles from dust, cooking, smoke, and outdoor air, but not their exact composition.
- CO2: Often used as an indicator of how much fresh air is mixing in compared with exhaled air, but it does not identify specific pollutants.
- TVOC: Represents a combined signal from many volatile compounds; it responds to numerous everyday products and materials and cannot distinguish between them.
Placement that avoids direct contact with single strong sources makes these metrics more useful for tracking overall trends.
Simple care and maintenance for consistent readings
Monitor placement is only part of getting consistent data; basic upkeep also matters. Dust and film on inlets or sensors can gradually affect performance, especially in areas with a lot of cooking or traffic.
Keep inlets clear and clean
Most monitors have small openings for air to reach the sensors. Over time, these can collect dust.
- Lightly dust the exterior with a dry cloth as needed.
- Avoid spraying cleaners, air fresheners, or water directly on the device.
- Do not block vents with fabrics, paper, or decorative items.
Respect environmental limits
Check the general environmental range the device is designed for, especially humidity and temperature.
- Do not place permanently in very damp environments if not intended for that use.
- Avoid very hot spots, such as directly above radiators or heaters.
- If you use humidifiers or dehumidifiers, avoid aiming airflow directly at the monitor.
Re-evaluating placement over time
If readings look unusual or do not match your observations, re-check placement before assuming a major indoor air change.
- Look for newly added heat sources, fans, or furniture blocking airflow.
- Try moving the monitor a few feet and watching how readings respond over a day or two.
- Note any seasonal changes, such as more closed windows in winter or heavy use of air conditioning in summer.
Common questions about placing an air quality monitor
Can I mount an air quality monitor on the wall?
Many monitors can work on a wall as long as they are within the breathing zone and not at the very top of the ceiling. Aim for around 3–5 ft above the floor on a central wall, with some clearance on all sides and away from vents or windows.
Is it better to put a monitor near an air purifier?
For long-term trends, it is usually better to keep the monitor out of the direct airflow from a purifier. Placing it several feet away in the same room helps you see how the overall air changes, rather than only the air right in front of the purifier.
Should I leave the monitor in one place or move it around?
Both approaches can be useful. Keeping the monitor in one place helps you build a clear baseline and watch trends over time. Periodically moving it to other rooms for a day or two can reveal differences between areas and help you target ventilation or filtration where it is most needed.
What if my home has more than one floor?
Air quality can differ between levels, especially when basements or attics are involved. If you have one monitor, place it where you spend the most time or where you have the most questions, then occasionally move it between floors. With multiple monitors, one on each frequently used floor can provide a fuller picture.
Does placing a monitor near a plant affect readings?
Normal houseplants usually have only a minor effect on measurements compared with overall room airflow and other sources. However, placing a monitor directly between several large plants or very close to damp soil may slightly influence humidity readings. In most cases, a small distance from plants is enough.
| Metric | What it generally indicates | Common placement pitfalls | Action idea |
|---|---|---|---|
| PM2.5 / particle levels | Fine particles from dust, cooking, smoke | Right next to stoves, candles, or vacuums exaggerates spikes | Place centrally; use short tests near sources when needed |
| CO2 | Build-up of exhaled air vs. fresh air mixing | Directly in draft from window or vent causes rapid swings | Use a stable spot away from strong drafts |
| TVOC | Combined signal from many volatile compounds | Beside air fresheners or cleaners skews baseline high | Keep some distance from strong fragrance or chemical sources |
| Temperature | Local thermal comfort and heat patterns | Above radiators or electronics runs higher than room average | Place away from heaters; use breathing-height level |
| Relative humidity | Moisture level in room air | Right next to humidifiers, dehumidifiers, or steamy showers distorts readings | Move farther from moisture sources, still in same room |
| Combined index scores | Summary of several measurements | Poor placement in one metric (e.g., TVOC near product) affects overall score | Focus on neutral, representative locations for long-term tracking |
Example values for illustration.
Related guides: Air Purifier Placement: Where to Put It for Best Results • How to Choose the Right Air Purifier for Your Room Size • PM2.5 Explained: What the Numbers Mean and What’s a Safe Level Indoors
Key takeaways on monitor height, distance, and rooms
For most homes, a practical approach is enough to get useful air quality data. Place your monitor where you actually spend time, at roughly breathing height, and with a little space around it so air can move freely. Avoid vents, windows, strong heat sources, and direct contact with single strong sources like candles or cleaning products for long-term placement.
Use central, stable spots in main bedrooms and living areas for ongoing trends, and move the monitor occasionally for targeted checks in kitchens, offices, or basements. With these straightforward height, distance, and room choices, the numbers you see are more likely to match the air you are actually breathing.
Frequently asked questions
Where should I place an air quality monitor in a small bedroom?
Place the monitor on a stable nightstand or dresser at roughly pillow height (about 2–4 ft), and leave at least a foot of clearance from the wall. Keep it away from vents, fans, or direct airflow from purifiers so it reflects typical breathing air rather than a local plume.
Can I put an air quality monitor on a windowsill or directly by a frequently opened door?
Placing a monitor on a windowsill or next to a frequently opened door is not recommended for long-term monitoring because drafts and outdoor air create rapid swings. If you want to test outdoor infiltration briefly, a short-term placement near the opening is fine, but move the device deeper into the room for stable baseline data.
How far from an air purifier should I place the monitor to see overall room air quality?
For long-term trends, place the monitor several feet away and out of the purifier’s direct airflow (typically 3–6 ft) so it measures the mixed room air. If you want to test how well the purifier cleans the nearby air, use a short-term placement directly in its outlet for the duration of that experiment.
Will placing a monitor near houseplants affect readings?
Normal houseplants usually have only a minor effect on readings compared with room airflow and major sources. Very large clusters of plants or wet potting soil placed immediately against the sensor can slightly influence humidity or local VOC readings, so keep a small gap for representative results.
How often should I move a single monitor to understand whole-home air quality?
Keep the monitor in one spot for weeks to build a reliable baseline, then move it for 24—72 hours to other priority rooms when you want comparison data. If your home layout or ventilation changes, repeat short relocations to verify whether those changes changed overall patterns.
Recommended next:
- Clear sizing logic (room size → CADR/ACH)
- HEPA vs carbon explained for real use-cases
- Humidity + ventilation basics to reduce mold risk