
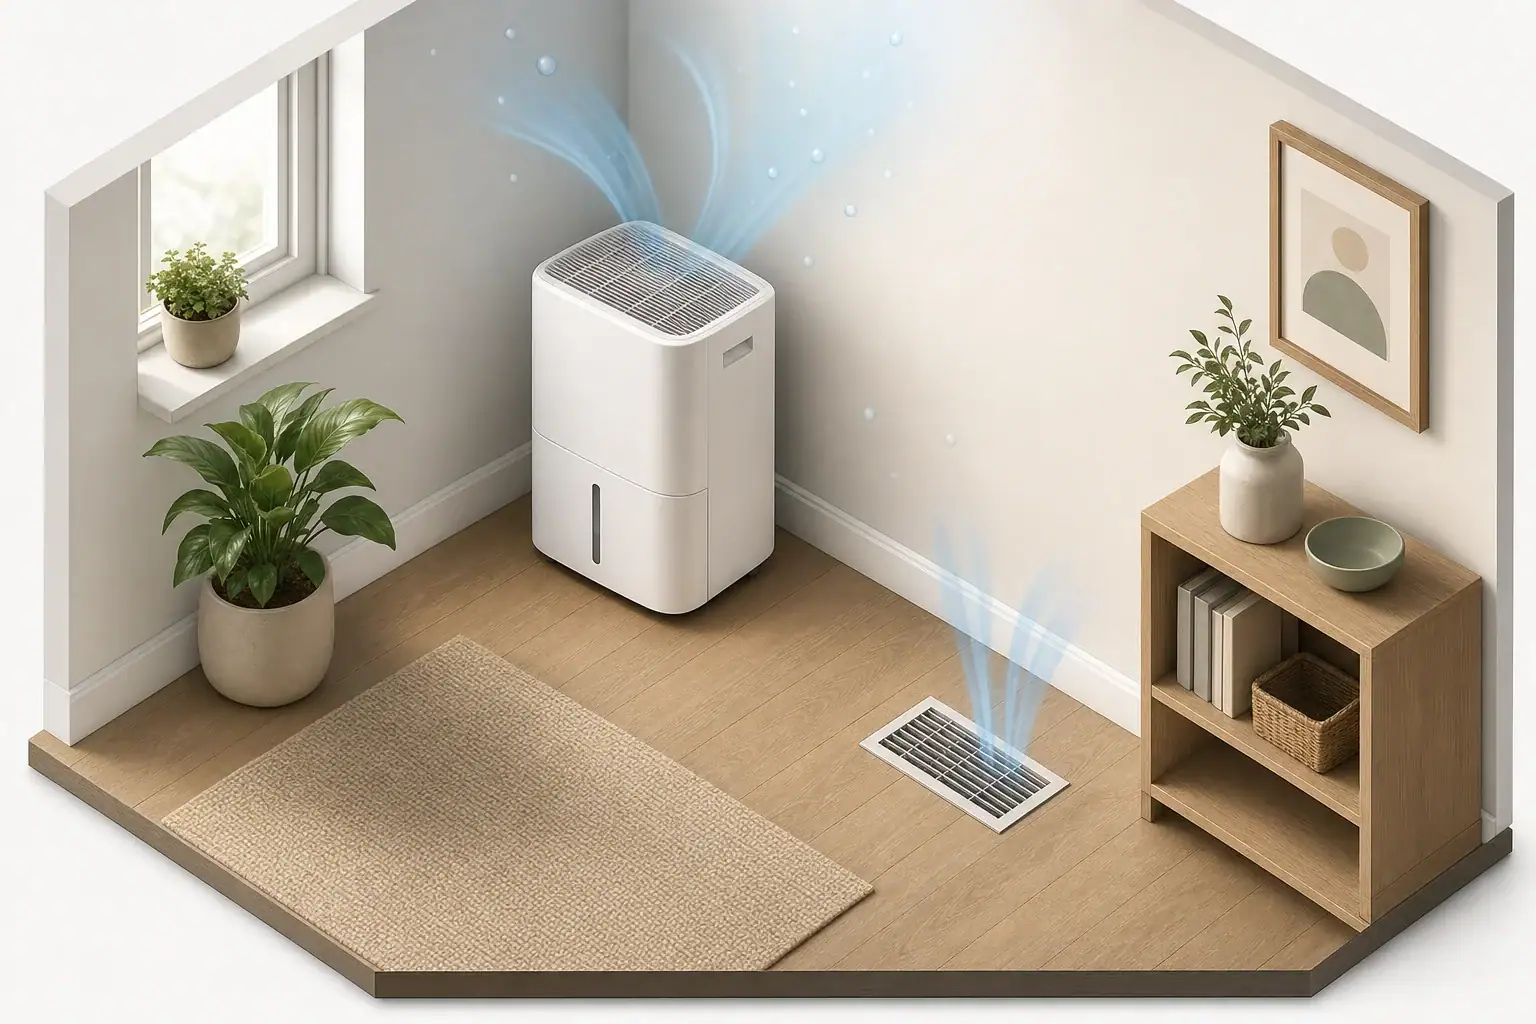
A mold smell in HVAC vents usually points to moisture and organic buildup somewhere near the filter, evaporator coil, drain system, ductwork, or surrounding room.
The odor alone does not confirm that mold is present, and replacing the filter may not solve a moisture problem. A practical response is to check accessible components, control indoor humidity, observe when and where the smell appears, and involve a qualified professional when the source is hidden or persistent.
Quick answer
- Aim for indoor relative humidity around 30% to 50% when practical, and generally keep it below 60%.
- Replace a damp, visibly soiled, or overdue HVAC filter with a correctly sized filter that the system can accommodate.
- Check accessible drain pans, condensate lines, supply registers, and the area around the indoor unit for standing water or damp material.
- Run the system normally and note whether the odor occurs during cooling, heating, fan-only operation, or only in one room.
- Call an HVAC or moisture-remediation professional if water keeps returning, contamination appears extensive, or inspection requires opening equipment or ducts.
What a Mold Smell From HVAC Vents Can Mean
A musty, earthy, or damp odor is commonly associated with microbial growth, but smell cannot identify a specific organism or location. Wet dust, damp insulation, a clogged condensate drain, stagnant water, or debris near a register can create a similar odor.
The timing and distribution of the smell provide useful clues. An odor from most supply vents when cooling begins may point toward a shared component such as the evaporator coil, blower compartment, filter area, or supply plenum. An odor limited to one vent is more likely to involve a nearby duct section, register, wall cavity, or room-level moisture source.
Return vents can also draw odors from basements, crawl spaces, utility closets, attics, or damp furnishings. In that case, the HVAC system may be distributing an odor rather than producing it.
How Filters and Condensation Affect HVAC Odors
What the filter can and cannot do
A central HVAC filter captures airborne particles before they enter the equipment. It can reduce dust accumulation, but a standard particle filter does not correct standing water, high indoor humidity, wet insulation, or existing growth on internal surfaces.
Filter efficiency is often described with a MERV rating. Higher-efficiency filters can capture smaller particles, but they may also increase airflow resistance. Use a filter size and efficiency level permitted by the equipment manufacturer or recommended by an HVAC professional. Poor fit is another concern: gaps around a filter allow air and dust to bypass the media.
Activated carbon may temporarily reduce some odors, but thin carbon layers have limited capacity. Carbon does not remove the moisture source and should not be treated as a substitute for cleaning or drainage repairs.
Why cooling systems produce water
During cooling, warm indoor air passes over a cold evaporator coil. Water vapor condenses on the coil and should flow into a drain pan and out through a condensate line. Problems can develop when the pan holds water, the drain is restricted, the coil is dirty, or airflow is too low.
Condensation may also form on ducts or registers when cold surfaces meet warm, humid air. Missing insulation, air leakage, or persistently high indoor humidity can make this more likely.
Example values for illustration.
| Observation | Possible area to check | Practical response |
|---|---|---|
| Odor begins with cooling | Coil, drain pan, or condensate line | Inspect accessible drainage areas and arrange service if water remains |
| Odor comes from every supply vent | Shared air handler or main duct | Check the filter and indoor unit area |
| Odor comes from one vent | Local register, duct, or room | Inspect the register and nearby materials |
| Filter is damp | Water intrusion or condensation | Replace the filter and identify the moisture source |
| Humidity stays above 60% | Whole-home moisture conditions | Reduce moisture and assess ventilation or dehumidification |
| Odor appears with fan-only mode | Ducts, filter area, or blower section | Note its duration and request inspection if persistent |
| Odor remains when HVAC is off | Room, wall cavity, crawl space, or drain | Look beyond the HVAC system for damp materials |
Common Sources and Troubleshooting Cues
A clogged condensate line is a frequent moisture-related problem. Water may collect in the drain pan, trigger a safety switch, leak near the indoor unit, or dampen adjacent materials. Drain configurations differ, so avoid dismantling components or pouring chemicals into a system unless the equipment instructions specifically allow it.
A dirty evaporator coil can hold dust and moisture. Some systems develop a temporary odor when cooling starts after an idle period, sometimes informally called dirty sock odor. Because the coil and blower may be difficult or unsafe to access, internal cleaning is generally a professional task.
Other possible sources include:
- A filter installed incorrectly, overdue for replacement, or too small for its slot
- Wet duct liner or insulation following a roof, plumbing, or condensate leak
- Condensation on uninsulated ducts in an attic, basement, or crawl space
- A dirty supply register or return grille exposed to room moisture
- A disconnected or leaky return duct drawing air from a damp area
- Household sources such as wet carpet, stored cardboard, drains, or damp furniture
Not every unpleasant vent odor is mold-related. Sewer gas, overheating electrical components, smoke, pests, and decomposing debris can produce distinct smells. A burning, hot-plastic, fuel, or strong electrical odor warrants shutting the system off when safe and obtaining prompt professional help.
What to Do When HVAC Vents Smell Musty
Start with safe, accessible checks
- Record the pattern. Note which vents smell, the operating mode, recent weather, and how long the odor lasts.
- Check the filter. Turn the system off before opening the designated filter access. Replace a wet, damaged, visibly dirty, or overdue filter with the correct dimensions and airflow orientation.
- Look around the indoor unit. Without removing service panels, check for water, staining, damp insulation, corrosion, or a full auxiliary pan.
- Inspect registers and grilles. Use a flashlight to look for surface dust, moisture, or nearby damp building material. Clean removable grilles with mild detergent and dry them fully before reinstalling.
- Measure humidity. Place a basic hygrometer away from vents, windows, and direct sunlight. Compare readings at different times over several days.
- Check room-level sources. Look beneath rugs, around windows, under sinks, and near exterior walls for dampness.
Do not spray fragrance, disinfectant, bleach, or biocide into vents. These substances may not reach the source, can expose occupants to vapors, and may damage system materials. Painting or sealing over damp contamination without correcting the water problem can also allow it to return.
Control moisture without disrupting the system
Use kitchen and bathroom exhaust fans that vent outdoors, repair plumbing or exterior leaks, and avoid drying large amounts of laundry indoors when humidity is already high. A portable or whole-home dehumidifier may help where climate and building conditions keep relative humidity elevated, but it must be sized, drained, and maintained appropriately.
A continuously running HVAC fan is not always helpful. After cooling stops, fan-only operation can re-evaporate water remaining on the coil in some systems. Follow the equipment instructions or ask a technician about appropriate fan settings for the installation.
Real-World HVAC Odor Scenarios
Odor appears only on humid summer days
This pattern suggests condensation or high indoor moisture. Check humidity, condensate drainage, duct insulation, and whether doors or windows are bringing in humid outdoor air. Oversized cooling equipment can also run short cycles and remove less moisture, which requires professional assessment rather than a simple filter change.
One bedroom vent smells musty
Remove and clean the accessible register, then inspect the surrounding ceiling, floor, or wall for staining. If other vents are unaffected, a local duct leak, damp building cavity, or room source is more likely than contamination throughout the system.
The odor started after a filter change
Confirm that the filter is the correct size, fully seated, dry, and installed in the indicated airflow direction. Packaging left on the filter, gaps around the frame, or a filter that restricts airflow can cause problems. If the odor continues, the timing may be coincidental and the coil or drainage system may need inspection.
The smell returns soon after cleaning
Recurring odor usually means the moisture source was not corrected or that an inaccessible material remains damp. Repeatedly wiping a register will not address a leaking drain, wet duct liner, or moisture inside a wall cavity.
When to Call an HVAC or Mold Professional
Professional help is appropriate when the inspection requires opening equipment cabinets, removing ducts, accessing electrical components, or working in an attic or crawl space. HVAC technicians can evaluate airflow, temperature differences, coil cleanliness, drainage, duct leakage, and equipment operation.
Consider a qualified moisture or mold-remediation professional when visible growth covers a substantial area, porous duct liner or building material is wet, or contamination follows flooding or sewage. If renting, document the odor, visible moisture, humidity readings, and dates before contacting the property manager.
Arrange prompt service when any of these conditions appears:
- Water repeatedly collects around the air handler or ceiling vents
- The condensate safety switch frequently shuts the system down
- Insulation, drywall, or duct liner remains wet
- The odor persists after filter replacement and basic moisture correction
- Multiple rooms develop staining or visible growth
- Access requires disturbing suspected contamination or damaged insulation
- There is a burning, electrical, fuel, or sewage-like odor
Be cautious with add-on air treatments
Particle filtration, ultraviolet equipment, ionizers, and ozone-generating devices do not repair leaks or remove standing water. UV-C may help limit growth on illuminated coil surfaces when properly designed and professionally installed, but effectiveness depends on placement, intensity, exposure time, and maintenance.
Avoid equipment intended to generate ozone in occupied spaces. Some electronic air cleaners may produce ozone as a byproduct, so review independent safety certification and operating information. Any add-on device should be compatible with the HVAC system and should not replace source control.
Filter, Humidity, and Drainage Maintenance
Check the HVAC filter monthly at first, especially during heavy cooling or heating seasons. Replacement intervals vary with filter depth, household dust, pets, renovation activity, smoke, operating time, and system design. A common range may be about one to three months for thinner filters and longer for some deeper media filters, but condition and equipment guidance matter more than the calendar alone.
Keep return grilles and supply registers unobstructed. Blocking airflow with furniture or closing many supply registers can alter system pressure and contribute to comfort or condensation problems. Outdoor equipment also needs suitable clearance, although internal service should be left to trained personnel.
Track indoor humidity along with visible conditions. A single reading is less informative than a pattern. If humidity consistently approaches or exceeds 60%, investigate moisture entry, exhaust ventilation, dehumidification, and cooling-system performance.
Annual HVAC service can include inspection of the coil, blower, condensate pan, drain, electrical components, and temperature performance. Ask what will be inspected and whether cleaning is actually needed; routine duct cleaning is not automatically necessary in every home.
Example values for illustration.
| Goal | Simple action | Tool or cue | Note |
|---|---|---|---|
| Track indoor moisture | Measure in occupied areas | Basic hygrometer | Check trends over several days |
| Maintain a practical range | Aim for about 30% to 50% RH | Humidity readings | Climate and season affect what is achievable |
| Avoid prolonged high humidity | Generally keep RH below 60% | Exhaust or dehumidification | Investigate persistent elevated readings |
| Limit bathroom moisture | Run an outdoor-vented exhaust fan | Dry mirrors and surfaces | Continue briefly after bathing |
| Protect HVAC airflow | Check the filter regularly | Correctly fitted replacement | Do not exceed system requirements |
| Prevent standing water | Watch the indoor unit area | Drain pan and leak cues | Recurring water needs service |
| Confirm a lasting fix | Recheck odor and humidity | Dated notes | Look for improvement across operating cycles |
Related guides: Air Purifier for Mold Spores: What Works and What Doesn’t • How to Stop Condensation on Windows (And Why It Matters for Mold) • Bathroom Mold Prevention: Exhaust Fan Timing and Humidity Control • Crawl Space Humidity: Signs It Is Affecting Indoor Air
Key Takeaways
A mold smell in HVAC vents is a troubleshooting clue, not proof that the entire duct system is contaminated. Filters can reduce dust and airborne particles, but they cannot correct condensation, leaks, standing water, or damp porous materials.
Begin with the filter, humidity readings, visible drainage areas, registers, and room-level moisture sources. Note whether the smell is isolated or system-wide and whether it changes with cooling, heating, or fan operation.
Keeping relative humidity around 30% to 50% when practical, maintaining drainage, and using a correctly fitted filter can reduce conditions that support recurring odors. Call a qualified professional when water returns, the source is inaccessible, contamination appears extensive, or the odor suggests an electrical, fuel, or sewage problem.
Frequently asked questions
Does a mold smell in HVAC vents mean there is mold in the ductwork?
No. A musty odor can come from mold or other moisture-related sources, including wet dust, a dirty evaporator coil, standing condensate, damp insulation, or a room that the return system is drawing from. The smell alone cannot identify the material or location, so checking the odor pattern and accessible moisture sources is more useful than assuming the ducts are contaminated.
Why does my HVAC smell musty only when the air conditioner starts?
An odor that starts during cooling can be related to condensation around the evaporator coil, drain pan, or condensate line. Dust and moisture on internal components can also produce an odor after the system has been idle. If water is visible, drainage is restricted, or the smell persists, a qualified HVAC technician can inspect components that are not safely accessible.
Can changing the HVAC filter get rid of a mold smell?
Replacing a damp, dirty, damaged, or incorrectly fitted filter may reduce odors and prevent dust from bypassing the filter area. However, a new filter will not fix a clogged drain, wet duct material, high indoor humidity, or growth on an internal coil. If the odor returns soon after replacement, look for an ongoing moisture source.
What indoor humidity level helps prevent musty HVAC odors?
When practical, aim for indoor relative humidity of about 30% to 50% and generally keep it below 60%. Use a hygrometer to track readings over several days rather than relying on one measurement. Persistent high humidity may call for better exhaust ventilation, moisture repairs, dehumidification, or an HVAC performance assessment.
Should I spray bleach or disinfectant into HVAC vents that smell moldy?
No. Spraying bleach, disinfectants, fragrances, or biocides into vents may expose occupants to vapors, damage system materials, and fail to reach the actual source. The more reliable approach is to identify and correct moisture, clean only accessible removable grilles as appropriate, and seek professional help for internal equipment or hidden contamination.
Recommended next:
- Best Indoor Humidity Level to Prevent Mold (With Seasonal Targets)
- Air Purifier for Mold Spores: What Works and What Doesn’t
- How to Stop Condensation on Windows (And Why It Matters for Mold)
- Basement Dampness 101: RH Targets, Dehumidifiers, and Ventilation
- Condensation on Windows: Causes, Dew Point, and Fixes That Work
- Bathroom Mold Prevention: Exhaust Fan Timing and Humidity Control
- Clear sizing logic (room size → CADR/ACH)
- HEPA vs carbon explained for real use-cases
- Humidity + ventilation basics to reduce mold risk