
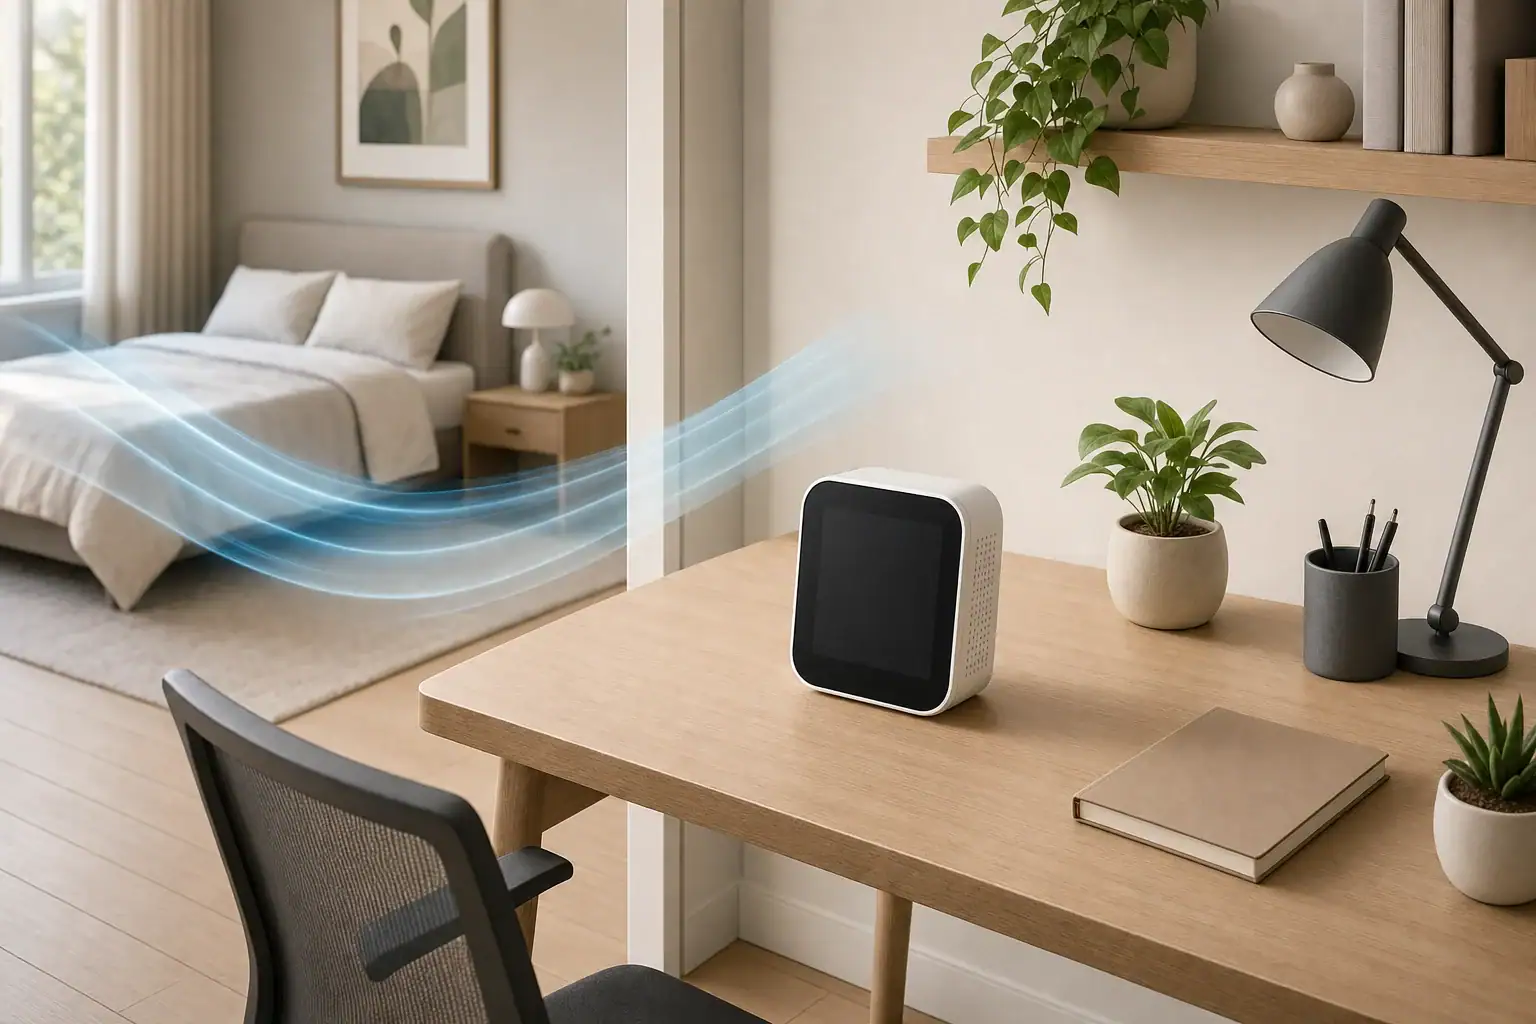
Place a CO2 monitor in the occupied part of the room, near breathing height but several feet from people, windows, doors, vents, and other sources that can distort readings. The goal is to measure representative room air rather than a person’s exhaled breath or a stream of outdoor air. A desk or bedroom location can work well when these basic spacing rules are followed.
Quick answer
- Keep the monitor about 3 to 6 feet from the nearest person when practical.
- Use a height of roughly 3 to 6 feet above the floor in commonly occupied rooms.
- Stay at least a few feet from open windows, exterior doors, supply vents, fans, and air purifiers.
- Treat readings below about 800 ppm as generally consistent with good ventilation for the current occupancy; persistent readings above roughly 1,000 ppm suggest checking ventilation.
- Allow 10 to 30 minutes after moving the monitor before judging the new location.
Why CO2 Monitor Placement Matters
Indoor carbon dioxide is produced mainly by people breathing. In a typical home, its concentration changes with the number of occupants, room volume, ventilation rate, and how air moves between rooms.
CO2 is useful as a ventilation indicator, but a monitor samples only the air immediately around its sensor. A unit directly beside someone’s face may detect concentrated exhaled breath. A unit beside an open window may show outdoor air before that air has mixed through the room. Neither reading necessarily represents the room as a whole.
Placement is especially important when using readings to decide when to open a window, run an exhaust fan, adjust a ventilation system, or leave a bedroom door open. Consistent placement also makes day-to-day trends more meaningful.
A household CO2 monitor is not a carbon monoxide alarm. CO2 and carbon monoxide are different gases, and a CO2 reading cannot identify a combustion or carbon monoxide problem. Homes with fuel-burning equipment should use appropriate carbon monoxide alarms according to local requirements and their instructions.
Height, Distance, and Airflow Principles
Place the sensor near the occupied zone
For most living spaces, a height of approximately 3 to 6 feet above the floor is a practical range. This includes desks, dressers, shelves, and wall locations around seated or standing breathing height. Exact height is less important than avoiding the floor, ceiling, and strong localized airflow.
In a bedroom, a bedside table may be appropriate if it is not immediately beside a sleeper’s head. In an office, the monitor can sit on a desk if it is positioned away from the user’s direct breathing path.
Allow room air to reach the sensor
Do not cover the monitor or crowd its air openings with books, fabric, papers, or other objects. Avoid closed shelves, drawers, and tightly enclosed corners. If the device is wall-mounted, follow its stated clearance requirements.
Avoid localized sources and sinks
Keep the monitor several feet from open windows, frequently used exterior doors, heating and cooling supply registers, portable fans, air purifiers, and kitchen cooking areas. These locations can expose the sensor to air that has not mixed with the rest of the room.
Direct sunlight, radiators, humidifier mist, and steamy bathrooms can also affect a monitor’s temperature, humidity, or sensor behavior. Choose a stable, dry location within the device’s specified operating conditions.
| Location | Likely issue | Better approach |
|---|---|---|
| Within 1 foot of a person | Exhaled breath may cause spikes | Move it about 3 to 6 feet away |
| Beside an open window | Reading may be lower than the room average | Move several feet into the room |
| Under a supply vent | Incoming air may dominate the reading | Choose a location outside the direct air stream |
| In a closed shelf | Air exchange around the sensor may be slow | Use an open surface with clearance |
| Near a humidifier | Mist or high humidity may interfere | Separate the devices and avoid visible mist |
| In direct sunlight | Heat may affect sensor conditions | Use a shaded interior location |
| Near the ceiling or floor | Reading may not represent the occupied zone | Use roughly 3 to 6 feet above the floor |
CO2 Monitor Placement on a Desk
A desk is convenient because it keeps the display visible and usually places the monitor near breathing height. However, a monitor directly below a user’s face can respond every time the person exhales, speaks, or leans toward it.
Start by placing the device 3 to 6 feet from the primary user. The far corner of a large desk, a nearby open shelf, or a side table often works better than the space directly between the keyboard and the user.
Desk placement checklist
- Keep the sensor out of the direct path between the user’s mouth and the monitor.
- Avoid positioning it behind a large display where heat and restricted airflow can affect conditions.
- Do not place it next to a supply vent, desk fan, open window, or portable air cleaner outlet.
- Leave the sensor openings uncovered and provide the clearance specified for the device.
- Keep drinks, humidifiers, and other moisture sources away from the monitor.
Short spikes while someone talks close to the sensor are usually a placement clue rather than proof that the entire room changed instantly. Look at sustained readings and trends over 10 to 30 minutes instead of reacting to every brief fluctuation.
In a shared office, place the monitor between occupied areas without putting it directly beside any one person. If the room has uneven airflow, testing two or three candidate locations for a full work period can reveal which one produces the most stable and representative trend.
CO2 Monitor Placement in a Bedroom
Bedroom CO2 often rises overnight because doors and windows are closed for several hours while one or more people remain in the room. Monitor placement should capture that gradual change without overemphasizing one sleeper’s breath.
A dresser, open shelf, or bedside surface can work. Aim for about 3 to 6 feet from the nearest sleeper’s head when the room allows. If the bedroom is small, maximize the available distance and avoid putting the sensor directly level with a person’s face.
Keep the monitor away from an open window, a heating or cooling register, and the direct discharge from a fan or air purifier. A location near the bedroom door can be useful only if it is not in a strong stream of air entering from a hallway.
How to interpret overnight patterns
Review the full overnight graph or the highest sustained range if the monitor stores history. A brief spike caused by checking the display, speaking near it, or making the bed is less informative than a rise that continues for hours.
For general ventilation tracking, readings below about 800 ppm are commonly interpreted as indicating relatively strong ventilation for the current occupancy. Readings around 800 to 1,000 ppm suggest less outdoor-air exchange relative to occupancy, while persistent levels above about 1,000 ppm provide a practical reason to review ventilation. These are general interpretation bands, not universal health or legal limits.
Outdoor CO2 is typically a little above 400 ppm but varies by location, weather, traffic, and nearby sources. Indoor readings cannot remain below the outdoor baseline without unusual conditions, so compare indoor values with a reasonable local outdoor reading rather than assuming one fixed baseline.
Common Causes of Bad or Misleading Readings
Breathing too close to the monitor
A sharp rise when someone approaches the device usually means exhaled air reached the sensor. Step away and allow the room air to circulate. If this happens frequently during normal use, move the monitor farther from people.
Moving the monitor without waiting
Sensors need time to adjust after being moved between indoor and outdoor conditions or between rooms. Temperature changes can add further delay. Wait at least 10 to 30 minutes for a basic placement comparison, and longer when evaluating normal room trends.
Calibration or baseline problems
Many consumer monitors use nondispersive infrared sensors. Some include automatic baseline correction, which assumes the device will periodically encounter air near the outdoor CO2 baseline. That assumption may not fit a continuously occupied room that is rarely ventilated.
Follow the monitor’s instructions for calibration and baseline settings. If outdoor checking is allowed, place the device in fresh outdoor air away from people, vehicles, vents, and combustion sources. Do not breathe toward it during the check.
Heat, moisture, and contamination
Direct sun, condensation, visible humidifier mist, cooking vapors, and temperatures outside the stated operating range may cause unstable readings or shorten sensor life. Move the monitor to a clean, dry, temperature-stable location before assuming it has failed.
Two monitors may also differ by tens of parts per million because of normal sensor tolerance and calibration differences. Compare trends under the same conditions rather than expecting unrelated devices to show identical numbers.
Placement Examples for Different Home Layouts
Small home office
Place the monitor on an open shelf beside the desk, approximately 4 feet above the floor and several feet from the chair. Keep it out of the direct path of a window air conditioner, supply register, or desk fan. Watch whether readings rise during occupied hours and fall after the door or window is opened.
Bedroom shared by two people
Use a dresser or shelf positioned away from both pillows. A central location can be useful if it does not block walking space and has free airflow. Compare several nights under similar conditions before deciding whether a ventilation change made a meaningful difference.
Open-plan living area
Choose a representative occupied location rather than the largest empty section of the room. Avoid the kitchen edge because cooking heat, exhaust airflow, and combustion appliances can complicate interpretation. A second temporary location may be helpful when distant seating areas behave differently.
Child’s bedroom
Put the monitor on a stable surface or mount it securely according to its instructions, with cords and small components managed appropriately. Keep it out of reach when needed, but not so high that it mainly samples ceiling-level air. Avoid shelves crowded with soft items that restrict airflow.
Room with a portable air purifier
Particle filtration does not normally remove CO2. Air movement from the purifier may mix the room and change what the monitor detects, but a lower particle reading does not imply a lower CO2 reading. Keep the CO2 monitor outside the purifier’s direct outlet stream.
Testing Placement and Maintaining Reliable Results
A short placement test is more useful than choosing a location based only on convenience. Pick two or three reasonable spots and leave the monitor in each location during comparable occupied periods. Record whether the readings are stable, whether they respond sensibly to ventilation, and whether nearby activity causes abrupt spikes.
Once a representative location is found, keep it consistent. Moving the monitor daily makes long-term comparisons harder because differences may reflect location rather than ventilation.
Routine care checklist
- Inspect sensor openings periodically and remove loose surface dust according to the device instructions.
- Do not spray cleaners, fragrances, or compressed air into the sensor.
- Check calibration guidance and any automatic baseline setting.
- Confirm that time, logging intervals, and units remain correct after power loss or updates.
- Compare unusual readings with room occupancy, window position, ventilation use, and recent monitor movement.
- Replace or service the device if readings remain implausible after placement and calibration checks.
When testing a ventilation change, alter one factor at a time when practical. For example, compare the bedroom with the door closed and then partly open under similar occupancy and weather. CO2 can show whether the change increased air exchange, although it does not measure particles, odors, humidity, or every indoor pollutant.
| Metric | What it indicates | Common pitfall | Practical response |
|---|---|---|---|
| CO2 | Ventilation relative to occupancy | Sensor too close to a person or window | Move it and review sustained trends |
| PM2.5 | Concentration of fine airborne particles | Cooking can cause short peaks | Use source control, ventilation, or filtration as appropriate |
| TVOC | Broad response to certain airborne chemicals | Readings are often sensor-dependent | Look for patterns and remove likely sources |
| Relative humidity | Moisture level relative to temperature | Placement beside mist or a vent | Move to a representative room location |
| Temperature | Local thermal conditions | Direct sun or nearby electronics | Use a shaded location away from heat |
| Carbon monoxide | Combustion-related safety hazard | Assuming a CO2 monitor detects it | Use dedicated alarms as required |
Related guides: CO2 Monitors for Homes: What Good Numbers Look Like and Why They Matter • CO2 in Bedrooms: What Levels Mean and How to Improve Air Exchange • Where to Place an Air Quality Monitor: Height, Distance, and Rooms • How to Clean and Calibrate an Air Quality Monitor
CO2 Monitor Placement Takeaways
Good CO2 monitor placement means sampling air that represents the occupied room. In most homes, that means positioning the device roughly 3 to 6 feet above the floor and several feet from people, windows, doors, vents, fans, and purifier outlets.
On a desk, keep the sensor out of the user’s direct breathing path. In a bedroom, separate it from sleepers’ heads and review sustained overnight patterns rather than isolated peaks. Allow the monitor to settle after moving it, maintain consistent placement, and check calibration guidance when readings appear implausible.
Use CO2 as one indicator of ventilation, not as a complete measure of indoor air quality. Particle levels, humidity, combustion safety, odors, and other conditions require their own measurements and controls.
Frequently asked questions
Where is the best place to put a CO2 monitor in a room?
Place it in the occupied area, roughly 3 to 6 feet above the floor, where room air can circulate freely around the sensor. Keep it several feet away from people, open windows, doors, supply vents, fans, and air purifier outlets so it samples mixed room air rather than a local air stream.
How far should a CO2 monitor be from a bed or sleeping person?
Aim for about 3 to 6 feet from the nearest sleeper’s head when the room layout allows. A dresser, open shelf, or bedside surface can work if the monitor is not directly beside the pillow or in the path of exhaled breath.
Can I put a CO2 monitor on my desk?
Yes, a desk can be a practical location because it is usually near breathing height and easy to view. Position the monitor away from the direct path of your breath, ideally at the far side of a large desk or on a nearby open shelf or side table.
Why does my CO2 monitor spike when I sit close to it?
A sudden spike often occurs because the sensor is detecting concentrated CO2 in your exhaled breath rather than a change in the whole room. Move the monitor farther away from where you sit and evaluate sustained readings over 10 to 30 minutes instead of brief peaks.
Should a CO2 monitor be near a window or air vent?
It is usually better to keep the monitor several feet from open windows, exterior doors, and heating or cooling vents. Fresh outdoor air or conditioned supply air may reach the sensor before mixing with the room, producing a reading that is not representative of the occupied space.
How long should I wait after moving a CO2 monitor?
Wait at least 10 to 30 minutes before comparing a new location under stable indoor conditions. Allow more time if the monitor was moved between rooms with different temperatures or brought indoors from outside, and use longer observation periods to assess normal occupancy trends.
Recommended next:
- Indoor Air Quality Monitors: What to Measure (PM2.5, CO2, VOCs, Humidity)
- CO2 Monitors for Homes: What Good Numbers Look Like and Why They Matter
- VOC Sensors Explained: Why Readings Vary and How to Use Them Safely
- Where to Place an Air Quality Monitor: Height, Distance, and Rooms
- PM2.5 Sensor Accuracy: Why Readings Differ Between Devices
- CO2 Monitor Buying Guide: What to Look For (NDIR vs “eCO2”)
- Clear sizing logic (room size → CADR/ACH)
- HEPA vs carbon explained for real use-cases
- Humidity + ventilation basics to reduce mold risk