
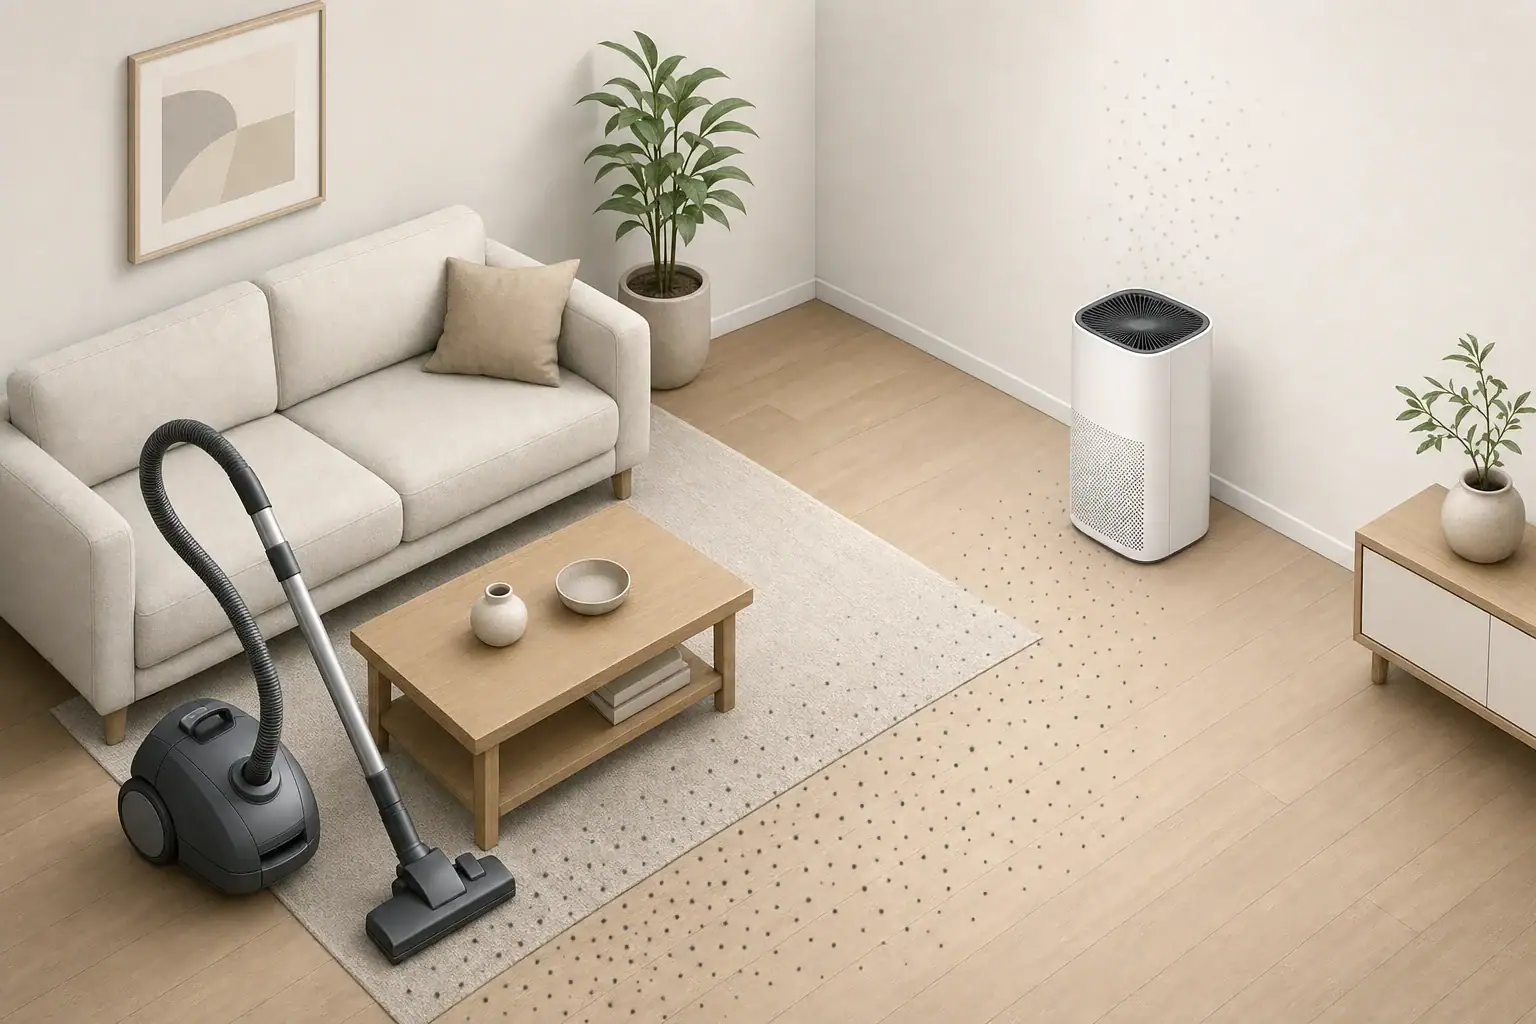
Vacuuming can temporarily raise indoor PM2.5 because the machine, moving air, and foot traffic disturb settled dust and release some fine particles into the room. The size of the increase depends on the vacuum’s filtration and seals, the amount of accumulated dust, the flooring, and how the room is ventilated or filtered. A short spike does not necessarily mean the vacuum is malfunctioning, but a large or persistent increase is worth investigating.
- Check the room’s normal PM2.5 level for 10–15 minutes before cleaning so you have a useful baseline.
- Run suitable particle filtration during vacuuming and for roughly 30–60 minutes afterward; recovery may take longer in dusty or poorly ventilated rooms.
- If using an air purifier, about 3–5 air changes per hour is a practical general planning range for supplemental particle removal during cleaning.
- Vacuum slowly, avoid repeated fast passes, and work from cleaner areas toward dirtier areas.
- Inspect the bag or bin, filters, seals, and hose when readings remain elevated or visible dust escapes.
Why vacuuming can make indoor PM2.5 rise
Household dust is a mixture of fibers, skin flakes, tracked-in soil, combustion particles, pollen fragments, and other materials. Much of it settles on floors and furnishings, but walking and cleaning can return some of those particles to the air.
A vacuum creates strong local airflow at the floor. The nozzle collects material directly beneath it, while air moving around the nozzle can disturb nearby dust. The operator’s steps, the vacuum’s wheels, and movement of furniture add further disturbance.
Some particles may also leave through the exhaust. This is more likely when a filter is missing, overloaded, damaged, poorly fitted, or not designed to capture fine particles. Leaks around the dust compartment, hose connections, or filter housing can bypass the filter media even when the filter itself is efficient.
Hard floors can produce a noticeable spike when a fast-moving floor head pushes fine dust ahead of it. Carpet may hold more dust below the visible surface, and agitation from a rotating brush can release particles before they are captured.
What a PM2.5 monitor is measuring during cleaning
PM2.5 refers to airborne particulate matter with an aerodynamic diameter of approximately 2.5 micrometers or smaller. These fine particles can remain suspended longer than large lint, hair, and visible dust.
Most consumer monitors estimate PM2.5 with an optical sensor. The sensor measures light scattered by particles passing through a small chamber and converts that signal into an estimated mass concentration, usually displayed in micrograms per cubic meter. It does not directly weigh every particle.
Cleaning can produce particles with different sizes, shapes, and optical properties, so the reading should be treated as an estimate. High humidity, aerosol sprays, steam, cooking emissions, and a monitor placed directly in the vacuum exhaust can also affect the result.
How to measure a cleaning spike consistently
- Place the monitor about 3–6 feet from the main cleaning path rather than beside the exhaust or directly on the floor.
- Record a 10–15 minute baseline under normal room conditions.
- Note the reading during cleaning, immediately afterward, and at 15-minute intervals during recovery.
- Repeat the test in the same location and under similar ventilation conditions if comparing cleaning methods.
| Observation | Possible explanation | Practical check |
|---|---|---|
| Brief rise near the floor | Settled dust was disturbed | Use slower passes and allow filtration time |
| Sharp rise near the exhaust | Fine particles or a localized sensor effect | Move the monitor away and inspect exhaust filtration |
| Dust visible around the body | Bag, bin, seal, or connection leak | Stop and inspect parts according to the appliance instructions |
| Readings stay high for over an hour | Heavy dust load or limited particle removal | Check ventilation, purifier airflow, and filter condition |
| Rise occurs only on carpet | Brush agitation is releasing embedded dust | Reduce speed and adjust the floor setting if provided |
| Rise occurs after emptying | Collected dust escaped from the bin or bag | Empty outdoors when practical and clean the surrounding area |
Common reasons dust spikes are unusually large
A high reading during one cleaning session may reflect the room, the vacuum, the monitor, or another particle source. Looking for a repeatable pattern is more useful than reacting to a single peak.
Overfilled bags and bins
Airflow and collection performance can decline as a bag or bin fills. Dust can also collect around gaskets and mating surfaces, preventing the compartment from closing cleanly. Empty or replace the container before it reaches the appliance’s stated limit.
Dirty, damaged, or incorrectly installed filters
A filter that is clogged may reduce airflow, while a torn or poorly seated filter may allow bypass. Use only the cleaning or replacement method specified for that filter. A filter labeled washable should be completely dry before reinstallation.
Leaks in the air path
Cracked hoses, loose connections, worn gaskets, and an improperly closed compartment can release dust before it reaches the final filter. Do not tape over vents or alter the appliance. Replace damaged parts or arrange appropriate servicing.
Cleaning techniques that redistribute dust
Fast passes, dry sweeping before vacuuming, shaking rugs indoors, and directing exhaust toward dusty surfaces can all increase airborne particles. Scented powders and carpet treatments may create additional particles or interfere with monitor readings.
Other sources occurring at the same time
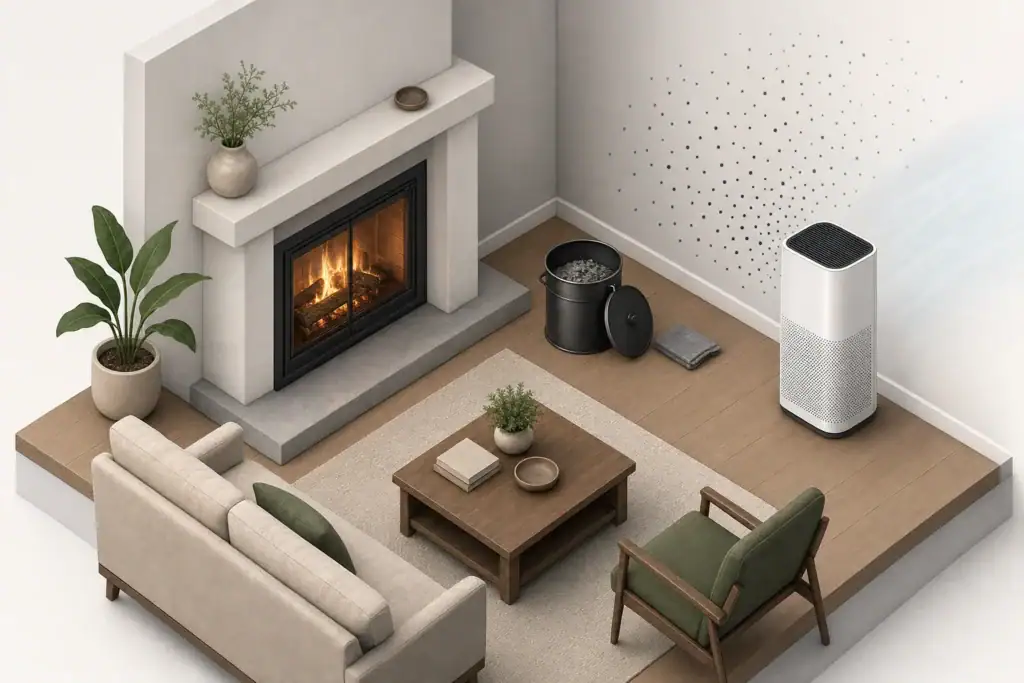
Cooking, candles, fireplaces, outdoor smoke, humidifier mineral dust, and aerosol products can raise PM2.5 independently of vacuuming. Check nearby activities and outdoor conditions before assigning the entire change to the vacuum.
How to vacuum with a smaller particle spike
The goal is to capture settled material while limiting unnecessary agitation and providing a path for remaining airborne particles to leave the room or reach a filter.
Before cleaning
- Remove small objects and move light furniture carefully rather than dragging it across dusty flooring.
- Check that the bag or bin has capacity and that filters and covers are installed correctly.
- Close doors to untreated rooms if you want to contain disturbed dust in the cleaning area.
- Start an appropriately sized air purifier before vacuuming so room airflow is already established.
- Use outdoor ventilation when outside air is suitable and the opening will not introduce smoke, heavy pollution, or excessive humidity.
While vacuuming
- Move the floor head slowly enough to collect material rather than pushing it into the air.
- Use overlapping passes in heavily used areas without repeatedly scrubbing the same spot at high speed.
- Select the intended floor or brush setting when the appliance provides one.
- Keep the exhaust pointed away from uncleaned surfaces where practical.
- Avoid shaking attachments or removing a full bag or bin inside the occupied room.
After cleaning
Allow the purifier or ventilation strategy to continue for 30–60 minutes as a starting point. The appropriate duration depends on room size, airflow, dust load, and the measured recovery pattern. Damp-wiping hard surfaces afterward can collect dust that resettles without launching it into the air again.
Using filtration and ventilation during vacuuming
A vacuum’s internal filter and a room air purifier perform different jobs. The vacuum collects material from surfaces, while the purifier removes a portion of the particles that become airborne.
For particle control, purifier airflow is commonly expressed as clean air delivery rate, or CADR. A simple planning calculation is:
Required CADR in cubic feet per minute ≈ room volume in cubic feet × desired air changes per hour ÷ 60.
For example, a 200-square-foot room with an 8-foot ceiling has a volume of 1,600 cubic feet. Planning for 4 air changes per hour would require about 107 cubic feet per minute of clean air delivery under simplified conditions. Open doors, connected spaces, furniture, filter loading, and lower fan settings can change actual performance.
Place the purifier where its intake and outlet are not blocked. Several feet of clearance from the vacuum exhaust helps prevent the purifier from simply recirculating one concentrated plume. In an open-plan home, use the volume of the connected space rather than the nominal floor area of one zone.
Ventilation can dilute indoor particles, but it is not always the right choice. Keep windows closed when outdoor smoke or particle pollution is elevated. Mechanical exhaust may also depressurize a home, so combustion appliances and installed ventilation systems should always be operated according to their safety instructions.
Real-world vacuuming and PM2.5 examples
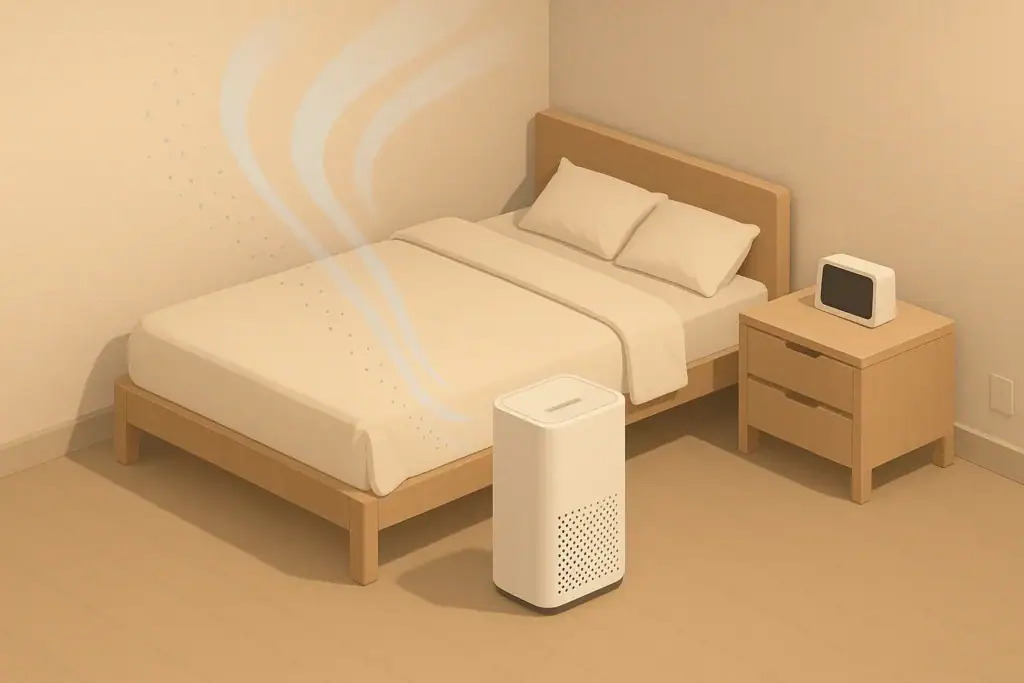
Carpeted bedroom
A monitor rises soon after the rotating brush starts and returns toward baseline within 30–45 minutes while a purifier operates. This pattern is consistent with temporary resuspension. Slower passes, regular vacuum maintenance, and continued post-cleaning filtration may reduce the peak and recovery time.
Hard-floor living area
The reading increases when the floor head moves quickly across visible dust. Reducing speed and using a floor-appropriate setting helps the nozzle capture dust rather than push it. Damp-wiping remaining fine dust after vacuuming can further limit resuspension.
Persistent rise after every use
PM2.5 stays elevated for more than an hour, and the increase is strongest near the vacuum body. Check the bag or bin seal, hose joints, filter fit, and exhaust area. Repeating the observation with the monitor farther away can distinguish a room-wide increase from a highly localized plume.
Spike during bin emptying
The room remains stable while vacuuming but rises when the dust container is opened. Emptying the container outdoors, when practical, can keep this release out of the living area. Follow the manufacturer’s handling directions and avoid compressing collected dust.
Monitor limits, maintenance, and equipment safety
PM2.5 monitors are most useful for identifying trends: the normal baseline, the size of the cleaning peak, and the time required to return toward baseline. Two consumer monitors may report different numbers because of sensor design, calibration, airflow, particle composition, and humidity.
Keep the monitor’s air openings unobstructed and clean it only as directed. Do not place it inside a vacuum exhaust stream or purifier outlet. A location near normal breathing height and away from walls generally gives a more representative room reading.
Maintain the vacuum on a predictable schedule. Check the dust container before use, inspect filters and seals periodically, remove wrapped hair from the floor head, and examine hoses for obstructions or damage. Replacement timing should follow the appliance instructions because filter area, dust load, and operating hours vary.
If supplemental air cleaning is used, mechanical particle filtration is the relevant feature for vacuuming dust. Activated carbon is intended mainly for certain gases and odors and does not replace a particle filter.
Ionizers and some electronic air-cleaning features require additional consideration because certain designs may produce ozone as a byproduct. Ozone is not needed to remove vacuuming dust. Avoid intentionally ozone-generating devices in occupied indoor spaces, and do not modify or bypass appliance safety systems. UV-C features, where present, do not replace particle capture and should remain enclosed as designed.
| Metric or observation | What it can indicate | Common pitfall | Action idea |
|---|---|---|---|
| 10–15 minute PM2.5 baseline | Normal pre-cleaning conditions | Measuring immediately after cooking | Wait for a stable period |
| Cleaning peak | Maximum estimated particle increase | Monitor placed beside the exhaust | Measure several feet from the vacuum |
| 15-minute recovery reading | Early removal or settling trend | Changing windows or fan settings | Keep test conditions consistent |
| 30–60 minute recovery | How quickly the room approaches baseline | Ignoring connected rooms | Account for the full open space |
| Humidity reading | Potential optical sensor interference | Mist or steam near the monitor | Move away from moisture sources |
| Repeated session pattern | Whether the spike is consistent | Drawing conclusions from one event | Compare several similar cleanings |
Related guides:
PM2.5 Explained: What the Numbers Mean and What’s a Safe Level Indoors •
How to Choose the Right Air Purifier for Your Room Size •
Where to Place an Air Quality Monitor: Height, Distance, and Rooms •
Air Purifier Dust Test: How to Track PM2.5 Before and After Changes
Summary of practical takeaways
A temporary indoor PM2.5 rise during vacuuming usually reflects disturbed settled dust, local airflow, and the capture efficiency of the complete vacuum system. Filter labels alone do not determine whole-machine performance because seals, airflow, maintenance, and installation also matter.
- Measure a stable baseline before cleaning and track recovery rather than focusing only on the highest number.
- Use slow, controlled passes and avoid cleaning actions that unnecessarily scatter dust.
- Inspect bags, bins, filters, hoses, and seals when spikes are large, localized near the vacuum, or slow to clear.
- Use appropriately sized mechanical air filtration or suitable outdoor ventilation during and after cleaning.
- Keep monitor placement and room conditions consistent when comparing results.
The most useful benchmark is the pattern in the same room over time. A smaller peak and a steady return toward the usual baseline suggest that cleaning technique, equipment maintenance, and room-level particle removal are working together effectively.
Frequently asked questions
Is it normal for PM2.5 to rise while vacuuming?
Yes. Vacuuming, foot traffic, and brush agitation can resuspend settled fine dust, causing a temporary increase in an indoor PM2.5 reading. A short-lived rise that returns toward the usual baseline after cleaning is generally different from a persistent or visibly dusty exhaust plume.
How long should PM2.5 stay elevated after vacuuming?
Recovery time varies with the room’s dust load, air exchange, filtration, connected spaces, and cleaning method. With suitable particle filtration or outdoor air conditions, readings may begin returning toward baseline within 30–60 minutes, but a larger or poorly ventilated space can take longer.
Where should I place a PM2.5 monitor when testing a vacuum?
Place the monitor roughly 3–6 feet from the main cleaning path and away from direct exhaust, purifier outlets, walls, and the floor. Record a stable 10–15 minute baseline before cleaning, then use the same placement and ventilation conditions for repeat comparisons.
Why does my PM2.5 reading rise more when vacuuming carpet?
Carpet can retain dust below the visible surface, and a rotating brush may release some particles before the nozzle captures them. Use the intended carpet setting, make slower controlled passes, and check the vacuum’s bag or bin, filters, and seals if the rise is repeatedly large.
Should I run an air purifier while vacuuming?
A properly sized mechanical particle air purifier can help remove particles that become airborne during cleaning. Run it during vacuuming and afterward, while keeping its intake and outlet clear and positioning it several feet from the vacuum exhaust when practical.
Does a PM2.5 spike mean my vacuum filter is failing?
Not necessarily, because even a well-maintained vacuum can disturb settled dust. A strong increase near the vacuum body or exhaust, visible dust release, or consistently slow recovery can justify checking the filter installation, bag or bin seal, hose connections, and other air-path components according to the appliance instructions.
- Clear sizing logic (room size → CADR/ACH)
- HEPA vs carbon explained for real use-cases
- Humidity + ventilation basics to reduce mold risk

About this site
Home Air Quality Lab publishes practical, independent guides about indoor air quality—clear sizing, safer use, and real-world expectations.
Affiliate disclosure
Some links on this site may be affiliate links. If you buy through these links, we may earn a small commission at no extra cost to you. This helps support our content. Learn more.