
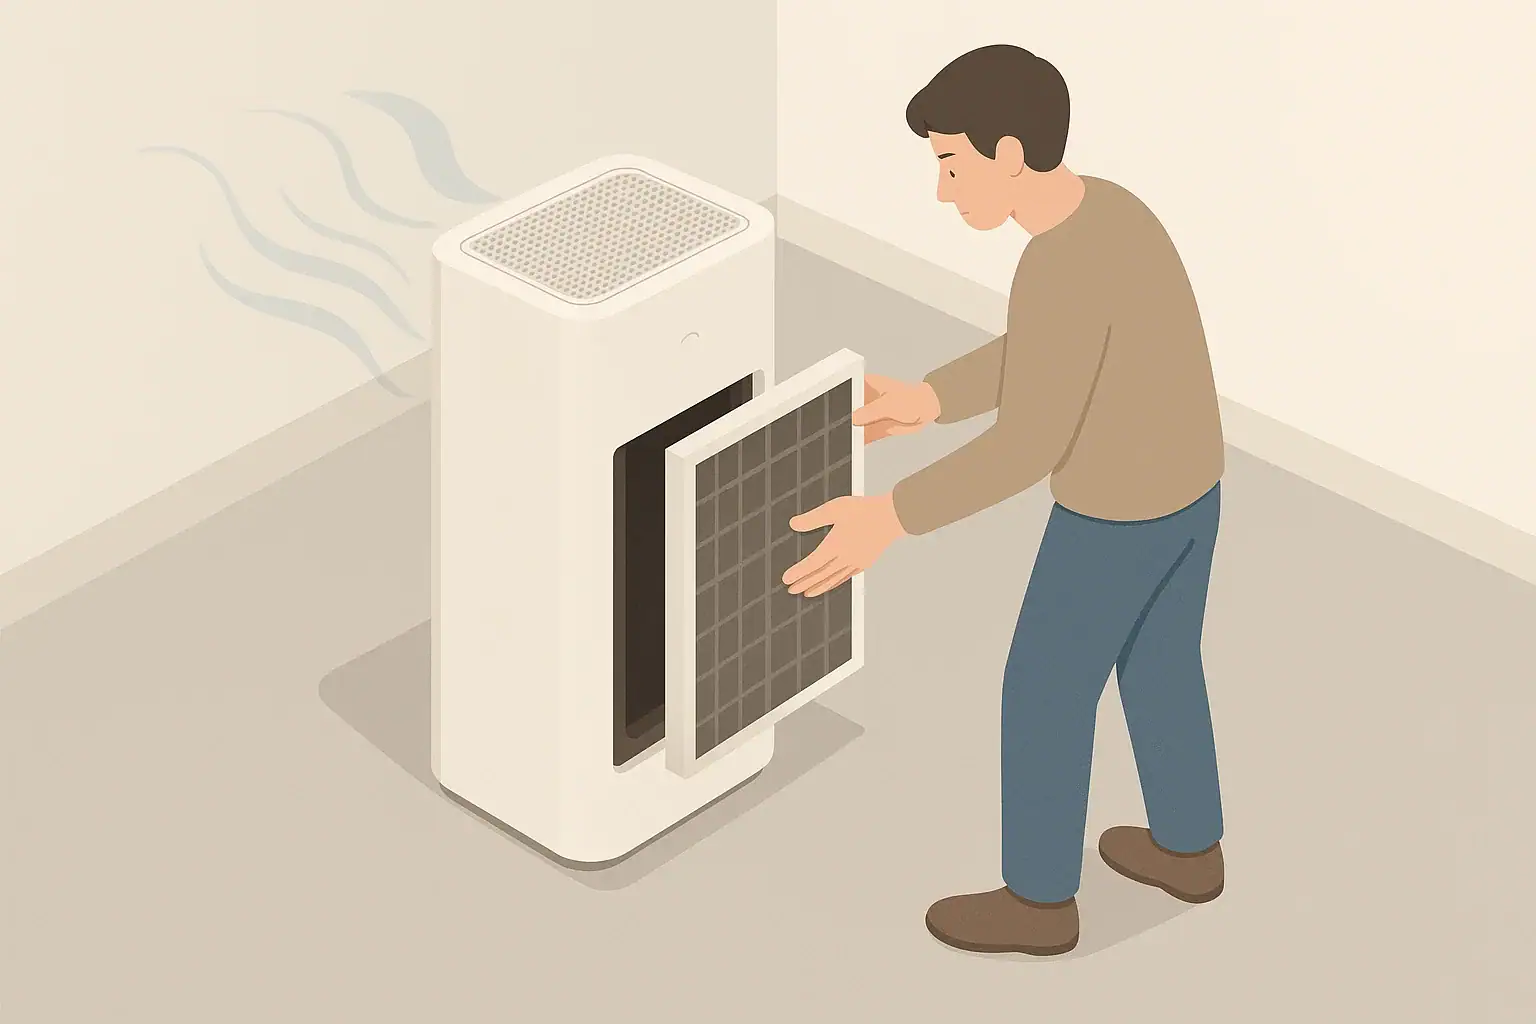
When cleaning air purifier sensors and intakes, avoid liquids, harsh tools, strong air pressure, and any steps that bypass covers or safety parts.
Air purifiers work best when their sensors and air intakes stay clear of dust, but they are also some of the most delicate parts of the unit. A few common cleaning habits—like spraying cleaners directly into vents or using powerful compressed air—can quietly damage sensors, bend intake grilles, or reduce filter sealing, even if the purifier still turns on.
- Avoid spraying water, cleaners, or disinfectants directly into sensors or intake grilles.
- Do not use high-pressure compressed air; aim for gentle airflow or a soft brush instead.
- Skip alcohol wipes and solvents on optical sensors unless the manual explicitly allows them.
- Never run the purifier with filters removed or mis-seated just to “blow dust out.”
- Keep metal tools, sharp objects, and vacuum nozzles away from exposed sensors and delicate fins.
- Clean lightly every 1–3 months, checking the user manual for model-specific instructions.
Why Sensor and Intake Cleaning Matters for Indoor Air Quality
Air purifier sensors and intakes do different jobs, but both shape how well your purifier handles indoor air. The intake is where room air enters the unit and passes through filters. The sensors, when present, help the purifier adjust fan speed and provide basic feedback about airborne particles or other conditions.
As dust, lint, and pet hair accumulate on intake grilles, the purifier has to work harder to move the same amount of air. This can lower the effective air changes per hour (ACH) in the room. Dust on or inside sensors can cause inaccurate readings, making automatic modes run too slowly or too aggressively, which wastes energy and may reduce comfort.
Careful cleaning helps maintain:
- Airflow through the intake so the purifier can reach its intended clean air delivery rate (CADR).
- Stable sensor readings, especially for PM2.5 sensors used by some models.
- Filter life, by limiting dust bypass and buildup around seals and gaskets.
Key Parts: What You Are (and Are Not) Cleaning
It helps to distinguish which parts you should touch and which should stay mostly hands-off. Many problems start when someone treats a delicate sensor like a rugged filter or vent.
Air intake areas
The intake usually appears as a grille or series of slots where air is pulled into the purifier. On many units it may be on the front, back, or sides, and sometimes around the entire lower perimeter. Dust tends to collect on these openings as air constantly flows through.
On the inside, just behind the intake, you usually find the pre-filter and the main filters (for example, a HEPA-type filter and possibly an activated carbon layer). Those are intended to capture dust and other contaminants, and they are typically removable for replacement or gentle cleaning as directed by the manual.
Sensors and sensor inlets
Some purifiers include built-in sensors. The most common types related to cleaning are:
- Particle (PM2.5) sensors – usually optical sensors that pull a tiny stream of air past a light source.
- Dust sensors – similar concept, sometimes with a small window or opening.
- Basic air quality indicators – often share a particle sensor or use a simple dust detector.
These sensors may sit behind a small grille or recessed opening. The sensitive area is typically an internal chamber that should not be touched directly. Cleaning normally focuses on dust around the sensor inlet rather than inside the sensor body itself, unless the manual gives specific steps.
What is usually off-limits
In general, avoid touching or aggressively cleaning:
- Internal sensor windows or lenses.
- Fan blades and motor components unless the manufacturer provides clear instructions.
- Circuit boards and internal wiring.
These parts can be sensitive to moisture, static, and physical stress, so cleaning focuses on external dust and easily accessible surfaces.
| Task | Why it matters | What not to do |
|---|---|---|
| Dusting intake grilles | Keeps airflow closer to the purifier’s design level. | Do not scrub with abrasive pads or metal brushes. |
| Cleaning sensor inlets | Helps sensors avoid falsely high or low readings. | Do not blow high-pressure air directly into sensor openings. |
| Vacuuming pre-filters | Reduces visible dust load between filter changes. | Do not press hard with the nozzle or bend the frame. |
| Wiping outer housing | Prevents dust and residue from migrating into vents. | Do not let liquid run into seams or control panels. |
| Resetting filter indicators | Keeps maintenance reminders aligned with actual use. | Do not reset without checking filters physically. |
| Checking filter seals | Helps limit bypass where air skips the filter. | Do not trim gaskets or add homemade spacers. |
Example values for illustration.
Common Cleaning Mistakes That Can Damage Sensors and Intakes
Many air purifiers stop working well long before they fail completely, often because of small cleaning habits that seemed helpful at the time. Knowing what not to do can keep both sensors and intakes closer to their original condition.
Using liquids directly on vents or sensors
Spraying glass cleaner, disinfectant, or even plain water straight into intake grilles or sensor openings is a frequent source of trouble. Liquids can migrate deeper into the unit than expected, wetting filters, rusting metal parts, or leaving residue on sensor optics.
Instead of spraying, lightly dampen a cloth away from the purifier and wipe accessible external surfaces. For sensor inlets, most manuals recommend only dry cleaning (such as a soft brush or cotton swab around, not inside, the opening), if any cleaning at all.
Overusing compressed air or strong vacuum suction
High-pressure compressed air can force dust deeper into sensor chambers or push debris into fan bearings. It may also spin fans faster than intended, stressing bearings or electronics. Similarly, a vacuum nozzle placed directly against an intake grille or sensor inlet can bend fins and dislodge parts.
If you use canned air at all, keep it at a safe distance with short, gentle bursts and avoid blowing directly into sensor openings. For vacuuming, stay a few inches away and use a brush attachment with light contact only on sturdy grilles.
Touching sensor windows and internal parts
Optical sensor windows and internal surfaces are designed to be aligned and clean from the factory. Fingerprints, scratches, and fibers can interfere with how they scatter or detect light, leading to readings that drift over time.
Unless the manual provides specific access steps, avoid opening sensor housings or touching internal parts. If the sensor seems far off, a general exterior cleaning and filter check are safer first steps than disassembly.
Running the purifier without filters “to blow it out”
Sometimes people remove filters and run the unit on high to try to clear dust. This can send unfiltered dust through the fan and toward sensors, where it can be harder to remove later. It may also change the airflow pattern enough that particles settle in places they normally would not reach.
In general, operate the purifier only with filters properly installed and seated, and wipe or vacuum external dust instead of relying on fan-only cleaning.
Using harsh chemicals, solvents, or alcohol on plastics
Strong cleaners, including some alcohol solutions, can cloud plastics, weaken sensor housings, or swell rubber gaskets around intakes and filter frames. Even if damage is not obvious at first, repeated exposure can cause parts to loosen or crack.
For routine cleaning, a slightly damp cloth with mild soap (kept away from openings) or a dry microfiber cloth is usually enough. Always verify any chemical use against the product manual.
Safe, Practical Ways to Clean Air Purifier Intakes
Safe intake cleaning keeps dust from building up where air enters the purifier without pushing debris deeper inside or deforming parts. The goal is gentle, regular maintenance instead of rare, aggressive cleanings.
Step-by-step intake cleaning approach
A typical, low-risk routine for most purifiers looks like this (always cross-check with your user manual):
- Power off and unplug the purifier before any cleaning.
- Remove outer covers or grills only if the design allows it without tools or with basic latches.
- Use a soft brush or microfiber cloth to loosen dust on intake slats, working from top to bottom.
- Vacuum gently with a brush attachment, staying a short distance from the surface rather than pressing hard.
- Wipe the exterior surfaces around the intake with a lightly dampened cloth, ensuring no drips enter vents.
- Let all surfaces dry completely before powering the unit back on if any moisture was used nearby.
Frequency for intake cleaning
How often you clean depends on dust levels and usage, but many households find that a light intake cleaning every 4–12 weeks works reasonably well. Homes with pets, heavy dust, or frequent door opening may need monthly attention, while lower-dust spaces may stretch intervals longer.
What to avoid around the intake
Even when not actively cleaning, a few placement habits help keep intakes clear without extra work:
- Avoid placing the purifier directly on thick carpets or rugs that can block low intakes.
- Do not stack items or laundry against intake sides.
- Keep at least several inches of clearance around intake areas so dust is not funneled from tight corners.
Safe, Practical Ways to Clean Air Purifier Sensors
Sensor cleaning requires a lighter touch and a narrower focus than intake cleaning. In many cases, the safest course is minimal, dry cleaning around sensor inlets only, and only as needed.
Finding the sensor and its inlet
Your manual or product label often shows the general sensor area. It may be marked by a small slot, hole, or recessed grille, sometimes labeled as a dust or PM sensor in the documentation. On some units, the sensor is on the side or back; on others, it may be partly concealed behind a removable cover.
Gentle sensor cleaning method
If the manual allows user cleaning of the sensor area, a conservative method usually includes:
- Unplugging the purifier and waiting a minute for any internal airflow to stop.
- Using a soft, dry brush (for example, a small clean artist’s brush) to loosen dust around the sensor inlet.
- Tapping or gently blowing across the opening from a short distance, not directly into it.
- Avoiding direct contact with any visible sensor window, lens, or electronic components.
Unless the manufacturer clearly instructs you, avoid inserting cotton swabs or other objects into sensor inlets. It is easy to leave fibers behind or disturb alignment.
When to suspect a dirty sensor
Signs that a sensor may need attention include:
- The purifier stays on high or low speed in auto mode despite obvious changes in room activity.
- Indicator lights or basic air quality readings do not change over time, even in dusty situations such as cooking or vacuuming nearby.
- Readings look very different from a separate, basic particle monitor under similar conditions (keeping in mind that devices will rarely match exactly).
Before focusing on the sensor, ensure filters are not clogged and intakes are not blocked; poor airflow can also lead to unexpected sensor behavior.
Real-World Examples: What Not to Do in Common Scenarios
Looking at a few household scenarios can clarify how seemingly minor choices affect sensors and intakes.
Scenario 1: Pet hair and heavy dust near the floor
A purifier with a low intake is placed near a favorite pet bed. Over time, hair and dust accumulate on the intake grille. Using a stiff brush and strong vacuum suction pressed tightly against the grille may pull hair off, but it can also bend plastic slats or draw hair deeper into the unit.
Instead, gently brush the intake surface, then vacuum at a slight distance. Consider moving the purifier slightly away from the heaviest hair zones to reduce buildup between cleanings.
Scenario 2: Kitchen adjacency and greasy residues
A purifier placed near an open kitchen area can collect fine grease particles along with dust. Spraying degreaser directly on the intake or sensor area can draw liquid into the unit.
Safer alternatives include wiping the exterior housing with a lightly damp cloth, keeping the intake facing away from stovetops, and relying on ventilation or range hoods to manage cooking output before it reaches the purifier.
Scenario 3: Trying to “fix” erratic auto mode
After several months, auto mode seems inconsistent. Assuming the sensor is dirty, someone opens the unit, removes a small internal cover, and cleans the sensor window with alcohol and tissue. The readings change temporarily, but over time the sensor drifts further.
In many cases, leaving the sensor housing closed, cleaning only around the inlet, and replacing or checking filters first is the more reliable path. If a sensor appears truly faulty, contacting the manufacturer or a service professional is usually safer than disassembly.
Safety, Standards, and Built-In Features to Respect
Air purifiers include design features and safety measures that can be unintentionally defeated by overzealous cleaning. Respecting these safeguards helps avoid new issues while trying to solve old ones.
Do not bypass covers or interlocks
Many units have covers, latches, or interlocks that stop the fan when panels are removed. Propping these open or modifying them for easier access exposes internal parts to dust and physical damage, and can also be a safety risk.
During cleaning, open only the panels meant to be user-removable. Close and secure them fully before operating the purifier again.
Ionizers, UV-C, and other add-ons
Some purifiers include optional features like ionizers or UV-C lamps. From a cleaning standpoint, it is generally best not to disturb or wipe these components unless the manual gives specific instructions. Touching or bending such parts can alter how they operate.
As with sensors, dry dust removal around these areas, without direct contact or liquids, is safer than detailed internal cleaning attempts.
Electrical and moisture safety
Mixing electricity and moisture is always a concern. Keep all liquid-based cleaning to external, unplugged surfaces, and wring out cloths thoroughly before use. Avoid letting any fluid run into seams, buttons, vents, or sensor openings.
Maintenance Timing and Cost Planning for Long-Term Performance
Routine, gentle maintenance often costs less over time than letting dust accumulate and then resorting to aggressive cleaning. Planning ahead for filter replacements and light cleaning sessions helps keep sensors and intakes effective without last-minute fixes.
Aligning cleaning with filter checks
A practical approach is to align intake and sensor checks with filter inspections or replacements. Each time you look at the filters, quickly inspect the intake area and sensor inlet for visible dust and address it gently if needed.
Balancing cleaning and replacement
Filters, especially fine particle filters and carbon layers, have a limited capacity. Over-cleaning some filter types can damage fibers or reduce performance. It is better to replace filters on a reasonable schedule than to try to extend their life indefinitely with intense cleaning that might shed fibers into sensors or the fan.
Many households find that pre-filters can be gently vacuumed or rinsed (only if the manual allows it), while main filters are simply replaced when indicated by hours of use, visible discoloration, or manufacturer guidance.
| Filter type | Typical interval range (example) | What changes it | Reminder |
|---|---|---|---|
| Washable pre-filter | Every 1–3 months for cleaning | Pet hair, visible dust load, smoking indoors | Let fully dry before reinstalling to protect sensors. |
| Non-washable pre-filter | Every 3–12 months for replacement | Dusty homes, nearby roads, frequent door opening | Do not soak or wash if not designed for it. |
| HEPA or similar fine filter | Every 6–24 months | Fan speed usage, local wildfire smoke, indoor activities | Avoid aggressive vacuuming that may release fibers. |
| Activated carbon filter | Every 3–12 months | Cooking odors, nearby traffic, indoor chemicals | Do not wash unless manual states it is washable. |
| Combined filter cartridges | Every 6–18 months | Operating hours, fan level, room dust levels | Replace as a unit rather than separating layers. |
| Internal foam or gaskets | Inspect yearly | Age, repeated cleaning, chemical exposure | Do not trim or glue; seek proper replacements. |
Example values for illustration.
Related guides: Air Purifier Maintenance Checklist: Filters, Sensors, and Cleaning • Air Purifier Placement: Where to Put It for Best Results • How Often Should You Replace a HEPA Filter?
Summary: Simple Rules for Cleaning Sensors and Intakes Safely
Careful cleaning of air purifier sensors and intakes supports airflow and more stable operation without shortening the life of delicate parts. The main risks come from liquids, strong air pressure, harsh tools, and attempts to reach internal sensor components that were not meant for user access.
By unplugging the purifier before cleaning, using soft and dry tools on sensor areas, keeping liquids away from vents, and replacing filters on a sensible schedule, most households can maintain their purifiers effectively. Observing how the unit behaves over time—fan noise, airflow at the intake, and any available indicators—can guide when a light cleaning is needed, without resorting to steps that might do more harm than good.
Frequently asked questions
How do I clean a particle or PM sensor inlet without causing damage?
Unplug the purifier and use a small, soft, dry brush to loosen dust around the sensor inlet, then gently tap or blow across the opening from a short distance. Do not insert objects into the inlet, touch sensor windows, or apply liquids unless the manual explicitly permits it.
Is it safe to use compressed air or a vacuum on intake grilles?
Avoid high-pressure compressed air since it can force dust deeper into the unit; if you use canned air, apply short, gentle bursts from a distance. For vacuuming, use a brush attachment and keep the nozzle a few inches away to prevent bending fins or dislodging parts.
Can I run the purifier without filters to “blow out” dust?
No. Running the purifier without filters can send unfiltered dust into the fan and sensor chambers, increasing contamination and potentially causing lasting issues. Always operate the unit with properly installed filters and clean externally instead.
Which household cleaners are safe near intakes and sensors?
Use a lightly damp microfiber cloth with mild soap for external housings and keep any moisture away from vents and inlets. Avoid alcohol, solvents, and strong chemicals on or near sensor openings unless the manufacturer’s manual explicitly allows them.
How often should I check and lightly clean sensors and intake areas?
Inspect and lightly clean intakes and sensor inlets every 1–3 months as a general guideline, with more frequent checks in homes with pets, heavy dust, or frequent cooking. Coordinating these checks with filter inspections helps catch buildup early.
Recommended next:
- Air Purifier Maintenance Checklist: Filters, Sensors, and Cleaning
- When to Replace Carbon Filters (And How to Tell They’re Spent)
- How to Clean and Calibrate an Air Quality Monitor
- Air Purifier Maintenance Checklist: Monthly and Seasonal Tasks
- Filter Replacement Schedules: HEPA, Carbon, and Pre-Filters
- More in Maintenance & Replacement →
- Clear sizing logic (room size → CADR/ACH)
- HEPA vs carbon explained for real use-cases
- Humidity + ventilation basics to reduce mold risk