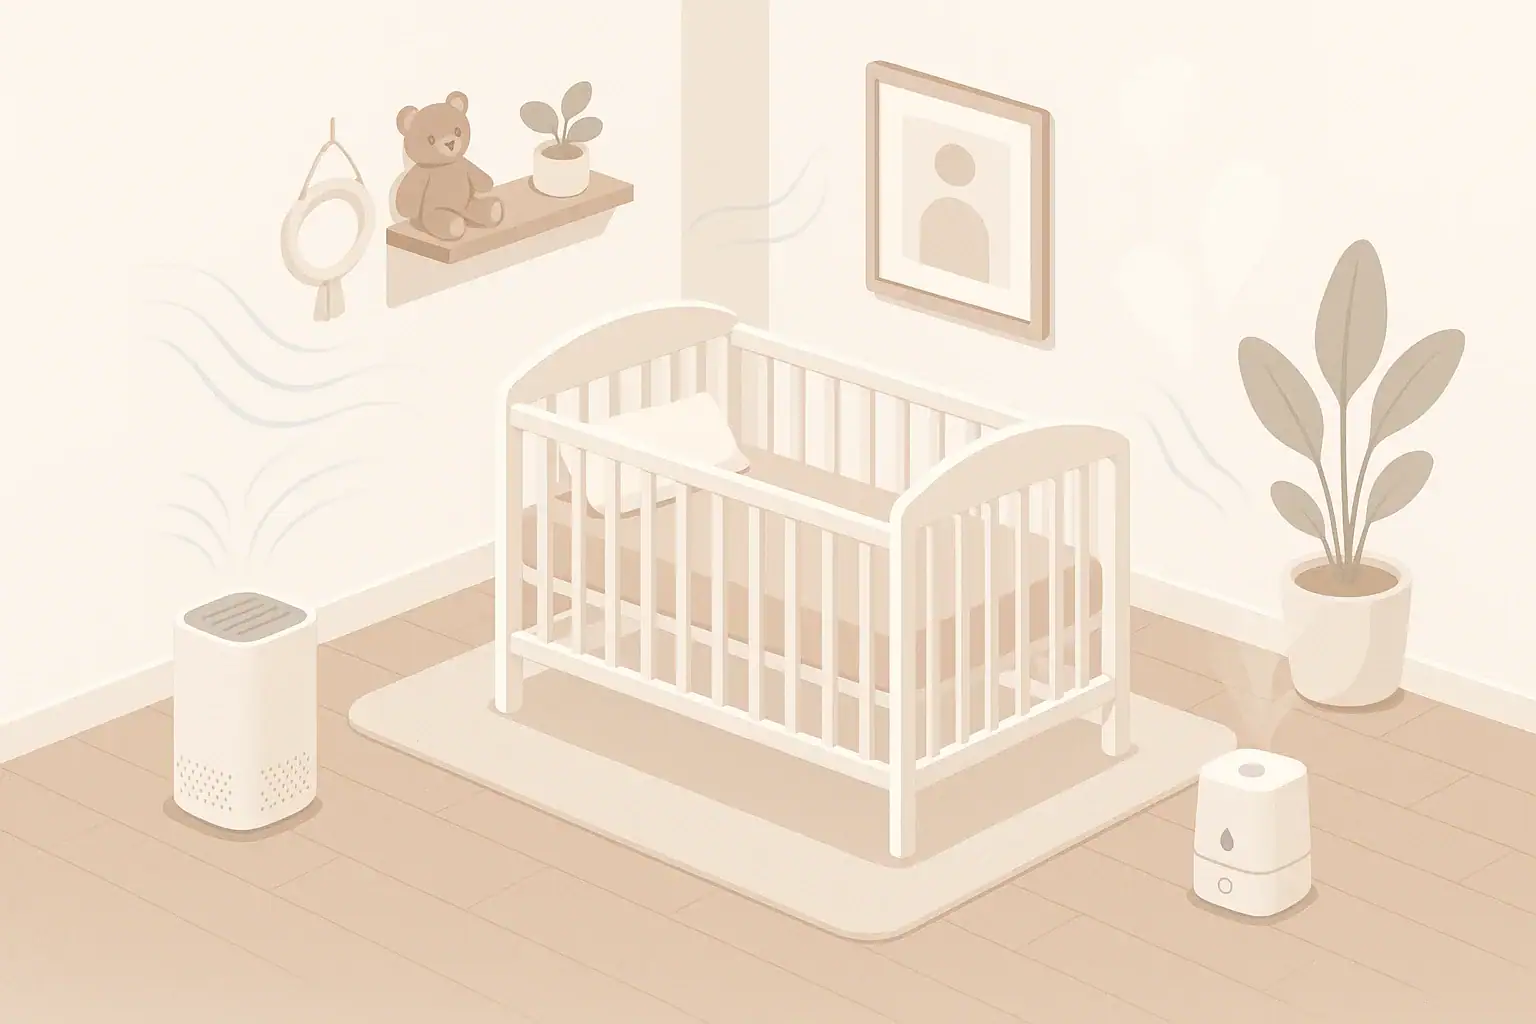
An allergy-friendly nursery balances humidity, ventilation, and filter safety to keep indoor air calm, clean, and comfortable for a baby.
Creating this balance does not need to be complicated. It means keeping humidity in a comfortable mid-range, providing gentle fresh air flow, and choosing filtration that removes particles without adding new irritants. The goal is to reduce common triggers like dust, pollen, and dampness while keeping the room safe, quiet, and easy to maintain.
- Aim for nursery humidity around 40–50% relative humidity most of the time.
- Use simple ventilation: slightly open interior doors, crack a window when outdoor air is reasonable, or use existing fans on low.
- Choose an air purifier with a sealed HEPA or equivalent filter and no ozone-generating features.
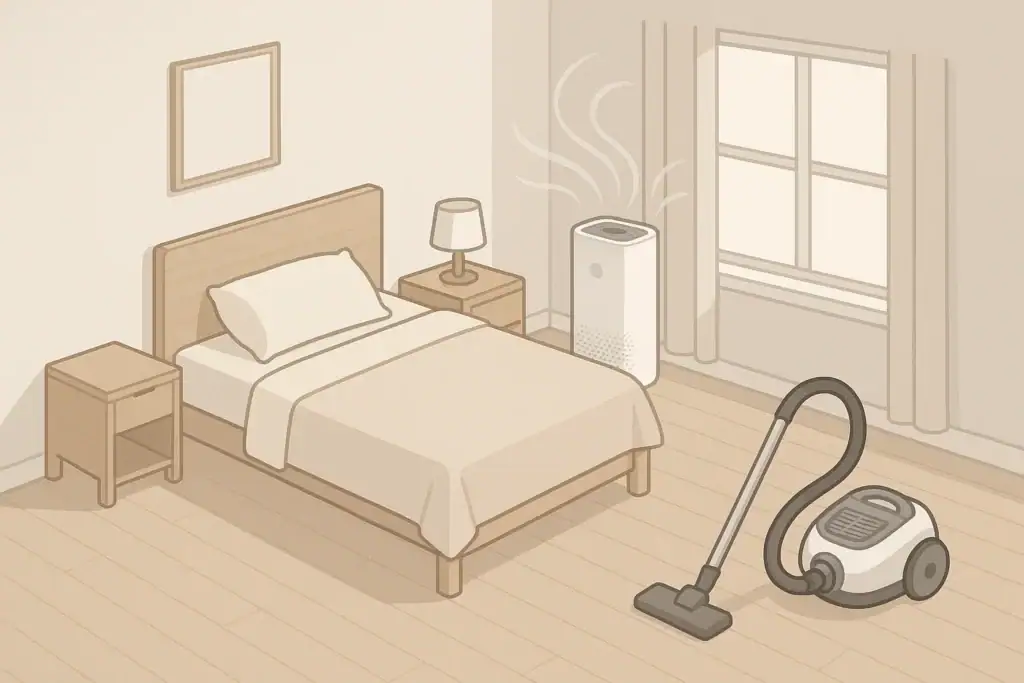
- Keep devices and cords out of reach, stable, and at least a few feet from the crib.
- Change filters and clean humidifiers on the schedule recommended by the manufacturer to avoid buildup.
What an Allergy-Friendly Nursery Really Means
When people talk about an allergy-friendly nursery, they generally mean a room where common airborne triggers are reduced and air conditions stay stable. This is more about good habits and simple tools than about special products.
The main elements are:
- Humidity that is not too dry or too damp, to limit dust and mold growth.
- Ventilation that brings in some fresh air and dilutes indoor pollutants.
- Filtration that quietly captures particles like dust, pet dander, and pollen.
- Safety so that devices do not add irritants, overheating risks, or small-parts hazards.
None of these factors can guarantee an allergy outcome, but together they help create a calmer environment that many families find more comfortable, especially for sensitive babies.
Key Concepts: Humidity, Ventilation, and Filters
Understanding a few basic air quality concepts helps you make practical decisions in a nursery without guesswork.
Humidity: Finding the Comfortable Middle
Humidity is the amount of moisture in the air, usually described as relative humidity (RH). For most homes, a 40–50% RH range is often considered a reasonable comfort target.
Why this range is often chosen:
- Below ~30%: Air can feel very dry, which may be uncomfortable for skin and airways.
- Above ~60%: Air can feel damp, and surfaces can stay moist longer, which tends to support mold and dust mite growth.
In a nursery, staying in the mid-range reduces the chance of very dry or very damp conditions. A basic digital hygrometer can help you check humidity without guessing.
Ventilation: Getting Fresh Air In and Stale Air Out
Ventilation is the exchange of indoor air with outdoor air. It dilutes indoor particles and gases, including those from people, furniture, and cleaning products. In a nursery, the aim is gentle, steady air exchange without drafts blowing directly on the baby.
Common ventilation options include:
- Keeping the nursery door slightly open so air can move through the home.
- Cracking a window when outdoor air quality is reasonable and weather allows.
- Using bathroom or kitchen exhaust fans in the home to help pull stale air out and fresh air in.
- In some homes, relying on central HVAC that already brings in and filters air.
The best option depends on the home’s layout and local outdoor air, but the principle is consistent: avoid sealing the nursery so tightly that the same air just recirculates for long periods.
Filters and Purifiers: What They Actually Do
An air purifier for a nursery is usually a portable device with a fan and one or more filters. The core filter types to understand are:
- Particle filter (often called HEPA or equivalent): Designed to capture fine particles like dust, pet dander, and many pollen particles.
- Activated carbon filter: A porous material that can help reduce some odors and certain gases (VOCs), though capacity is limited and it saturates over time.
Key ideas for nursery use:
- Look for a sealed filter path (so air flows through the filter, not around it).
- Choose a size matched to the nursery so air cycles through several times per hour at a low or medium fan speed.
- Confirm the device does not intentionally produce ozone, since ozone is an irritant.
Ventilation does not replace humidity control, but filtration can complement them by reducing particle levels in the room.
| Situation in nursery | Most helpful tool | Why it helps | Notes |
|---|---|---|---|
| Visible dust on surfaces, sneezing around pets | Air purifier with particle filter | Reduces suspended dust and dander | Still need regular dusting and washing bedding |
| Room feels stuffy, air smells “used” | Ventilation (window, open door, exhaust fan) | Brings in fresher air and dilutes buildup | Check outdoor air quality and temperature |
| Dry skin, very low winter humidity | Humidifier | Adds moisture to reach mid-range RH | Clean frequently to avoid mineral and biofilm buildup |
| Damp smell, condensation on windows | Dehumidifier or improved ventilation | Lowers humidity to discourage mold | Also check for leaks or water intrusion |
| Cooking or smoke from other rooms drifting in | Ventilation plus purifier | Removes particles and refreshes air | Try to control source outside nursery when possible |
| New furniture or paint odors | Ventilation plus carbon filter | Helps dilute and adsorb some VOCs | Off-gas furniture before baby spends long hours in room |
Example values for illustration.
Common Mistakes in Nursery Air Management
Most nursery air issues come from aiming for comfort but overshooting in one direction. Recognizing common patterns can help you adjust early.
Over-Humidifying with a Humidifier
Running a humidifier continuously on a high setting can push humidity above 60%, especially in a small room with the door closed. This can leave soft furnishings and window frames slightly damp, which may support mold and dust mites.
Signs of over-humidification include:
- Condensation on windows, especially in cooler weather.
- Damp or musty smells.
- Visible moisture on walls or nearby surfaces.
Using a hygrometer and setting the humidifier to a lower level, or turning it off once the mid-range is reached, usually resolves this.
Sealing the Nursery Too Tightly
Closing doors and windows to keep noise and outdoor air out is understandable, but overly sealed rooms can become stuffy and accumulate indoor pollutants from people, materials, and cleaning products.
Simple cues that ventilation may be limited:
- Air feels stale or heavy when entering the room.
- Lingering smells from diapers or cleaners that do not clear.
- Fogged windows with no obvious moisture source.
Even a slightly open door or occasional window airing can improve this without creating drafts on the crib.
Placing Devices Too Close to the Crib
Fans, purifiers, and humidifiers work better when they have space. Placing them right next to the crib can create unwanted air currents, noise, or moisture buildup on bedding or the baby’s face.
In most nurseries, a more suitable placement is:
- At least 3–6 feet away from the crib, when space allows.
- Off to the side of the room, not blowing directly on the sleeping area.
- On a stable surface or the floor, with cords secured out of reach.
Choosing Complex Features Over Simple Safety
Some air devices offer ionizers, UV-C lamps, or other advanced-sounding features. These can have specific uses, but they also add complexity and sometimes maintenance steps. For a nursery, many families prefer devices that simply filter air without additional byproducts such as ozone.
Reviewing the device’s documentation for statements about ozone or emissions is a useful step before placing it in a baby’s room.
Practical Steps: Setting Up an Allergy-Friendly Nursery
Putting all the concepts together, you can follow a simple sequence when preparing or adjusting a nursery.
Step 1: Check the Room’s Baseline
- Use a hygrometer to measure humidity across a day or two.
- Notice how often the room feels stuffy, and whether windows fog or smell musty.
- Identify any visible dust buildup, vents blocked by furniture, or potential moisture sources.
Step 2: Adjust Humidity Gradually
- If humidity is often below ~30–35%, consider adding a humidifier and run it on a low or intermittent setting.
- If humidity is frequently above ~55–60%, reduce humidifier use, increase ventilation, or consider a dehumidifier in damp seasons.
- Recheck humidity regularly, especially when seasons change.
Step 3: Improve Gentle Ventilation
- Keep the nursery door slightly open when safe and practical.
- Use whole-home exhaust fans (like bathroom fans) periodically to promote air exchange.
- Open a window for brief periods when outdoor conditions are comfortable and local outdoor air quality is acceptable.
Step 4: Add Filtration if Needed
- Select a purifier with a particle filter and, optionally, a carbon layer for odors.
- Match the purifier’s capacity to the nursery’s approximate size so it can turn the air over several times per hour at a lower fan speed.
- Place it where nothing blocks its intake and outlet, typically on the floor or a low table and away from the crib.
- Run it on a quiet setting that can stay on consistently, rather than cycling loudly.
Step 5: Reduce Dust Collectors
Even the best purifier and ventilation cannot fully compensate for significant dust reservoirs. In a nursery, consider:
- Choosing simple window coverings that are easy to wash or wipe.
- Keeping soft toys to a manageable number and washing them periodically.
- Vacuuming or damp-dusting floors and surfaces regularly, ideally when the baby is not in the room.
Example Nursery Scenarios
These common situations illustrate how to combine humidity, ventilation, and filtration choices in practical ways.
Dry Winter Nursery in a Heated Home
In many heated homes, winter air becomes very dry. A nursery might sit at 25–30% RH for weeks.
Possible steps:
- Add a cool-mist humidifier and run it on low, checking that humidity gradually rises toward the mid-range.
- Ensure some air movement by keeping the door slightly open and using central HVAC if available.
- Clean the humidifier as directed to avoid mineral deposits and microbial growth.
Humid Summer Nursery in a Damp Climate
In humid climates, especially without strong air conditioning, nursery humidity can stay above 60% for long stretches.
Possible steps:
- Use air conditioning or a dehumidifier to reduce moisture in the home.
- Run bathroom or kitchen exhaust fans when cooking or showering to lower indoor humidity load.
- Avoid running a humidifier unless humidity drops below comfort range.
Nursery in a Home with Pets
When pets share the home, dander and tracked-in pollen are common concerns.
Possible steps:
- Place an air purifier with a particle filter in the nursery and run it continuously on low.
- Keep pets out of the nursery as much as practical to limit direct shedding in the room.
- Vacuum and launder fabrics regularly to keep reservoirs low.
Newly Furnished Nursery with Odors
Fresh paint, new furniture, and new mattresses can emit odors and some volatile organic compounds (VOCs) as they off-gas.
Possible steps:
- Allow furniture to off-gas in a well-ventilated space before heavy use by the baby, when possible.
- Increase ventilation for days or weeks after setup, such as by opening windows periodically.
- Use a purifier with an activated carbon component to help with some odors, understanding it will need replacement as it saturates.
Safety and Standards in Nursery Devices
When placing any electrical appliance in a baby’s room, safety is as important as performance. For air devices, focus on both physical and air quality safety.
Ozone, Ionizers, and UV-C Features
Some air cleaners intentionally generate ozone or use ionizers and UV-C lamps. In a nursery, families often prefer avoiding intentional ozone generation, since ozone is an irritant and does not need to be present to filter particles effectively.
Neutral considerations for extra features:
- Ionizers: May cause particles to settle faster but can also generate small amounts of ozone, depending on design.
- UV-C lamps: Used inside some devices to inactivate microbes on surfaces or in air streams, but require proper housing and maintenance to work as intended.
- Ozone generators: Sometimes marketed for odor removal, but are not suitable for occupied nurseries.
Checking product documentation for statements about ozone and safety certifications can help you decide whether added features fit your comfort level.
Placement, Cords, and Tip-Over Risks
Babies grow quickly, and what is out of reach one month may be reachable the next. Consider:
- Locating devices outside the crib and play area.
- Routing cords behind furniture or using cord covers so they are not easy to pull.
- Choosing placements with a low tip-over risk, such as the floor or a sturdy low shelf.
- Leaving adequate space around intakes and outlets so devices can operate without overheating.
Noise Levels and Sleep
Some families appreciate a low, consistent fan sound as white noise; others prefer near silence. Either way, very loud settings close to the crib can be disruptive.
For most nurseries, a reasonable approach is to:
- Run purifiers and fans on a lower, steady setting overnight.
- Avoid positioning noisy devices directly next to the crib.
- Test noise levels while standing near the crib to ensure they feel comfortable to you.
Maintenance and Upkeep: Keeping Things Working Safely
Devices that manage air quality only stay helpful if they are kept clean and maintained. In a nursery, simple routines matter.
Filter Replacement
Particle and carbon filters gradually load with material. Over time, this can reduce airflow and effectiveness, and in some cases may contribute to odors if not replaced.
Useful habits include:
- Marking installation dates on a small sticker or in a note on your phone.
- Checking indicator lights if the device has them, but also using time-in-use as a guide.
- Vacuuming pre-filters (if washable or vacuum-safe) to remove coarse dust, away from the baby’s space.
Humidifier Cleaning
Standing water and warm conditions in humidifiers can support mineral buildup and microbial growth if not cleaned. To reduce this:
- Empty and refill with fresh water regularly.
- Follow the cleaning schedule and methods in the manual, which may include descaling and disinfecting steps.
- Avoid using additives unless they are specifically allowed by the manufacturer.
Room-Level Cleaning
Routine cleaning of the nursery also helps keep particle levels manageable.
- Dust surfaces with a damp cloth or microfiber to trap dust, rather than spreading it.
- Vacuum or mop floors regularly, ideally when the baby is in another room.
- Wash crib sheets and commonly used textiles frequently.
FAQ: Everyday Decisions About Nursery Air
Some questions come up repeatedly when parents think about nursery air quality. These general answers focus on comfort and practicality.
Should the air purifier run all night?
Many people choose to run a nursery purifier continuously on a low setting so air is filtered steadily and noise stays consistent. If you prefer to turn it off, consider whether any nearby activities (like cooking or vacuuming) might add particles when it is not running.
Is a humidifier necessary in every nursery?
Not necessarily. A humidifier is more of a seasonal tool. In some homes, humidity naturally stays in a comfortable range without added moisture. Measuring humidity first helps you decide whether a humidifier is truly needed.
What if outdoor air quality is sometimes poor?
On days with poor outdoor air, you might rely more on closed windows plus indoor filtration and minimize window opening. When outdoor conditions improve, brief ventilation can help refresh the indoor air. A simple air quality index for your area, if available, can guide window use over time.
Do I need a monitor in the nursery?
A basic humidity or air quality monitor can be helpful for awareness, but it is not mandatory. If you do use one, treat readings as general indicators rather than precise medical information. Look for patterns (such as consistently high humidity) rather than reacting to every small change.
| Goal | Simple actions | Tools | Note |
|---|---|---|---|
| Keep humidity roughly in mid-range | Measure RH, adjust humidifier or dehumidifier use | Hygrometer, humidifier or dehumidifier | Check during different seasons and weather changes |
| Reduce risk of damp corners | Keep furniture slightly off exterior walls | Room layout planning | Helps air circulate behind cribs and dressers |
| Clear condensation on windows | Wipe moisture, improve ventilation, adjust humidity | Exhaust fans, window airing | Persistent condensation may signal high RH overall |
| Address musty smells | Inspect for leaks, dry wet materials quickly | Dehumidifier, fans | Sources like leaks need repair, not just devices |
| Avoid over-humidifying | Use low settings, turn off when RH is adequate | Humidifier with adjustable output | Recheck readings after adjustments |
| Maintain airflow around walls and floors | Limit tightly packed storage on floors and in corners | Simple decluttering | Improves drying after routine cleaning |
Example values for illustration.
Related guides: Best Air Purifiers for Allergies: What to Look For (CADR, HEPA, Carbon) • How to Choose the Right Air Purifier for Your Room Size • Activated Carbon Filters Explained: VOCs, Odors, and What They Can’t Do • How to Clean a Humidifier Properly (And How Often)
Summary: Calm Air Habits for an Allergy-Friendly Nursery
An allergy-friendly nursery comes from a set of small, steady habits rather than a single device. Keeping humidity near the middle range, ensuring gentle but consistent ventilation, and using safe, sealed filtration where helpful all contribute to calmer air.
By watching for simple cues—like condensation, lingering odors, or visible dust—and making gradual adjustments, you can maintain a nursery environment that is comfortable, low in common airborne irritants, and aligned with general safety practices for a baby’s room.
Frequently asked questions
What relative humidity should I aim for in an allergy-friendly nursery?
Aim for roughly 40–50% relative humidity most of the time; this mid-range limits problems associated with both very dry air and excess moisture that encourages mold and dust mites. Use a simple digital hygrometer to monitor levels and adjust a humidifier or dehumidifier gradually as seasons change.
How should I ventilate the nursery when outdoor air quality is poor?
When outdoor air is poor, keep windows closed and rely on indoor filtration and whole-home exhaust fans to reduce indoor particle buildup. Open windows briefly only when local air quality improves, and check an air quality index if available to time ventilation safely.
Which features matter most when choosing an air purifier for a nursery?
Prioritize a purifier with a sealed particle filter (HEPA or equivalent) sized for the room so it can circulate air quietly at a low speed, and confirm the unit does not intentionally generate ozone. An optional activated carbon layer can help with odors but will need replacement over time.
How far should I place a humidifier or purifier from the crib?
Place devices at least 3–6 feet from the crib when possible, off to the side and not blowing directly on the baby, so you avoid strong air currents, moisture buildup on bedding, and excessive noise near the sleeping area. Ensure the device sits on a stable surface and cords are routed out of reach.
How often should filters and humidifier water be cleaned or replaced?
Follow the manufacturer’s replacement schedule for particle and carbon filters—often several months to a year depending on use—and use indicator lights or time-in-use notes to track them. For humidifiers, refill with fresh water daily and perform the recommended cleaning and descaling at least weekly or as the manual indicates to prevent mineral and microbial buildup.
Recommended next:
- Pet Dander Allergy: Best Air Cleaner Setup and Habits That Help
- Dust Mite Allergy: Humidity Targets, Bedding, and Filtration
- Asthma Triggers Indoors: A Practical Checklist to Improve Air Quality
- Bedroom Allergy Setup: The Fastest Changes That Reduce Symptoms
- Pollen Season Indoor Plan: Filters, Ventilation Timing, and Cleaning
- Dust Mites and Humidity: The RH Range That Helps Most
- More in Allergies & Asthma →
- Clear sizing logic (room size → CADR/ACH)
- HEPA vs carbon explained for real use-cases
- Humidity + ventilation basics to reduce mold risk


About this site
Home Air Quality Lab publishes practical, independent guides about indoor air quality—clear sizing, safer use, and real-world expectations.
Affiliate disclosure
Some links on this site may be affiliate links. If you buy through these links, we may earn a small commission at no extra cost to you. This helps support our content. Learn more.