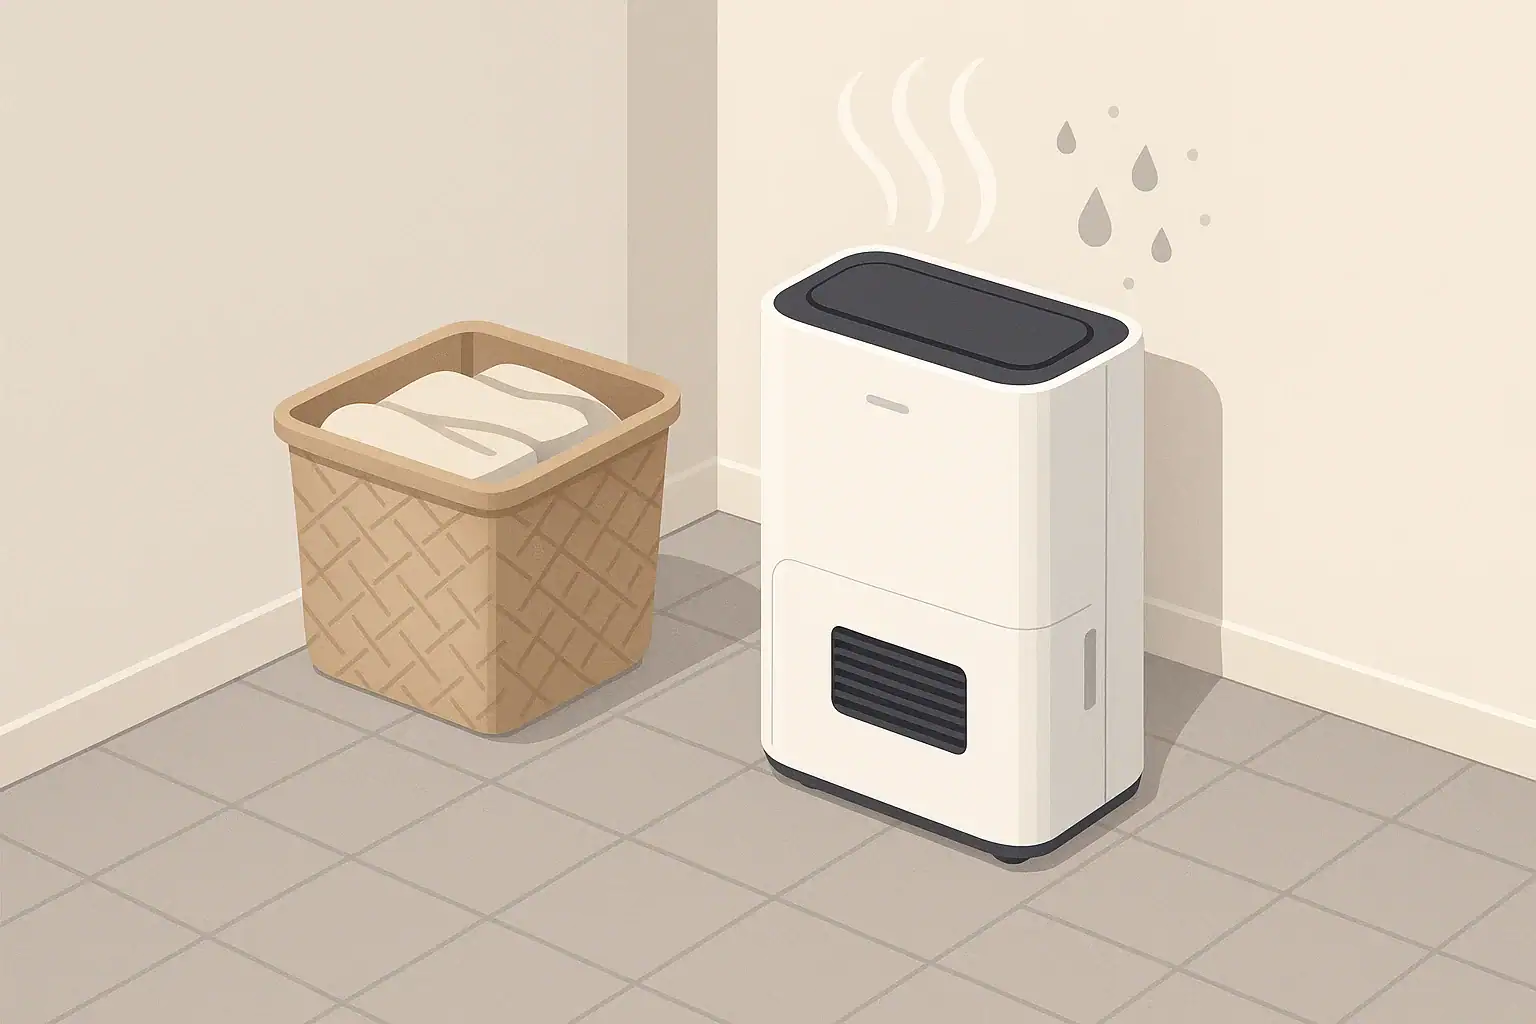
To size a dehumidifier, match the room’s square footage and moisture level to a pints-per-day rating, then round up slightly for real-world conditions. In practice, that means measuring the space, judging how damp it really is, and choosing a capacity that can reach your humidity target without running nonstop. Getting this right improves comfort, protects against mold and musty odors, and avoids wasting energy on a unit that is too small or unnecessarily large.
This guide walks through how to size a dehumidifier for basements, bedrooms, bathrooms, laundry rooms, and whole-home use. You will see how square footage, relative humidity, and layout work together, plus concrete examples and a simple sizing table. You will also find common mistakes, safety basics, and a specs checklist you can use when comparing models, so you can confidently choose the right dehumidifier capacity for your home.
Why Dehumidifier Sizing Matters
Dehumidifier sizing is about matching capacity to moisture load, not just picking a unit labeled for your square footage. A correctly sized dehumidifier can pull indoor humidity into a comfortable range and keep it there with reasonable runtime. An undersized unit may run almost continuously and still leave the air clammy. An oversized unit can short-cycle, create uneven drying, and sometimes be louder and more expensive to operate than needed.
When you size a dehumidifier, you are balancing three main goals:
- Comfort: Air feels less sticky, and surfaces feel dry instead of cool and damp.
- Health and building protection: Lower humidity reduces conditions that favor mold, dust mites, and musty odors, and helps protect building materials and stored items.
- Efficiency: A good match between capacity and space means the unit cycles on and off instead of running flat-out all the time.
Because real homes have different insulation levels, leaks, and moisture sources, sizing is never perfect down to the pint. The goal is a practical “good fit” that handles your worst typical days with a little margin, without paying for far more capacity than you will actually use.
Key Concepts: Sq Ft, Pints/Day, and Humidity Levels
Most dehumidifier boxes and spec sheets mention square footage, pints per day, and sometimes relative humidity. Understanding these terms makes it easier to choose a capacity that fits your space.
Square footage and room volume
Square footage is the floor area of the space you want to dry. To estimate it:
- Measure room length and width in feet.
- Multiply: length × width = square feet.
- For L-shaped or irregular rooms, break the space into rectangles, calculate each area, and add them.
Standard sizing guidelines assume ceilings around 8 feet. If your ceilings are higher, the room holds more moist air, so you may need to step up to the next capacity range.
Pints per day (capacity rating)
Pints per day is the rated amount of water a dehumidifier can remove from the air in 24 hours under standardized test conditions. In your home, the actual water collected depends on:
- How humid the air is when the unit runs.
- Room temperature (most units work best in warmer air).
- How long the compressor runs each day.
Think of pints/day as the maximum drying power under ideal conditions. Higher pints/day ratings generally mean the unit can handle larger or wetter spaces.
Relative humidity and “how damp it feels”
Relative humidity (RH) is how much moisture is in the air compared with the maximum the air can hold at that temperature. Indoors, many people aim to keep RH in a comfortable mid-range most of the time. Basements or storage areas with a history of dampness are often kept toward the lower end of that comfortable range to help limit mold risk.
You can describe moisture level in simple terms:
- Slightly damp: Air sometimes feels a bit clammy after rain, mild musty smell if closed up.
- Moderately damp: Regular musty odor, occasional condensation on cool surfaces.
- Very damp or wet: Strong musty smell, visible wet spots, seepage, or standing water after storms.
For the same square footage, a very damp basement needs a higher-capacity dehumidifier than a slightly damp bedroom.
| Approx. area (sq ft) | Moisture level | Typical capacity range (pints/day) | Notes |
|---|---|---|---|
| Up to 300 | Slightly damp | 20–25 | Small bedroom, office, or den with mild humidity |
| 300–500 | Moderately damp | 25–35 | Finished room over a garage, small basement rec room |
| 500–800 | Moderately damp | 35–50 | Open family room or mid-size finished basement |
| 800–1,200 | Very damp | 50–70 | Large basement with seepage or long humid seasons |
| Over 1,200 | Very damp | 70+ or multiple units | Whole-basement or multi-room open areas |
Real-World Sizing Examples and Step-by-Step Process
Putting the concepts together, here is a simple process you can use to size a dehumidifier, followed by common real-world scenarios.
Step 1: Measure the space
Start by measuring floor area:
- Example: A rectangular basement is 25 ft long and 20 ft wide.
- Square footage = 25 × 20 = 500 sq ft.
If the space is open to adjacent rooms or stairwells, include those areas if air flows freely between them.
Step 2: Consider ceiling height and layout
Check ceiling height:
- If ceilings are 8 ft, you can follow most standard charts directly.
- If ceilings are 9–10 ft or higher, or if the space is two-story open (like a loft), it often makes sense to step up one capacity tier.
For open-plan layouts, treat the connected area as one larger zone. For spaces chopped into many small rooms with doors usually closed, you may need more than one dehumidifier or a central location plus fans to move air.
Step 3: Judge moisture level
Walk into the space after it has been closed up for a while:
- If it smells fresh and only occasionally feels slightly sticky, think “slightly damp.”
- If there is a consistent musty smell or you see light condensation in humid weather, think “moderately damp.”
- If you see wet spots, peeling paint, or white mineral deposits on foundation walls, think “very damp or wet.”
This judgment determines where in the capacity range you should land for your square footage.
Step 4: Pick a capacity range
Use your square footage and moisture level together. A few examples:
- Example 1: 150 sq ft slightly damp bedroom. A small-capacity unit in the 20–25 pints/day range is often adequate.
- Example 2: 500 sq ft moderately damp finished basement. A mid-range unit around 35–50 pints/day gives a useful safety margin.
- Example 3: 900 sq ft very damp basement with occasional seepage. A higher-capacity unit around 50–70 pints/day, or two smaller units placed at opposite ends, may be more practical.
Step 5: Fine-tune with a humidity meter
After you install the dehumidifier, use a basic humidity meter to check performance over several humid days. If the unit runs constantly and RH still stays above your target, you may need more capacity or better moisture control. If RH drops far below your comfort range, you can lower the setting or reduce runtime.
Common Sizing Mistakes and Troubleshooting Cues
Even when you follow a chart, real homes do not always behave like test rooms. Recognizing common mistakes and warning signs can help you adjust your setup without guessing.
Undersizing and overworking the unit
A dehumidifier that is too small for the space or moisture load can show these symptoms:
- Runs nearly nonstop in humid weather.
- Humidity readings stay above your target for most of the day.
- Musty odors persist, and you still see condensation on windows or pipes.
If you see these signs, check for obvious moisture sources (leaks, unvented dryers, standing water) first. If those are addressed and the problem continues, upsizing to a higher pints/day rating or adding a second unit in a distant area may be needed.
Oversizing and uneven drying
A slightly larger unit than the minimum recommended is usually helpful, especially in basements. Problems tend to show up when capacity is far beyond what the space needs. Potential issues include:
- Short cycling: the unit turns on and off frequently, which can reduce efficiency and comfort.
- Dry spots near the unit and damp corners far away if air circulation is poor.
- Higher upfront cost and possibly more noise than necessary for a small room.
If you suspect oversizing, try lowering the target RH setting or using a timer mode if available. Improving airflow with a small fan can also help even out humidity without changing equipment.
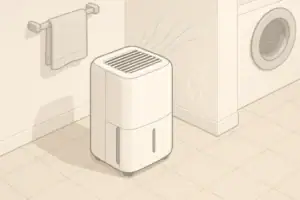
Placement and airflow mistakes
Placement can make a correctly sized dehumidifier act undersized. Common mistakes include:
- Pushing the unit tight into a corner or against walls so intake and exhaust are blocked.
- Placing it in a closed-off room while expecting it to dry a whole floor.
- Hiding it behind furniture, curtains, or storage boxes.
For best results, place the dehumidifier in an open area with space around it, and keep interior doors open within the zone you want to dry.
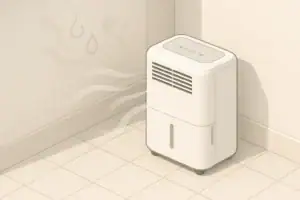
Drainage and maintenance issues that mimic sizing problems
Sometimes a dehumidifier seems too small when it is actually being limited by drainage or maintenance issues:
- The bucket fills quickly and the unit shuts off, so it is not running long enough to reach your target.
- A clogged filter or dirty coils restrict airflow, reducing moisture removal.
- In cooler basements, frost buildup on coils can reduce performance if the unit is not designed for low temperatures.
Check that the bucket is empty or a drain hose is working properly, clean filters on schedule, and make sure the unit is rated for the temperatures where you are using it.
| What you notice | Likely cause | Practical next step |
|---|---|---|
| Unit runs all day, humidity barely drops | Undersized or high moisture intrusion | Check for leaks, improve drainage, consider higher capacity |
| Unit cycles on/off frequently, some areas still feel damp | Oversized unit or poor air mixing | Improve airflow, adjust settings, or use multiple smaller units |
| Bucket fills rapidly and unit shuts off often | High moisture plus limited drainage | Add continuous drain or empty bucket more frequently |
| Musty smell lingers in corners or closets | Dead air zones the unit cannot reach | Open doors, move items from walls, add fan or second unit |
| Dehumidifier noisy and feels too strong for small room | Capacity far above what the room needs | Lower RH setpoint, relocate to larger area, or downsize |
Safety Basics When Using a Dehumidifier
Dehumidifiers are generally safe household appliances, but they combine electricity, water, and continuous operation. A few simple habits can reduce risks and help your unit last longer.
Electrical safety and placement
- Plug the dehumidifier directly into a properly grounded wall outlet. Avoid extension cords unless they are rated for the load and kept off damp floors.
- Keep the unit on a stable, level surface so it does not tip or vibrate excessively.
- Do not place the unit where it can be splashed, such as directly next to an open shower or laundry sink.
Water handling and drainage
- When using a drain hose, route it so water flows downhill and the hose cannot be easily kicked or tripped over.
- Check periodically for leaks around the bucket and hose connection, especially in finished spaces.
- If using a condensate pump, make sure the discharge line is secure and directed to an appropriate drain.
Ventilation and temperature considerations
- Most portable dehumidifiers are designed for typical indoor temperatures. In very cool basements or unheated spaces, check that the unit is rated for those conditions.
- Ensure there is enough space around the intake and exhaust for air to move freely; blocked airflow can cause overheating and poor performance.
- Do not cover the unit with cloths or store items on top while it is running.
Children, pets, and trip hazards
- Position the unit and any drain hoses so they are not in main walkways.
- Be mindful of curious children and pets around buckets of water and electrical cords.
- Secure long hoses or use cord clips where needed to reduce tripping risk.
Long-Term Use, Maintenance, and Storage
Even a well-sized dehumidifier will not perform well if it is clogged with dust or stored improperly between seasons. A few maintenance habits can keep capacity closer to its rated pints per day over the long term.
Routine maintenance during the season
- Clean or check the filter regularly. Many units have a washable filter that should be rinsed and dried according to the manual.
- Inspect the air intake and exhaust. Vacuum dust buildup on grilles to maintain airflow.
- Verify drainage. Make sure the bucket, hose, or pump is working as expected and that water is reaching the drain.
Seasonal checks and adjustments
Humidity needs change through the year:
- In peak humid months, you may run the unit more continuously or at a lower RH setting.
- In cooler or drier months, you may reduce runtime or switch the unit off when outdoor air is naturally dry.
- Use a humidity meter to verify that your settings still match your comfort and mold-prevention goals.
Off-season storage
If you only use your dehumidifier part of the year, proper storage helps protect internal components:
- Turn the unit off and unplug it before moving.
- Empty the water bucket and drain any remaining water from hoses.
- Allow the unit to sit for several hours with the bucket removed so residual moisture can evaporate.
- Store in a dry indoor location where it will not be exposed to freezing temperatures or direct sunlight.
When you bring the dehumidifier back into service, inspect the cord, bucket, and hose for damage and clean the filter before the first run of the season.
Practical Takeaways and Specs to Look For
Sizing a dehumidifier does not have to be complicated. Focus on a few core questions: How big is the space, how damp is it, and how does air move through it? Use your answers to pick a reasonable pints-per-day range, then adjust based on your climate, ceiling height, and whether the space is open or chopped into smaller rooms. After that, a humidity meter and a few weeks of observation will tell you whether you got the size about right.
Once you are comfortable with capacity, you can compare models more confidently. Here is a simple checklist of specs and features to consider when you are ready to choose a dehumidifier.
Specs to look for when choosing a dehumidifier
- Capacity (pints/day): Match to your square footage and moisture level, rounding up slightly for basements or very humid climates.
- Operating temperature range: Make sure the unit is rated for the coolest space you plan to use it in, especially basements or crawl spaces.
- Tank size and drainage options: Larger buckets need fewer trips to empty; a gravity drain or pump connection is helpful for continuous use.
- Humidistat and controls: A built-in humidistat lets you set a target RH instead of running in continuous mode all the time.
- Fan speeds and noise level: Multiple fan speeds and published noise ratings can matter in bedrooms, living rooms, or home offices.
- Filter access and type: Easy-to-remove filters encourage regular cleaning, which helps the unit maintain its rated capacity.
- Defrost or low-temperature features: Useful in cool basements to reduce frost buildup on coils.
- Dimensions and weight: Check that the unit fits where you plan to place it and that you can move it safely if needed.
- Energy use: Compare wattage and any efficiency information against your expected runtime to estimate operating cost.
By combining a solid sizing estimate with attention to these practical specs, you can choose a dehumidifier that fits your home, manages humidity reliably, and supports long-term comfort and moisture control.
In summary, start with square footage and moisture level, choose a reasonable pints-per-day range, and then let real-world humidity readings guide fine-tuning. This approach keeps the process straightforward while giving you enough detail to avoid common sizing mistakes.
Frequently asked questions
How do I decide which specs and features matter when comparing dehumidifiers?
Prioritize capacity (pints/day) matched to your square footage and moisture level, and confirm the operating temperature range for the space. Also evaluate drainage options, a built-in humidistat, filter access, defrost/low-temperature features, noise and energy figures, and available fan speeds.
Why does my dehumidifier run all day but the room stays damp?
That typically means the unit is undersized for the moisture load or there is continuous moisture intrusion (leaks, unvented appliances, standing water). Check airflow, clean filters, verify drainage, and address any sources of moisture before upsizing or adding another unit.
What safety precautions should I follow when operating a dehumidifier?
Use a properly grounded outlet, avoid unapproved extension cords, and place the unit on a stable, level surface away from splashing water. Keep intake/exhaust areas clear, secure any drain hoses, and route cords to avoid trip hazards around children and pets.
Where is the best place to put a dehumidifier for effective drying?
Position the unit in an open, central location within the zone you want to dry, with space around intake and exhaust for airflow. Avoid corners, blocked placements, and fully closed rooms; use fans or multiple units for large or compartmentalized areas.
Can I use a dehumidifier in a very cool basement or unheated space?
Only use units rated for low-temperature operation in cool or unheated spaces; otherwise coils can frost and reduce performance. Look for a defrost feature or a model specified for basement/crawl-space temperatures, or consider supplemental heating or a unit designed for colder conditions.
Is it better to use one large dehumidifier or several smaller ones in a basement?
For a single large open area, a higher-capacity unit may be simplest, but multiple smaller units often perform better in divided or long basements because they reduce dead zones and allow targeted placement. Multiple units also provide redundancy and easier handling for drains and maintenance.
- Clear sizing logic (room size → CADR/ACH)
- HEPA vs carbon explained for real use-cases
- Humidity + ventilation basics to reduce mold risk

About this site
Home Air Quality Lab publishes practical, independent guides about indoor air quality—clear sizing, safer use, and real-world expectations.
Affiliate disclosure
Some links on this site may be affiliate links. If you buy through these links, we may earn a small commission at no extra cost to you. This helps support our content. Learn more.