
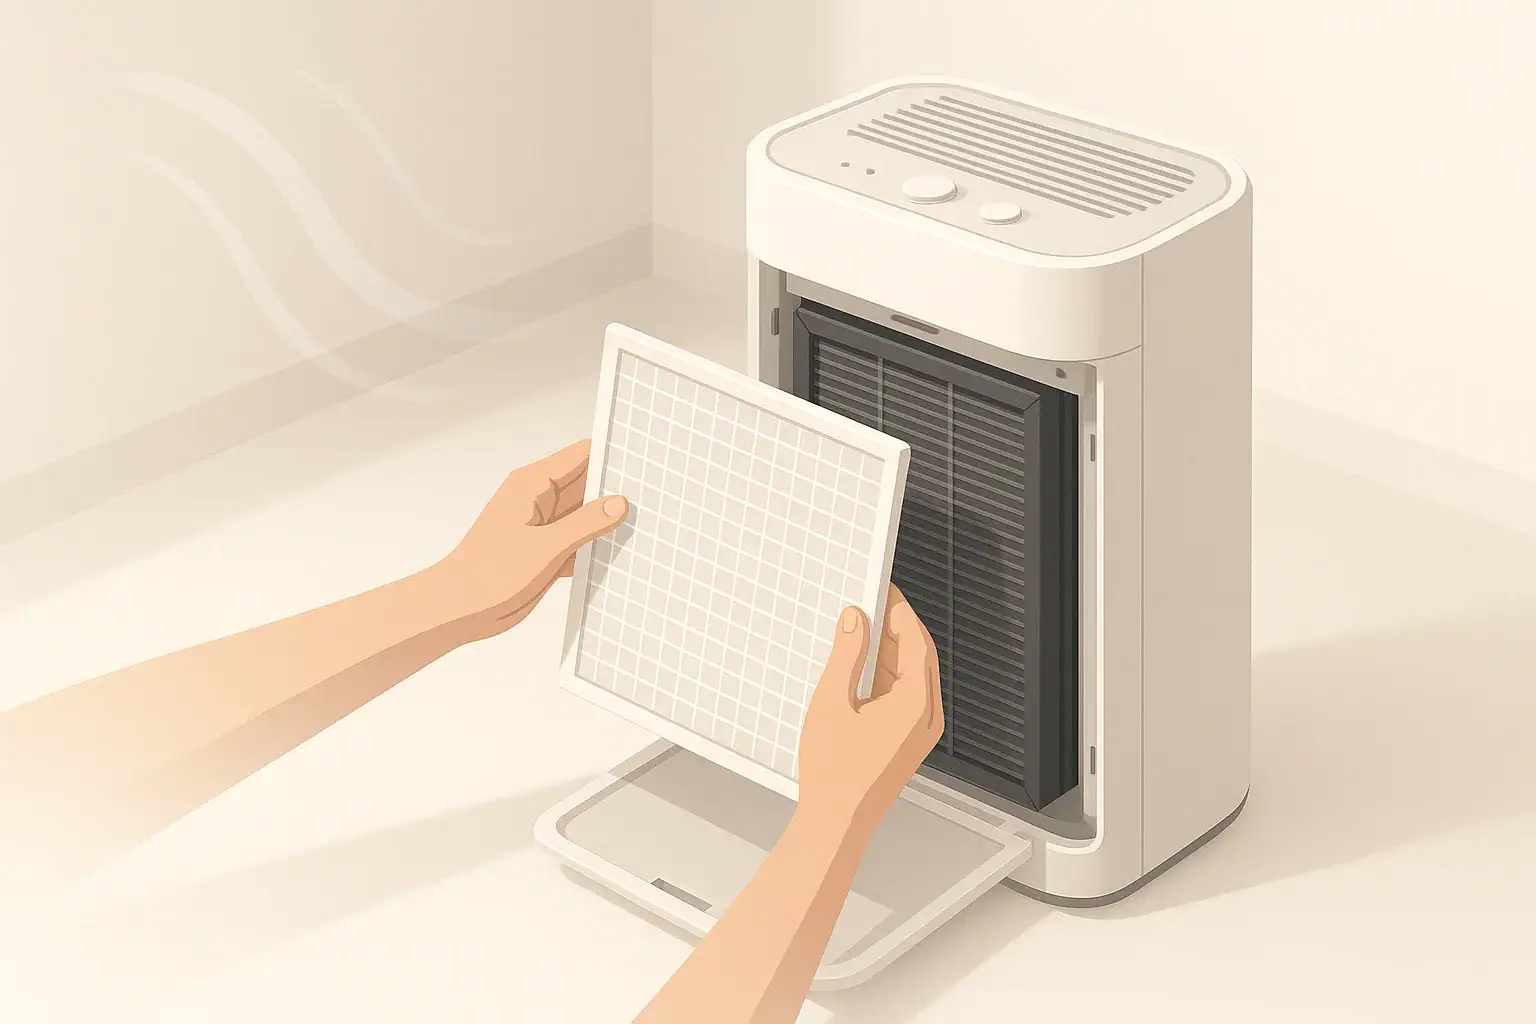
Vacuum most air purifier pre-filters every 2 to 4 weeks, and wash only washable pre-filters about every 1 to 3 months or when visible buildup remains after vacuuming.
A pre-filter is the first layer that catches larger dust, lint, pet hair, and debris before air reaches the main filter. The right schedule depends on your home, how often the purifier runs, pets, dust levels, and whether the pre-filter is washable or vacuum-only.
- Typical home: vacuum the pre-filter every 2 to 4 weeks.
- Pets, heavy dust, or continuous use: check weekly and vacuum every 1 to 2 weeks.
- Washable pre-filter: wash about every 1 to 3 months, only if the instructions allow it.
- Drying target: let a washed pre-filter air-dry completely before reinstalling.
- Main filter reminder: do not wash HEPA or carbon filters unless they are clearly labeled washable.
What the first-layer pre-filter does
The pre-filter is usually the outermost or first removable layer inside an air purifier. Its job is simple: catch larger particles before they load up the main particle filter or carbon layer.
Common material captured by a pre-filter includes lint, hair, dust clumps, textile fibers, and some larger household debris. This layer does not replace a HEPA-type filter, and it should not be treated as the main particle-capture stage.
Cleaning the first layer matters because airflow depends on open filter surface area. When the pre-filter is coated with debris, the purifier may move less air, run louder on higher settings, or need main filter replacements sooner.
Washable vs vacuum-only pre-filters
Some pre-filters are washable mesh or foam. Others are thin fabric, bonded to another filter, or designed only for light vacuuming. Before using water, confirm that the pre-filter is removable and labeled as washable in the product instructions.
If the pre-filter is attached to a HEPA or carbon filter, avoid washing it unless the full assembly is specifically designed for water. Water can damage filter media, reduce odor-adsorbing capacity, or leave moisture where it does not belong.
How often to vacuum or wash the pre-filter
For most homes, a practical pre-filter cleaning schedule starts with a quick visual check every 2 weeks. If the surface looks gray, fuzzy, or coated with pet hair, vacuum it. If it still looks clogged after vacuuming and the layer is washable, wash it according to the instructions.
A reasonable general schedule is:
- Low-dust room: vacuum every 4 to 6 weeks.
- Average bedroom or living room: vacuum every 2 to 4 weeks.
- Pet household: vacuum every 1 to 2 weeks.
- Smoke, renovation dust, or heavy debris period: inspect more often and clean as needed.
- Washable pre-filter: wash about every 1 to 3 months, or sooner if vacuuming does not restore airflow.
These are general targets, not fixed rules. A purifier running 24 hours a day in a carpeted room will usually collect debris faster than one used occasionally in a low-traffic room with hard flooring.
| Home condition | Vacuum target | Wash target if washable | Notes |
|---|---|---|---|
| Low-dust room, occasional use | Every 4 to 6 weeks | Every 2 to 3 months | Check visually between cleanings |
| Typical bedroom or office | Every 2 to 4 weeks | Every 1 to 3 months | Adjust if airflow seems reduced |
| Pet hair or shedding | Every 1 to 2 weeks | Every 1 to 2 months | Hair can mat across the first layer |
| High-traffic living area | Every 1 to 3 weeks | Every 1 to 2 months | Lint and dust usually build faster |
| After cleaning, dusting, or vacuuming rooms | Inspect within a few days | Only if needed | Some stirred-up dust may collect quickly |
| Visible lint mat or gray coating | Vacuum now | Wash if allowed and still clogged | Do not wait for a calendar date |
Signs your schedule needs adjustment
A calendar reminder is useful, but the pre-filter itself gives better feedback. If the layer looks clean and the purifier sounds normal, you may be able to keep the current schedule. If buildup returns quickly, shorten the interval.
Common cleaning cues
- Visible fuzz or hair: the first layer is doing its job, but it is time to clear the surface.
- Reduced airflow: air may feel weaker at the outlet on the same fan setting.
- More fan noise: a restricted intake can make the unit work harder to move air.
- Dust on the intake grille: buildup outside the filter often means buildup inside too.
- Filter reminder light soon after reset: some reminders are time-based, but rapid buildup still deserves inspection.
Also consider room activities. Cooking PM2.5 spikes what to do, crafting, frequent laundry folding, indoor pets, candles, and open windows during pollen or dusty conditions can all increase how much material reaches the pre-filter.
How to vacuum or wash a pre-filter safely
Cleaning should be simple and low-force. The goal is to remove surface debris without tearing mesh, compressing foam, or pushing dust deeper into the filter assembly.
Basic vacuuming steps
- Turn off and unplug the purifier before opening it.
- Remove the front panel or cover as directed by the instructions.
- Take out the pre-filter if it is designed to be removed.
- Use a soft brush attachment or low-suction setting if available.
- Vacuum the dusty side gently, working across the surface instead of scrubbing hard.
- Wipe loose dust from the intake grille with a dry or slightly damp cloth, keeping moisture away from electronics.
- Reinstall the dry pre-filter and close the purifier securely.
Basic washing steps for washable pre-filters
Wash only when the pre-filter is clearly washable. Use plain water unless the instructions allow mild soap. Avoid harsh cleaners, fragrances, solvents, bleach, or high heat.
- Rinse from the cleaner side toward the dusty side when practical, helping debris leave the material.
- Do not twist or wring foam or mesh aggressively.
- Shake off excess water gently.
- Air-dry completely before reinstalling.
- Do not run the purifier with a damp pre-filter.
Drying time varies with material, room humidity, and airflow. If there is any doubt, wait longer. Reinstalling a damp layer can create odors, reduce performance, or expose internal parts to moisture.
Real-world schedule examples
The best pre-filter cleaning schedule is often based on a few weeks of observation. Start with a general interval, then adjust after you see how quickly buildup returns.
Bedroom purifier used nightly
For a bedroom purifier that runs during sleep, an air purifier noise for sleep 2 to 4 week vacuuming interval is a practical starting point. If bedding lint or carpet dust collects quickly, shorten the schedule to every 2 weeks.
Living room with pets
Pet hair can cover an intake screen faster than ordinary dust. In this situation, a weekly visual check and vacuuming every 1 to 2 weeks is often more realistic. During seasonal shedding, the interval may need to be shorter.
Home office with hard flooring
A home office with hard floors, low foot traffic, and no pets may need less frequent cleaning. A 4 week check is usually reasonable, with vacuuming when visible buildup appears.
Open-plan room
Open-plan areas move air through larger shared spaces, so the purifier may collect debris from cooking zones, entryways, textiles, and living areas. Check the pre-filter every 1 to 3 weeks until you know the pattern.
Safety and standards considerations
Pre-filter cleaning is routine maintenance, not a modification. Do not cut, tape, bypass, or add unapproved materials to the filter path. Changing the filter stack can affect airflow, sealing, and safe operation.
Do not use the purifier with missing filters unless the instructions specifically say a certain layer is optional. do you need a pre-filter A missing pre-filter can allow larger debris to load the main filter faster or settle inside the unit.
Be cautious with features such as ionizers, ozone-generating functions, or UV-C modules. Pre-filter cleaning does not require these features, and it should not involve opening sealed electrical or UV-C compartments. If a purifier includes optional electronic features, use them only as described by the manufacturer and avoid any setup intended to generate ozone intentionally.
If the purifier has a washable first layer and an electrical compartment nearby, keep water away from the unit body. Clean the removable filter separately, let it dry fully, and reinstall it only after the purifier is unplugged and stable.
Maintenance planning beyond the pre-filter
A clean pre-filter helps protect downstream filters, but it does not make them permanent. Particle filters, carbon filters, and combination cartridges still need replacement when loaded, damaged, or past their recommended service period.
It helps to keep three simple reminders: one for pre-filter checks, one for main filter replacement review, and one for cleaning the purifier exterior. A calendar reminder is enough for many households.
Costs also become easier to plan when pre-filter care is consistent. Vacuuming a pre-filter does not restore a full filter cartridge to new condition, but it can reduce avoidable early loading from hair and lint.
When replacing filters, check that the gasket or edge seal sits correctly. Even a clean filter may perform poorly if air bypasses the filter media through gaps around the frame.
| Filter type | Typical interval range | What changes it | Reminder |
|---|---|---|---|
| Washable pre-filter | Vacuum every 1 to 4 weeks; wash every 1 to 3 months | Pets, dust, runtime, room activity | Dry fully before reinstalling |
| Vacuum-only pre-filter | Vacuum every 2 to 4 weeks | Material strength and dust load | Replace if torn or misshapen |
| HEPA-type particle filter | Often reviewed around 6 to 12 months | Runtime, dust, smoke, seal condition | Do not wash unless labeled washable |
| Activated carbon filter | Often reviewed around 3 to 6 months | Odors, gases, cooking, smoke exposure | Vacuuming does not renew carbon capacity |
| Combination cartridge | Follow the cartridge interval range | Mixed particle and odor loading | Replace as a complete unit if designed that way |
| Intake grille and exterior | Wipe every 2 to 4 weeks | House dust and room traffic | Keep moisture out of openings |
Related guides: Air Purifier Maintenance Checklist: Monthly and Seasonal Tasks • Filter Replacement Schedules: HEPA, Carbon, and Pre-Filters • Cleaning Air Purifier Sensors and Intakes: What Not to Do
Frequently asked questions
How often should I follow a pre-filter cleaning schedule?
For most homes, vacuuming every 2 to 4 weeks is a practical starting point. Homes with pets, heavy dust, or continuous purifier use may need weekly checks and cleaning every 1 to 2 weeks. Washable pre-filters usually need washing less often, about every 1 to 3 months, if the manufacturer allows it.
Can I wash a pre-filter instead of vacuuming it?
Only if the pre-filter is clearly labeled washable. Vacuuming is the safer first step for many pre-filters, and washing is usually reserved for removable mesh or foam layers that the instructions say can get wet. Do not wash attached HEPA or carbon filters unless the full assembly is designed for water.
What are the signs that my pre-filter needs cleaning sooner?
Look for visible fuzz, pet hair, gray dust buildup, weaker airflow, or a louder fan at the same setting. If the purifier seems less effective or the intake grille looks dusty, the pre-filter likely needs attention sooner. Rapid buildup usually means the cleaning interval should be shortened.
How long should a washed pre-filter dry before reinstalling?
It should be completely dry before you put it back in the purifier. Drying time depends on the material, room humidity, and airflow, so there is no single universal time. If you are unsure, wait longer rather than reinstalling a damp filter.
Does a clean pre-filter replace the need to change the main filter?
No. The pre-filter helps catch larger debris and can slow down loading on the main filter, but it does not make the main filter permanent. HEPA-type and carbon filters still need to be replaced according to the manufacturer’s guidance or when performance drops.
Summary takeaways
A practical pre-filter cleaning schedule is simple: inspect regularly, vacuum when buildup appears, and wash only washable pre-filters when vacuuming is not enough. For many homes, that means vacuuming every 2 to 4 weeks.
Homes with pets, heavy dust, continuous purifier use, or high-traffic rooms often need shorter intervals, such as every 1 to 2 weeks. Low-dust rooms may be able to stretch closer to 4 to 6 weeks between cleanings.
The most important safety points are to unplug the purifier, avoid washing non-washable filters, let washable layers dry completely, and keep the filter stack correctly seated. With a steady routine, the first layer can keep doing its basic job: catching larger debris before it reaches the main filters.
Recommended next:
- Air Purifier Maintenance Checklist: Filters, Sensors, and Cleaning
- When to Replace Carbon Filters (And How to Tell They’re Spent)
- How to Clean and Calibrate an Air Quality Monitor
- Air Purifier Maintenance Checklist: Monthly and Seasonal Tasks
- Filter Replacement Schedules: HEPA, Carbon, and Pre-Filters
- Cleaning Air Purifier Sensors and Intakes: What Not to Do
- More in Maintenance & Replacement →
- Clear sizing logic (room size → CADR/ACH)
- HEPA vs carbon explained for real use-cases
- Humidity + ventilation basics to reduce mold risk