You clean a humidifier by emptying and rinsing the tank daily, then doing a deeper vinegar-based descale and disinfecting clean every 3–7 days, adjusted for how often you run it and how hard your water is. Regular cleaning keeps mist output steady, reduces white dust and musty smells, and lowers the chance of unwanted particles in the air.
This guide explains exactly how to clean a humidifier, how often to do each task, and what to use on different types of units (ultrasonic, evaporative, and warm-mist). You will also see real-world examples, common mistakes to avoid, and simple safety checks so your humidifier supports healthy indoor air instead of working against it.
Use these steps as a general framework and always compare them with your user manual. When in doubt, follow the most conservative instructions so you do not damage parts or leave behind residues that could end up in the mist.
Why a Clean Humidifier Matters
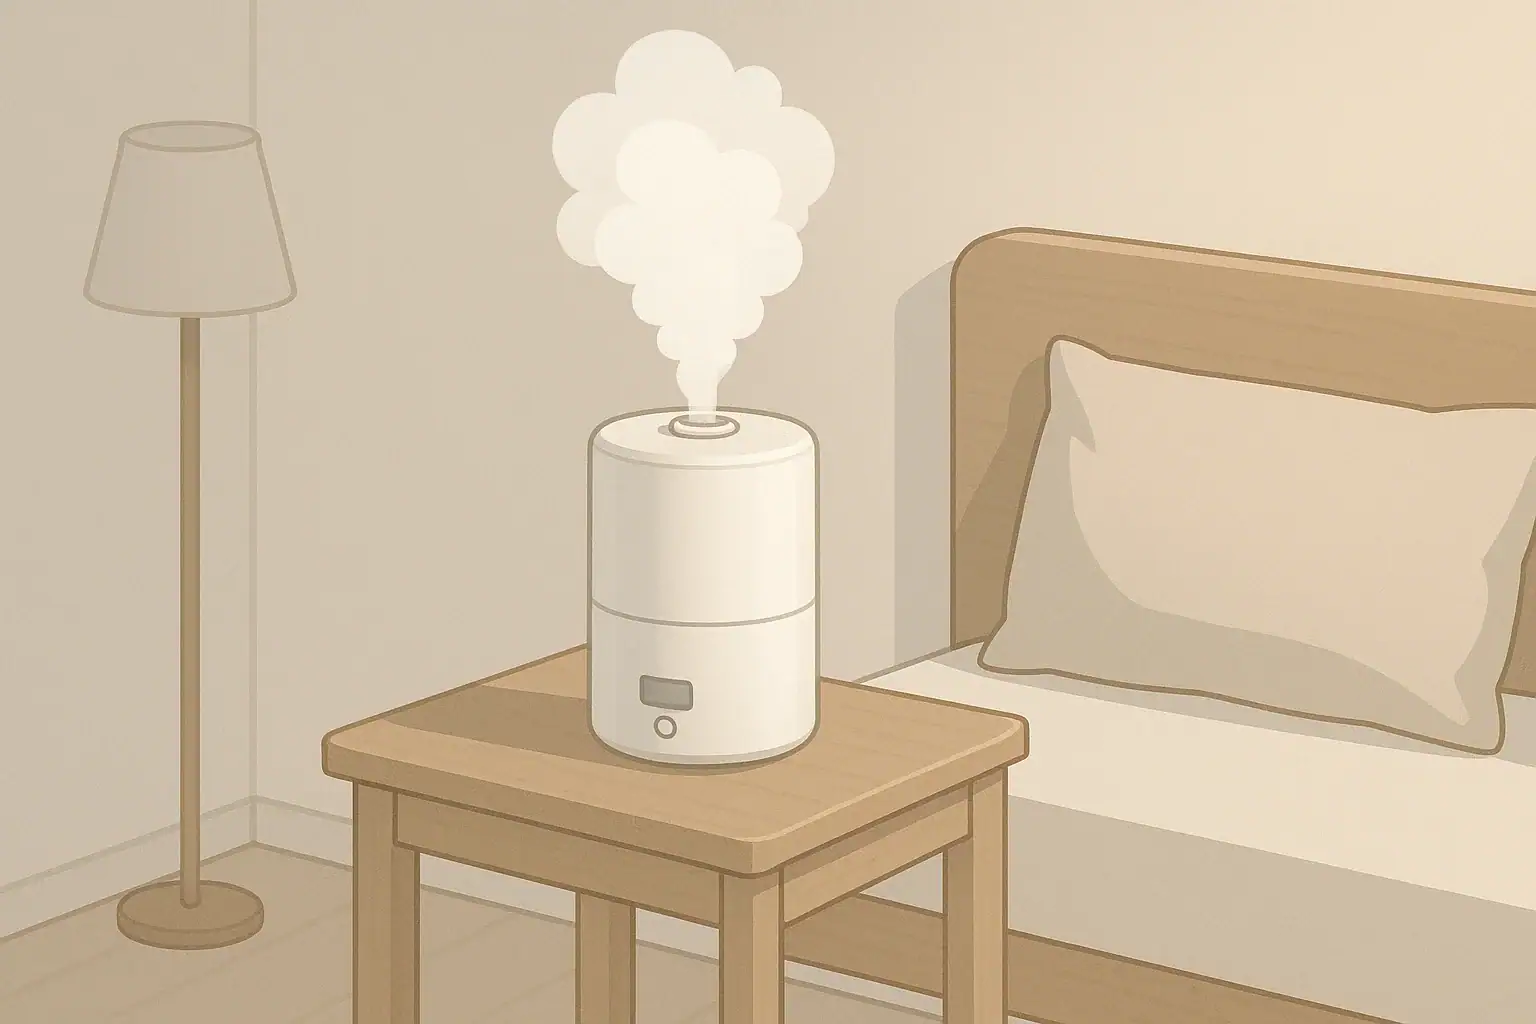
A humidifier is essentially a small appliance that continuously moves water into the air as a fine mist or vapor. Any time water sits in a tank, base, or wick, it can leave mineral deposits and support microbial growth if it is not refreshed and cleaned. Over time, this buildup shows up as white scale, slimy film, discoloration, odors, or reduced mist output.
Keeping your humidifier clean matters for three main reasons:
- Indoor air quality: A dirty humidifier can push mineral particles, odors, or other unwanted material into the room instead of just adding moisture.
- Comfort and performance: Scale and film can block mist outlets, coat ultrasonic plates, or clog wicks so you get less moisture than the setting suggests.
- Equipment life and cost: Regular cleaning slows wear on seals, sensors, and heating elements, and can delay the need for replacement parts or a new unit.
Most manufacturers provide cleaning guidance for their specific design. The approach below follows common recommendations for cool-mist, ultrasonic, evaporative, and warm-mist humidifiers used in homes.
Key Cleaning Concepts and How Humidifiers Work
Understanding how your humidifier produces moisture helps you clean the right parts at the right time. While models vary, most home units fall into three broad types.
How common humidifier types create moisture
- Ultrasonic cool-mist: A vibrating metal or ceramic plate breaks water into a fine mist that is blown into the room. Any minerals in the water can leave white dust on nearby surfaces and scale on the plate.
- Evaporative (wick) cool-mist: A fan pulls air through a saturated wick or filter. Water evaporates naturally into the air. Minerals tend to accumulate in the wick and base instead of floating as dust.
- Warm-mist or steam: A heating element boils or heats water to create steam. Minerals collect on the heating element and in the reservoir as hard scale.
All three types share two cleaning goals: remove mineral deposits (descaling) and disrupt any developing film or slime on wet surfaces.
Core cleaning tasks and timing
Think of humidifier care as three overlapping routines: quick daily care, weekly or biweekly deep cleaning, and periodic inspection or part replacement.
- Daily: Empty, rinse, and air-dry whenever the unit is not in use.
- Every 3–7 days: Deep clean and lightly disinfect compatible surfaces.
- Every 2–4 weeks or as needed: Descale mineral deposits and inspect wicks or filters.
| Use pattern | Water hardness example | Daily tasks | Deep clean (3–7 days) | Descale / part check |
|---|---|---|---|---|
| Night-only use in one bedroom | Softer water | Empty and quick rinse after each night | Every 7 days of use | Every 4 weeks or when light scale appears |
| All-day use in living room | Moderately hard water | Empty and rinse once per day | Every 3–5 days of use | Every 2–3 weeks or when output drops |
| Intermittent use during colds | Hard water | Empty and rinse after each short use | Before and after each multi-day use period | Inspect and descale before storage |
| Children’s room nightly in winter | Unknown hardness | Empty and rinse daily; air-dry when off | Every 3–7 days, watching for odor or film | Every 2–4 weeks; check wick or filter monthly |
If you notice white dust on furniture, visible scale, or a musty smell, move to the more frequent end of these ranges until conditions improve.
Real-World Cleaning Steps and Examples
The exact steps for how to clean a humidifier depend on the design, but most home units can be cared for with the same basic pattern: unplug, empty, rinse, descale, clean, rinse again, and dry.
Daily quick routine (all types)
- Turn off and unplug: Always unplug before handling water.
- Remove and empty the tank: Pour out remaining water from the tank and, if accessible, from the base or reservoir.
- Rinse with clean water: Add a small amount of clean water, swish to loosen any film, and empty. Rinse removable parts that contact water.
- Air-dry when possible: Leave the tank and base uncapped and open to air when the unit is not running.
Weekly or biweekly deep clean (typical cool-mist or ultrasonic)
- Disassemble removable parts: Unplug the unit. Remove the tank, cap, mist outlet, and any removable covers. Take out wicks, filters, or cartridges if present, following the manual.
- Descale mineral deposits: Pour white vinegar into the tank and base to cover areas with visible scale. Let sit 15–30 minutes, then gently scrub with a soft brush or cloth. Avoid metal tools.
- Clean interior surfaces: If allowed by the manual, use a small amount of mild, unscented dish soap with water on tank walls, caps, seals, and the base area where water sits. Rinse away soap immediately.
- Detail tight spots: Use cotton swabs or a soft toothbrush around grooves, threads, and corners. Work carefully around sensors or membranes the manual says not to touch.
- Rinse thoroughly: Rinse every cleaned part with plenty of clean water until you no longer smell vinegar or soap.
- Dry and reassemble: Air-dry parts on a clean towel. Once surfaces are no longer dripping, reassemble and refill with fresh water.
Special notes by humidifier type
- Ultrasonic: Clean the ultrasonic plate gently with a soft cloth or swab after a short vinegar soak. Using distilled or low-mineral water can greatly reduce white dust and plate scale.
- Evaporative (wick): Treat the wick as a consumable part. Some wicks should not be washed; many are meant to be replaced when discolored, stiff, or musty.
- Warm-mist / steam: Allow the unit to cool completely before cleaning. Descale the heating chamber carefully using a manufacturer-approved method to keep steam output steady.
Water choices and practical impact
- Tap water: Convenient but may leave more scale and white dust, especially in ultrasonic models.
- Distilled or low-mineral water: Reduces mineral deposits and may extend time between descaling sessions.
- No scented additives unless approved: Additives that are not specifically designed for humidifiers may leave residue or create odors.
Common Mistakes and Troubleshooting Cues
Many humidifier problems trace back to a few repeatable mistakes. Recognizing early warning signs helps you fix issues before they affect comfort or air quality.
Typical cleaning and use mistakes
- Leaving water in the tank for days: Standing water encourages film and odor. If water has been sitting, empty, rinse, and do a quick clean before using again.
- Skipping deep cleans: Rinsing alone does not remove scale or all film. If you only rinse, expect performance to drop over time.
- Using harsh or scented cleaners: Strong chemicals can damage plastic or leave residues that may end up in the mist.
- Overfilling the tank or base: Filling past the max line can cause leaks, gurgling sounds, or inconsistent mist.
- Running with a heavily used wick or filter: Old wicks can smell musty and reduce output even if the rest of the unit is clean.
- Pointing mist directly at walls or windows: This can create wet spots, condensation, and potential mold risk even when humidity in the rest of the room is moderate.
Common symptoms and what they usually mean
| Symptom | Likely cause example | What to check or do |
|---|---|---|
| White dust on furniture | Minerals from hard tap water in an ultrasonic unit | Descale tank and plate; consider lower-mineral water; dust surfaces regularly |
| Musty or “stale” smell | Film or slime in tank, base, or wick | Do a full deep clean; replace wick or filter if odor persists |
| Noticeably weaker mist output | Scale on ultrasonic plate or clogged wick | Descale plate or chamber; inspect and replace wick or filter as needed |
| Gurgling or splashing sounds | Overfilled tank or misaligned tank on base | Refill only to the marked line; reseat the tank carefully |
| Water around the unit | Condensation, leaks, or mist aimed at a surface | Check for cracks, seals, and hose points; redirect mist away from walls and windows |
| Visible scale inside tank | Mineral buildup from tap water | Soak with vinegar, scrub gently, and adjust cleaning frequency |
If a problem continues after a thorough cleaning and proper reassembly, inspect the unit for cracks, damaged seals, or worn parts. In some cases, replacement parts or a new humidifier may be more practical than repeated troubleshooting.
Safety Basics When Cleaning and Using a Humidifier
Cleaning a humidifier is straightforward, but it still involves water, electricity, and sometimes warm surfaces or cleaning solutions. A few consistent habits can reduce risk and keep the appliance operating as designed.
Electrical and handling safety
- Always unplug before cleaning or moving: Do not remove the tank, base, or covers while the unit is plugged in.
- Keep the cord and plug dry: Avoid letting water drip onto the power cord or control panel. Wipe surfaces dry before plugging back in.
- Use a stable, level surface: Place the humidifier where it cannot be easily bumped or tipped.
Chemical and cleaning-solution safety
- Use mild solutions only: White vinegar and, if allowed by the manual, a small amount of mild unscented dish soap are usually sufficient for routine cleaning.
- Follow manual instructions for disinfecting: If a disinfecting step is recommended, use only the dilution and method specified for that model.
- Rinse thoroughly: After any cleaning solution, rinse until the smell is gone so only water is left in areas that contact mist or steam.
Safe operation for indoor air quality
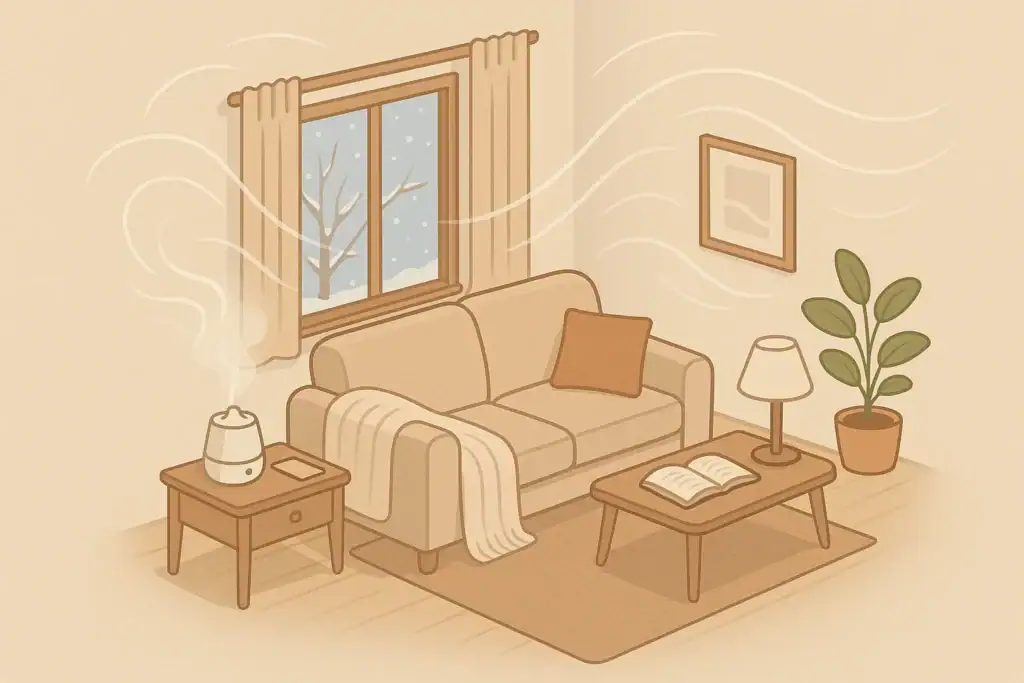
- Aim for moderate humidity: Many homes are comfortable in a mid-range humidity band. Very high humidity can encourage condensation and mold on cool surfaces.
- Use a hygrometer: A simple humidity meter helps you avoid over-humidifying and lets you adjust output based on real readings, not just guesswork.
- Watch for condensation: If windows fog or walls feel damp near the unit, reduce output or move the humidifier farther from those surfaces.
Long-Term Maintenance, Storage, and Replacement
Beyond weekly cleanings, a few seasonal habits will help your humidifier stay reliable from year to year and reduce the chance of surprises when you bring it out again.
Seasonal or occasional-use routine
- Before the heating season: Inspect the tank, base, seals, and cord. Perform a full descale and deep clean before the first use of the season.
- During the season: Follow your daily and weekly cleaning schedule, and track any changes in odor, sound, or output.
- After the season: Empty, descale, deep clean, rinse thoroughly, and dry completely before storage.
Off-season storage
- Store completely dry: Even a small amount of trapped moisture can leave odors or deposits over months in storage.
- Remove consumable parts: Take out and discard used wicks or filters before storage. Install fresh ones at the start of the next season.
- Choose a dry, moderate location: Store in a cool, dry closet or interior room rather than a damp basement or hot attic.
When to consider replacing the unit
- Persistent scale that will not remove: Heavy, hardened deposits that cannot be safely descaled may interfere with performance.
- Cracked or warped plastic: Damage to the tank or base can lead to leaks or unstable operation.
- Repeated performance issues: If mist output remains low or inconsistent after proper cleaning and part replacement, the internal components may be worn.
When planning a replacement, think about room size, expected runtime, how often you are realistically willing to clean it, and how it fits into your broader humidity and air quality goals.
Practical Takeaways and Specs to Look For
Cleaning a humidifier properly comes down to a few consistent habits: empty and rinse daily, deep clean every 3–7 days, descale regularly based on your water hardness, and replace wicks or filters before they become a problem. Combine that with safe placement and moderate humidity targets, and your humidifier can add comfort without adding extra indoor air concerns.
Quick checklist: daily and weekly habits
- Empty and rinse the tank after each use or at least once daily.
- Let the tank and base air-dry whenever the unit is off for more than a few hours.
- Deep clean and lightly disinfect compatible parts every 3–7 days of use.
- Descale visible mineral buildup every 2–4 weeks or when scale appears.
- Inspect and replace wicks or filters at the first signs of odor, stiffness, or heavy discoloration.
- Monitor humidity with a hygrometer and adjust output to avoid condensation.
Specs and features to look for when choosing a humidifier
- Tank capacity matched to room size: A tank that lasts through your typical use period (such as overnight) without constant refills.
- Easy-to-reach tank opening: A wide opening that allows your hand, cloth, or brush to reach the bottom and corners.
- Removable parts for cleaning: A design that lets you separate the tank, base, and mist outlet without tools.
- Clear max-fill markings: Visible lines or indicators to prevent overfilling.
- Simple interior surfaces: Fewer tight crevices and complex shapes make routine cleaning faster and more thorough.
- Filter or wick availability: Readily available replacement wicks or filters, with recommended replacement intervals you can realistically follow.
- Adjustable output settings: Multiple mist or steam levels so you can fine-tune humidity instead of running at one fixed speed.
- Built-in humidistat or compatibility with a hygrometer: Helps avoid over-humidifying and supports more stable indoor humidity.
- Stable base and cord length: Enough cord to place the unit safely away from beds, curtains, and walls, with a base that resists tipping.
When you combine a clean, easy-to-maintain humidifier with thoughtful placement and regular humidity checks, you get the benefits of added moisture with fewer hassles and a lower risk of unwanted side effects.
Frequently asked questions
Which features should I prioritize when choosing a humidifier to make maintenance easier?
Look for a unit with a tank size matched to your room and a wide opening for easy cleaning, removable parts that separate without tools, clear max-fill markings, and readily available replacement wicks or filters. Built-in controls like an adjustable output or humidistat help avoid overuse and reduce the need for extra maintenance. A simple interior with few crevices and a stable base also makes cleaning faster and safer.
Is it okay to leave water sitting in the humidifier tank between uses?
No, standing water encourages film, odors, and microbial growth. Empty and rinse the tank after each use or at least once daily, and perform a deep clean before using again if water has been sitting for more than a day.
Are there safety precautions I should take when cleaning a humidifier?
Always unplug the unit before cleaning, keep the cord and controls dry, and use mild cleaning solutions such as white vinegar or unscented soap following the manufacturer’s guidance. Rinse thoroughly to remove residues and avoid harsh chemicals that can damage parts or leave residues in the mist.
What type of water is best to reduce scale and maintenance?
Distilled or low-mineral water produces less white dust and mineral buildup, which reduces the frequency of descaling and can extend the life of parts. Tap water is acceptable but will usually require more frequent descaling and filter or wick replacement.
How can I tell when to replace a wick or filter?
Replace wicks or filters when they become discolored, stiff, emit a persistent odor, or visibly reduce mist output; replacement intervals vary with use and water quality but can be monthly to seasonal. If thorough cleaning does not restore performance, installing a new consumable is a good next step.
How often should I perform quick rinses, deep cleans, and descaling?
Empty and rinse the tank daily, perform a deep clean and light disinfection every 3–7 days depending on usage and water hardness, and descale mineral deposits every 2–4 weeks or when you see scale. Move to the more frequent end of these ranges if you notice white dust, musty smells, or reduced mist output.
- Clear sizing logic (room size → CADR/ACH)
- HEPA vs carbon explained for real use-cases
- Humidity + ventilation basics to reduce mold risk


About this site
Home Air Quality Lab publishes practical, independent guides about indoor air quality—clear sizing, safer use, and real-world expectations.
Affiliate disclosure
Some links on this site may be affiliate links. If you buy through these links, we may earn a small commission at no extra cost to you. This helps support our content. Learn more.